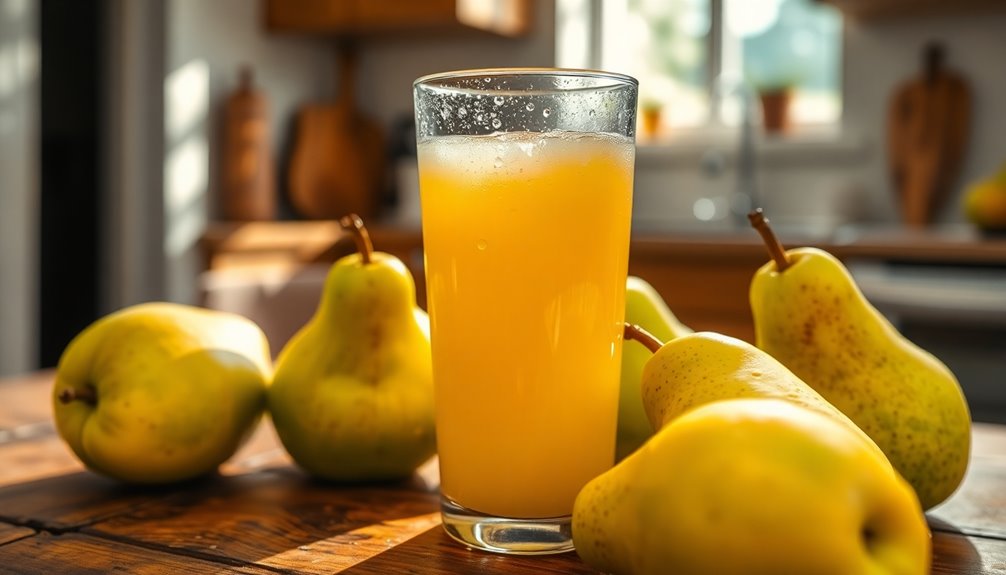

Pear juice can work quickly for constipation relief, often within the same night or by the following morning. Many users report feeling relief after just one to two servings. The natural sugars and sorbitol in pear juice help soften stools, making it an effective choice for some individuals, even faster than apple juice. You might find that trial and error helps you gauge its optimal effects. To discover more about maximizing pear juice's benefits, keep exploring!
Key Takeaways
- Pear juice can relieve constipation within the same night or by the following morning for many users.
- Some individuals report feeling relief in as little as one to two servings of pear juice.
- Effectiveness can vary from person to person, requiring trial and error to find optimal results.
- Regular consumption of two servings a day is suggested to maintain digestive regularity.
- Mixing 0.5 oz of organic pear juice with 0.5 oz of water may enhance its effectiveness.
Are you wondering how quickly pear juice can relieve constipation? If you're dealing with this uncomfortable issue, you might find pear juice to be a surprisingly effective solution. In many cases, people have reported that pear juice can produce results within the same night or by the following morning, depending on how severe your constipation is. Imagine waking up feeling lighter and more comfortable after just a glass of this delicious juice!
The beauty of pear juice lies in its natural composition. Pears are high in fiber, especially when you consume the whole fruit. However, when it comes to juice, you can still reap significant benefits. Users have shared experiences where they've felt relief in as little as one to two feedings after consuming pear juice. This makes it a great option if you're looking for a quick remedy.
But keep in mind that while some people might see results quickly, others may not experience the same effect. It can differ from person to person, so it might take a bit of trial and error to find out what works best for you.
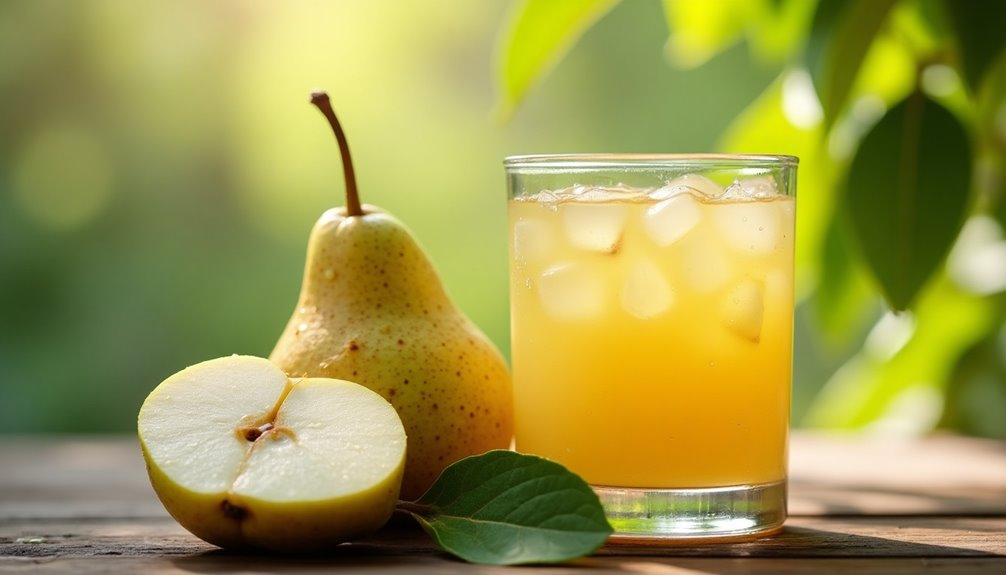
For more consistent results, consider taking regular doses of pear juice. Typically, two servings a day can help maintain regularity and alleviate symptoms over time. You might want to mix around 0.5 oz of organic pear juice with 0.5 oz of water, which can optimize the effectiveness of the juice. This way, you can enjoy a refreshing drink that not only tastes good but also helps relieve constipation.
You may find yourself comparing pear juice to other options like prune juice or apple juice. While prune juice is often touted for its laxative properties, some individuals have found that pear juice is even more effective. The natural sugars and sorbitol in pear juice can help soften stools and promote bowel movements.
Apple juice can also help, but pear juice tends to work faster for many people. If you're experimenting with different fruit juices to tackle your constipation, give pear juice a try; you might be pleasantly surprised by the results.
Incorporating more fruits and vegetables into your diet can also help combat constipation. While you're enjoying pear juice, consider adding more fiber-rich foods to your meals. This combination can ultimately lead to better digestive health.
Frequently Asked Questions
How Much Pear Juice Should I Drink for Constipation?
If you're considering pear juice for constipation relief, start with about 4 to 8 ounces daily.
You can adjust based on your body's response, but it's best to drink it consistently. Mixing it with water can make it easier to consume.
Don't forget to stay hydrated overall by drinking plenty of fluids throughout the day, as this also helps maintain regular bowel movements and enhances the effectiveness of the juice.
What Helps Constipation Within 30 Minutes?
If you're looking for quick relief from constipation, consider drinking fluids high in sorbitol, like pear juice.
You might find that a small amount can help soften your stools and promote bowel movements.
Alongside pear juice, staying hydrated and consuming fiber-rich foods can also aid digestion.
Remember, individual responses vary, so you may need to experiment a bit to find what works best for you.
Don't hesitate to consult a healthcare provider if needed.
How Long Does It Take Juice to Help Constipation?
When you’re looking for juice to help with constipation, the timing can vary. Some juices may provide relief within a few hours, while others might take longer, up to a day and a half. It’s essential to consider the type of juice you’re consuming, as some are more effective than others. For instance, fresh pineapple juice is known for its natural enzymes that can aid digestion and may alleviate constipation symptoms. However, it’s important to also be aware of how long fresh pineapple juice lasts, as its potency diminishes over time, affecting its efficacy in providing relief. Additionally, other juices, such as prune juice, are widely recognized for their effectiveness in promoting bowel movements due to their high sorbitol content. When opting for any juice, it’s beneficial to keep in mind how long fresh juice lasts, as consuming it beyond its optimal freshness may not yield the desired results. Always prioritize fresh, high-quality juices to maximize their potential benefits in addressing constipation.
If you're trying a specific juice, drinking it consistently—like twice a day—can improve your chances of finding relief.
What Is the Fastest Thing to Use for Constipation?
When you're feeling a bit backed up, finding the quickest relief can feel like a race against time. Prune juice often takes the gold medal, working its magic within 1 to 2 hours for many folks.
If you're looking for something more gentle, apple juice might help, but it's not always a speedy option.
Conclusion
In the battle against constipation, pear juice can be your trusty ally, often delivering results within a few hours. Just a small glass might unlock the door to relief, helping to restore your digestive harmony. So, when you feel that familiar discomfort creeping in, don't underestimate the power of this sweet elixir. Embrace the juicy goodness of pears, and let nature work its magic to set you free and keep things flowing smoothly.

Cindy thoroughly researches juicing trends, techniques, and recipes to provide readers with practical advice and inspiration. Her writing style is accessible, engaging, and designed to make complex concepts easy to understand. Cindy’s dedication to promoting the advantages of juicing shines through her work, empowering readers to make positive changes in their lives through the simple act of juicing.