
You can keep fresh juice for about 24 to 72 hours in the fridge if stored properly. The best taste and nutrients are within the first 24 hours. Using airtight glass containers helps prevent oxidation, which is key for maximizing freshness. If you want to enjoy your juice longer, freezing it can extend usability up to six months. Interested in tips on storage methods and natural preservatives to keep your juice fresh?
Key Takeaways
- Fresh juice typically lasts between 24 to 72 hours when stored properly in the fridge.
- Cold-pressed juice can remain fresh for up to 4-5 days.
- Centrifugal juice should be consumed within about 24 hours for optimal quality.
- Freezing fresh juice can extend its usability up to 6 months, with best taste in 2-3 months.
- Adding lemon juice can act as a natural preservative, enhancing freshness and longevity.
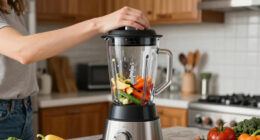
When you make fresh juice, knowing how long it lasts can help you enjoy its taste and nutrients at their best. Typically, fresh juice stored properly in the fridge lasts between 24 to 72 hours. However, the best taste and nutritional value are usually found within the first 24 hours after juicing.
If you're using a cold-press method, you can expect your juice to stay fresh for up to 4-5 days. In contrast, juice made with centrifugal juicers generally has a shorter lifespan, lasting only about 24 hours.
To maximize the shelf life of your homemade juice, it's crucial to store fresh juice in airtight glass containers. These containers help create a barrier against air, which is vital because oxidation can significantly degrade the juice's quality.
When you keep your juice at a temperature between 35-40°F (1.6-4.4°C), you slow down nutrient degradation and inhibit bacterial growth. So, if you want to enjoy your juice for as long as possible, invest in some good-quality airtight containers.
If you find that you can't consume all your fresh juice within a few days, consider freezing it. Freezing can extend the usability of your juice up to 6 months, although for optimal taste and nutritional value, it's best to enjoy it within 2-3 months.
When you freeze your juice, just remember to leave some space in the container, as liquids expand when frozen. This way, you'll avoid any spills or container breakage.
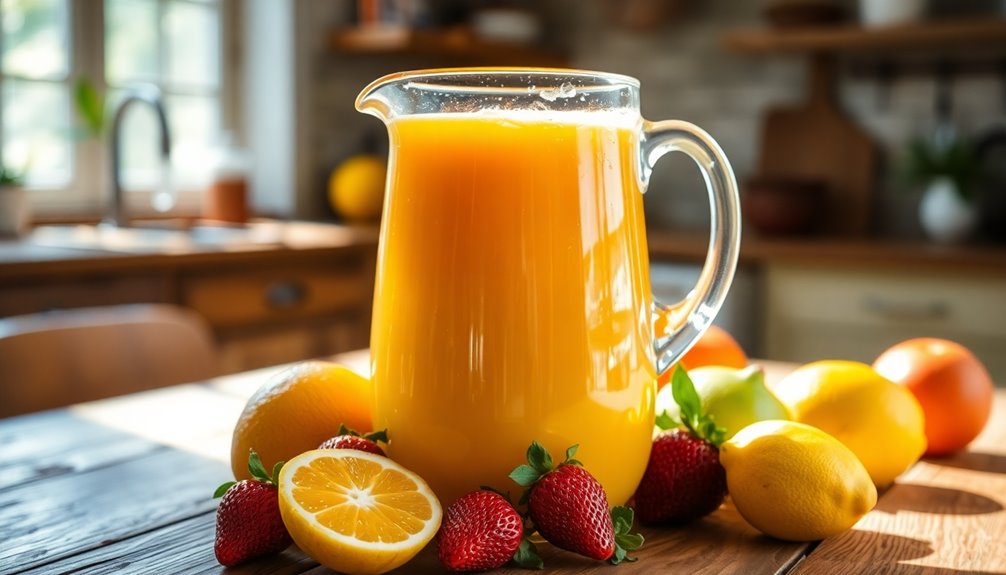
Another great tip to help store fresh juice longer is to add lemon juice. The acidity in lemon juice acts as a natural preservative, delaying oxidation. This is especially beneficial for juices made from fruits that oxidize quickly, like apples and bananas.
By incorporating lemon juice, you can keep your juice tasting fresh for a more extended period, making it a simple yet effective way to maintain its quality.
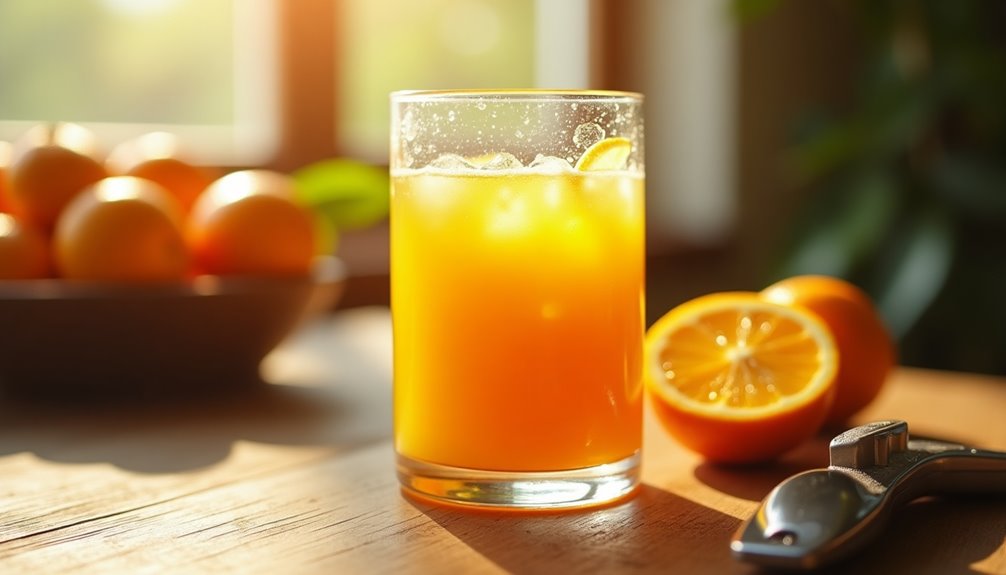
When you prepare fresh juice, always be mindful of how you plan to store it. The first step is to consume it as soon as possible for the best flavor and health benefits.
If you have leftovers, use airtight glass containers to minimize exposure to air and store them in the fridge. If you anticipate not drinking your juice within a few days, freezing is a great alternative to extend shelf life.
Juicer Machines with 5.8" Large Chute, 2-in-1 Cold Press Juicer for Whole Vegetables Fruits 400W, Masticating juicer Easy to Clean Juice Extractor Machine for Making Nut Mike, Juice, Premium Gray
2-IN-1 Juicer Machines: This juicer features a powerful motor, enabling it to effortlessly produce a variety of nutritious...
As an affiliate, we earn on qualifying purchases.
Frequently Asked Questions
How Long Can I Keep Fresh Juice in the Fridge?
You can keep fresh juice in the fridge for about 24 to 72 hours, depending on how you store it.
If you use an airtight glass container, you'll reduce oxidation and help maintain its freshness longer.
Juices made from citrus fruits often last a bit longer due to their acidity.
To enjoy the best taste, try to drink it within the first 24 hours, and freeze any leftover juice for later use.
Do You Have to Drink Juice Immediately After Juicing?
Did you know that fresh juice starts degrading within just 20-30 minutes due to oxidation?
That's why it's best to drink it as soon as possible after juicing. While you don't have to gulp it down immediately, the longer you wait, the more nutrients and flavor you lose.
If you can't drink it right away, store it in an airtight container in the fridge to help preserve its quality for a short time.
How Long Can You Keep Fresh Juice in a Mason Jar?
You can keep fresh juice in a mason jar for about 24 to 72 hours in the fridge.
To make it last longer, fill the jar to the brim to limit air exposure, and seal it tightly.
Store it at a temperature between 35-40°F to prevent nutrient loss.
If you add a bit of lemon juice, it'll help preserve freshness.
For longer storage, consider freezing the juice, which can last up to six months.
Can You Drink Juice After 7 Days?
You shouldn't drink juice after 7 days. By that time, the juice likely lost its flavor and nutritional value, and it may even pose a health risk due to bacteria.
If it tastes sour or has an off-putting odor, it's a clear sign it's spoiled.
To enjoy the best quality and safety, aim to consume your juice within the first 24 to 72 hours after making it.
Stay safe and enjoy it fresh!

Zulay Kitchen Cast Iron Juicer - Easy-to-Clean Heavy-Duty Manual Juicer, Professional Citrus Juicer - Stainless Steel Lemon Squeezer - Manual Citrus Press & Orange Squeezer - Orange Juicer (Black)
SQUEEZE OUT EVERY LAST DROP: Our citrus press extracts maximum juice while keeping seeds out of your glass...
As an affiliate, we earn on qualifying purchases.
Conclusion
In conclusion, while fresh juice is best enjoyed immediately for optimal flavor and nutrition, you can store it in the fridge for up to 72 hours in an airtight container. Some might worry about losing nutrients over time, but even within this short window, your juice still retains a good portion of its vitamins and antioxidants. So, go ahead and make a batch to enjoy later; just remember to use it within a few days for the best experience!

EanOruus Juicer Machines, 3-in-1 Cold Press Juicer with 6.5" Extra Large Chute, 100oz Large Capacity, AC Motor, Makes Juice, Nut Milk & Sorbet, Premium Gray
3-in-1 Versatility for Wellness: Equipped with two interchangeable strainers (Juice & Sorbet), easily switch between extracting pure, nutrient-rich...
As an affiliate, we earn on qualifying purchases.

Ninja NeverClog Cold Press Juicer | Powerful Electric Slow Masticating Juicer with Pulp Control | XL Capacity | 24 oz. Juice Jug & 36 oz. Pulp Container | Dishwasher Safe | Charcoal | 150W | JC151
NON-STOP JUICING: This powerful masticating juicer’s high-torque motor powers through tough fruits and vegetables like apples, carrots, celery,...
As an affiliate, we earn on qualifying purchases.

Cindy thoroughly researches juicing trends, techniques, and recipes to provide readers with practical advice and inspiration. Her writing style is accessible, engaging, and designed to make complex concepts easy to understand. Cindy’s dedication to promoting the advantages of juicing shines through her work, empowering readers to make positive changes in their lives through the simple act of juicing.