
To get a full cup of lime juice, you'll need about 8 medium limes. Each lime typically yields around 2 tablespoons of juice, so squeezing those 8 should give you just what you need. If you use Persian limes, about 4 to 5 will usually weigh a pound and provide about 1/2 to 2/3 cup of juice. Want tips on maximizing your juice yield and choosing the freshest limes? There's more to explore!
Key Takeaways
- About 8 medium limes are needed to yield a full cup of lime juice.
- Each medium lime produces approximately 2 tablespoons of juice.
- Persian limes generally yield 1/2 to 2/3 cup of juice per pound.
- Key limes are smaller; approximately 20 are needed for the same juice as 3 Persian limes.
- For maximum juice, roll limes before cutting and use a juicer or fork for extraction.
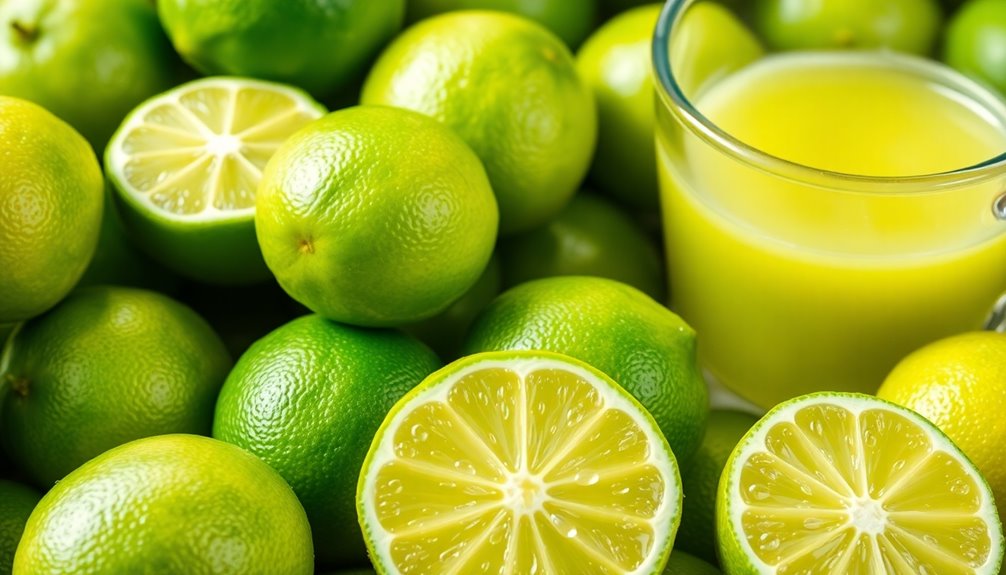
Have you ever wondered how many limes you need to squeeze out a full cup of juice? If you're planning to whip up a delicious limeade or want to enhance a recipe with fresh lime juice, knowing the right amount of limes can save you time and effort. Typically, you'll need about 8 medium limes to yield a full cup of lime juice. Each medium lime produces approximately 2 tablespoons of juice, so when you add it all up, those 8 limes come together to give you exactly what you need.
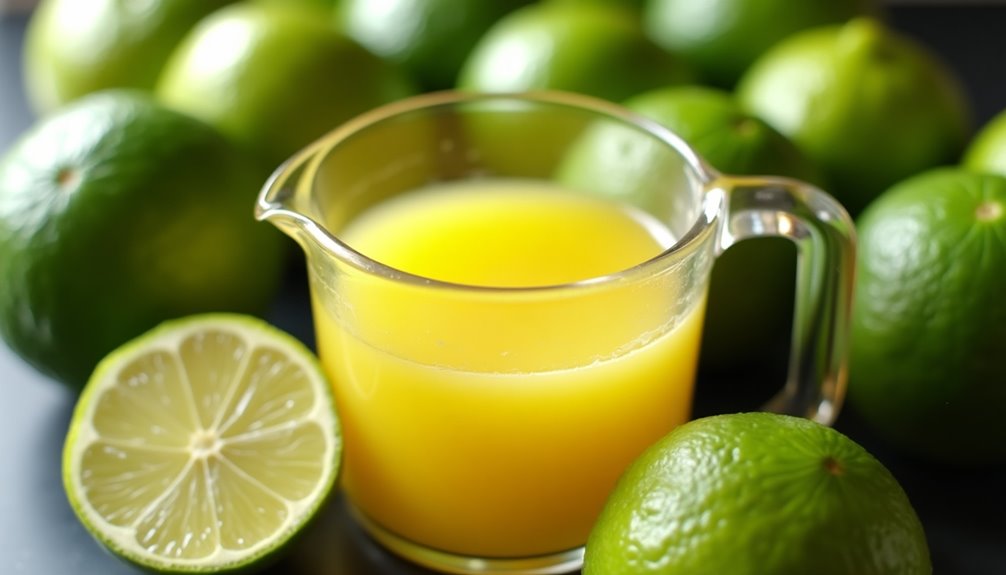
When you head to the store, you might notice two popular types of limes: Persian limes and Key limes. Persian limes are larger and more common in grocery stores, usually sold in bags or by the pound. A pound of Persian limes generally contains 4 to 5 limes, which can yield around 1/2 to 2/3 cup of juice. So, if you're using Persian limes, you might still need to grab a couple more to reach that coveted cup of lime juice.
On the other hand, if you're opting for Key limes, prepare to squeeze a lot more! Due to their smaller size and higher acidity, you'll need about 20 Key limes to produce the same amount of juice as just 3 larger Persian limes. That's quite a difference, right?
For the freshest taste, always opt for freshly squeezed lime juice over bottled varieties. The vibrant flavor of fresh lime juice elevates your dishes, cocktails, and marinades in ways that bottled juice simply can't match.
If you want to maximize your juice yield from each lime, try rolling them on the countertop a bit before juicing. This technique helps to break down the membranes inside, allowing more juice to flow out when you start squeezing.
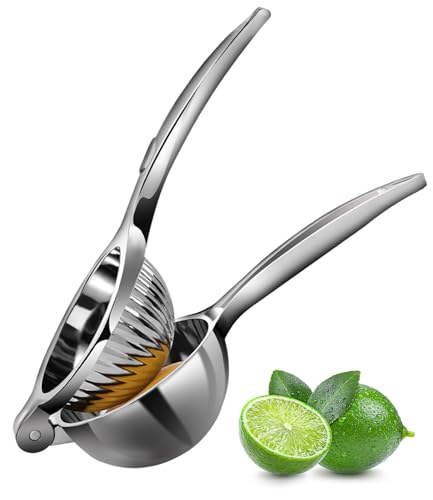
Once you have your limes, cutting them in half and using a manual juicer or a fork can help you extract every last drop of juice. Remember, the goal is to get as close to that full cup of lime juice as possible. You can also use a measuring cup to check your progress as you juice. If you find that you're still short of that cup after squeezing your limes, don't hesitate to grab a few more.
Rekix Lemon Squeezer, Max Extraction Hand Press Lemon Juicer, Heavy Duty Manual Orange Juicer, Sturdy Metal Lime Squeezer, Durable Handheld Citrus Fruit Squeezer for Kitchen Bar, Exprimidor De Limones
- Max Juice Extraction: Extracts every drop from fruits
- High-Quality Material: Durable and scientifically designed
- Easy to Use and Clean: Simple operation and dishwasher safe
As an affiliate, we earn on qualifying purchases.
As an affiliate, we earn on qualifying purchases.
Frequently Asked Questions
How Many Limes Do I Need for 1 Cup of Juice?
When you're figuring out how many limes to use, consider their size and juiciness.
Typically, you'll find that medium limes yield about 2 tablespoons of juice each. Since you need a total of 16 tablespoons for 1 cup, grabbing around 8 limes is a good rule of thumb.
It's smart to have a few extra on hand, just in case some limes don't juice as well as you'd hoped!
How Many Key Limes for a Cup of Juice?
When you're trying to make a cup of juice using Key limes, you'll need around 20 of them.
These little limes are smaller and pack a punch with their acidity, producing only about 1-2 tablespoons of juice each.
If you're after that distinct Key lime flavor for recipes like Key lime pie, it's worth the effort.
Just remember, you'll need quite a few to get to that full cup!
Can I Use Regular Limes in Place of Key Limes?
If you've ever tasted the sweet tang of key lime pie, you know it's a flavor that dances on your taste buds.
You can use regular limes in place of key limes, but don't expect an exact match. Regular limes offer a straightforward tartness, while key limes bring a unique depth.
To capture that distinct flavor, consider mixing lime juice with a bit of lemon juice. Adjust the quantity to suit your recipe!
How Many Cups Are 3 Limes?
When you ask how many cups are in 3 limes, it's important to remember that limes aren't measured in cups.
Instead, you'd typically measure their juice. On average, a medium lime yields about 2 tablespoons.
So, if you squeeze 3 limes, you'll get around 6 tablespoons of juice, which is just over 1/3 cup.
To convert this to cups, you'd divide the tablespoons by 16, giving you a little under 0.4 cups.
Conclusion
In conclusion, you'll typically need about 8 to 10 limes to squeeze out a full cup of juice. Interestingly, a single lime contains around 30 to 50 juice-filled segments, so you're getting quite a bit of flavor packed into each fruit! Next time you're whipping up a refreshing drink or zesty dish, remember that those limes can really add up. So, grab a few extras—you might need them!