
To cut a juice groove in your cutting board, first create a jig from plywood scraps to hold the board steady. Equip your router with a juice groove bit, making shallow passes before increasing the depth gradually. Cut in a clockwise direction, ensuring you're 3-4 inches away from corners to avoid burns. After cutting, clean up and sand any rough edges for a smooth finish. Want to know the tips for a perfect groove? Keep going!
Key Takeaways
- Create a jig using 3/4 plywood scraps to securely hold the cutting board in place during routing.
- Set up the router with a juice groove bit, making shallow initial passes before increasing to a quarter inch depth.
- Cut the groove in a clockwise direction, maintaining a distance of 3-4 inches from the cutting board corner to avoid burns.
- Use a combination square to check groove depth and ensure a consistent, even cut throughout the process.
- After cutting, sand down any rough edges and clean the surface for a polished finish and safe use.
Cutting a juice groove into your cutting board elevates its functionality by catching excess liquids and preventing messes. This simple addition not only enhances usability but also simplifies cleanup.
To get started, you'll first need to create a juice groove jig from 3/4 plywood scraps. Take some 1-inch strips and glue and screw them together to form L shapes. This jig will securely hold your cutting board in place while you work, ensuring accuracy as you cut.
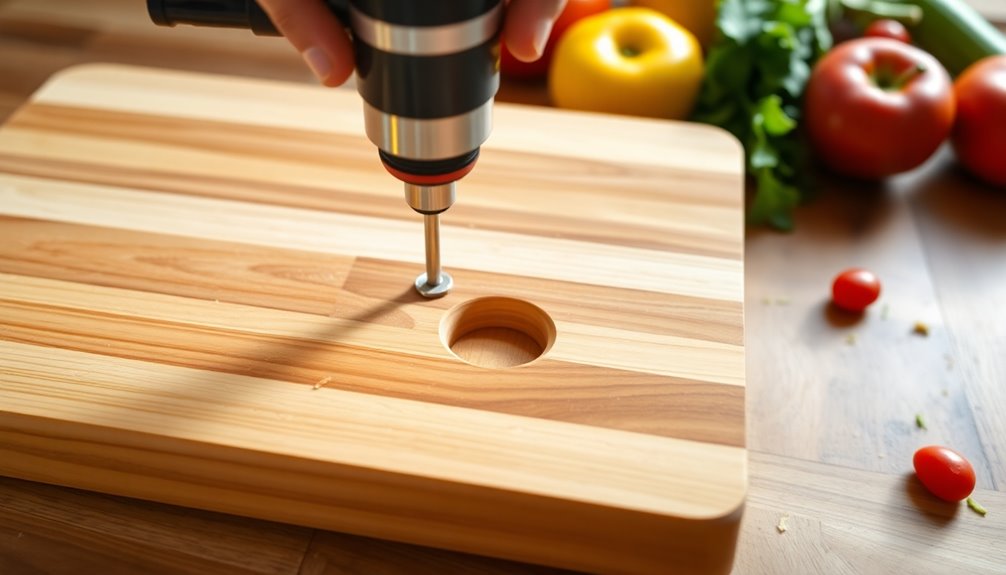
Next, set up your router with a juice groove bit. It's essential to make shallow initial passes, about 1/32 inch deep, to avoid any potential damage to the board. Gradually increase the depth until you reach a final depth of a quarter inch for a clean groove. Before you begin cutting, make sure you're comfortable with how the router functions. Familiarize yourself with the router base and adjust it accordingly to ensure smooth operation.
When you start cutting, always remember to go in a clockwise direction. This technique helps maintain control and prevents the router from snagging or jumping. Position your router about 3-4 inches from the corner of the cutting board. This distance is crucial in avoiding burn marks and allows for a smooth entry into the cut.
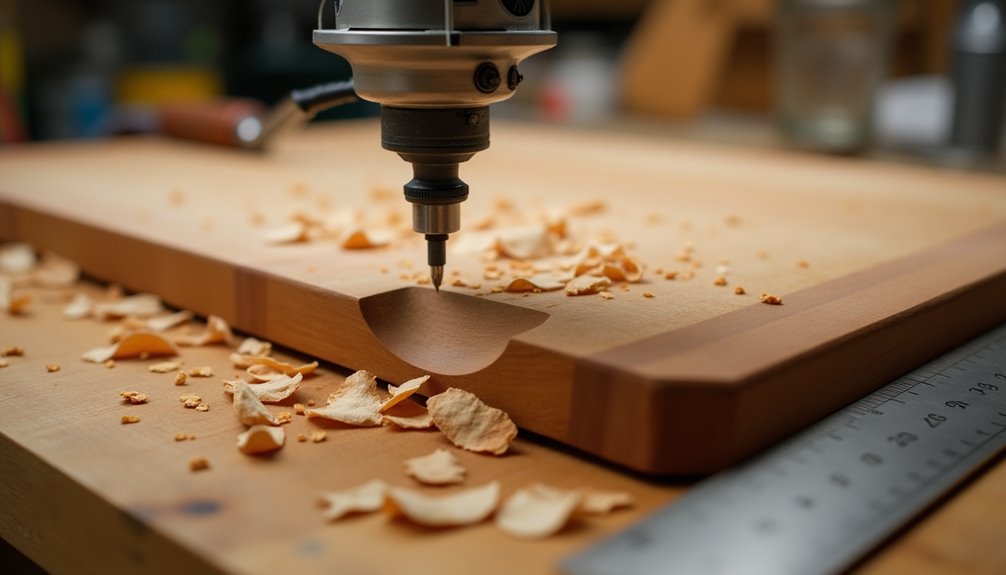
As you move the router along the jig, keep an eye on the depth of the groove. Using a combination square can help you adjust the router bit depth, making sure it stays 1/16 to 1/32 inch shy of your desired final depth during rough cuts. This approach helps in achieving a uniform groove without risking any mistakes.
While cutting, aim to maintain a fluid motion. Jerky movements can lead to burns on the wood or inconsistencies in the groove itself. A smooth, steady hand will produce a more polished finish.
After completing the initial passes, you can make a final pass to achieve that perfect depth, ensuring that your juice groove isn't only functional but also aesthetically pleasing.
Once you’ve finished cutting the juice groove, clean up any debris and inspect your work. Look for any rough edges that might need sanding down to ensure a comfortable and safe cutting surface. With a bit of elbow grease, you’ll end up with a cutting board that’s not only practical but also visually appealing. If you’re looking to enhance your woodworking skills, understanding how to create a juice groove can be very beneficial. It allows for better food preparation while adding a nice aesthetic touch to your cutting board. Plus, once you master this technique, you can experiment with different designs for even more personalized kitchen tools.
Incorporating a juice groove into your cutting board is a straightforward process that significantly enhances its utility. By properly setting up your jig, adjusting the router, and maintaining a consistent motion while cutting, you can create a groove that will serve you well in your kitchen.
Frequently Asked Questions
How Deep Should a Juice Groove Be in a Cutting Board?
When you're determining the depth of a juice groove, aim for about 1/4 inch. This depth effectively traps liquids, preventing spills during food prep.
Start with shallow cuts of around 1/32 inch to guide your groove, then gradually increase the depth. It's crucial to maintain a consistent depth for both function and appearance.
What Router Bit Do You Use for a Juice Groove?
Did you know that nearly 60% of cutting board users prefer a groove to catch juices?
For creating that perfect juice groove, you'll want a bowl and tray bit. Opt for a diameter between 1/4 inch and 1/2 inch, depending on your needs.
Remember to set the router bit's depth correctly, starting shallow and gradually deepening. With consistent pressure and the right direction, you'll achieve a clean, functional groove every time!
Is a Juice Groove Necessary on a Cutting Board?
A juice groove isn't strictly necessary on a cutting board, but it sure makes life easier.
When you're chopping juicy fruits or meats, the groove catches the liquids, preventing messy spills on your countertop. You'll find cleanup's simpler, and your board stays in better shape longer.
Plus, it can enhance the board's design, adding a bit of character. If you value convenience, you'll likely appreciate having one on your board.
Which Way Does the Router Go in a Juice Groove?
When you're using a router, it rotates counterclockwise, so you should always move it in a clockwise direction. This helps maintain control and stability as you cut.
Starting your cut a few inches in from the corner will help you avoid burn marks, ensuring a cleaner entry. Keep your motion steady throughout the process to prevent stalling, which can lead to uneven edges and a less polished finish.
Conclusion
Creating a juice groove in your cutting board is like adding a personal touch to a blank canvas; it enhances both function and aesthetic. With just a few tools and some careful measurements, you can transform your board into a culinary companion that catches those pesky drips. Remember, each groove tells a story of delicious meals to come. So, grab your router and let your creativity flow—your kitchen deserves this thoughtful upgrade!

Cindy thoroughly researches juicing trends, techniques, and recipes to provide readers with practical advice and inspiration. Her writing style is accessible, engaging, and designed to make complex concepts easy to understand. Cindy’s dedication to promoting the advantages of juicing shines through her work, empowering readers to make positive changes in their lives through the simple act of juicing.