
To ferment juice, start with one gallon of preservative-free juice, like grape or apple. Add ¼ teaspoon of champagne yeast, mixing it well. Seal the container with an airlock or a balloon, allowing gas escape while preventing contamination. Place it in a dark, room temperature spot and watch for bubbling over the next 3 to 5 days. Once fermented, prepare a sugar mix, add it to the juice, and bottle it for carbonation. You'll discover more tips along the way!
Key Takeaways
- Choose one gallon of preservative-free juice, ensuring it has no added sugars or artificial ingredients for optimal fermentation.
- Add ¼ teaspoon of champagne
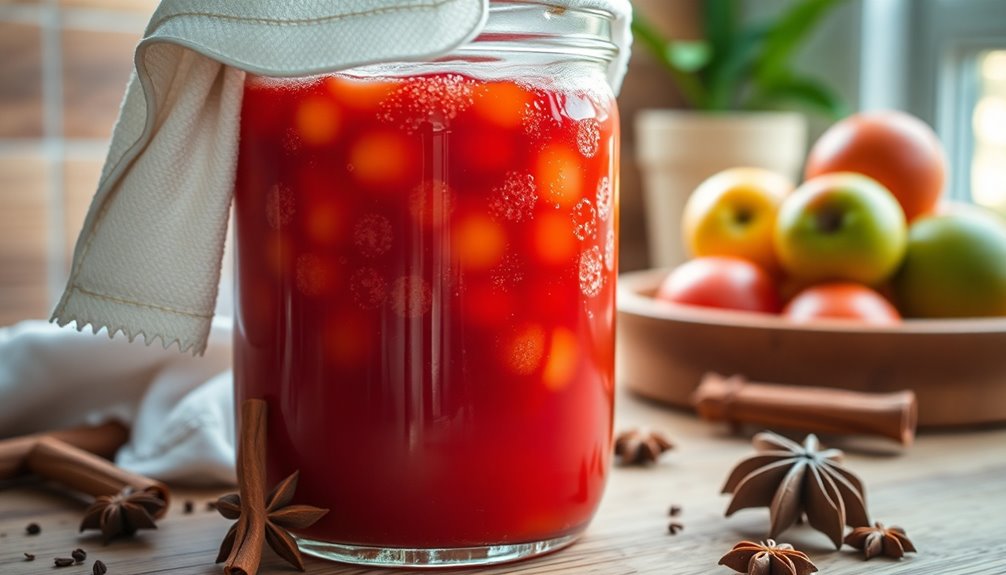
Fermenting juice can be a rewarding and tasty project, especially when you want to transform your favorite flavors into a bubbly beverage. To get started, you'll want to choose your juice carefully. Using one gallon of preservative-free juice, like grape or apple, sets the foundation for your fermentation adventure. The absence of preservatives is crucial because they can inhibit the fermentation process.
Once you've picked your juice, it's time to add a key ingredient: champagne yeast. Just a ¼ teaspoon of this yeast will initiate the fermentation by consuming the sugars naturally present in the juice.
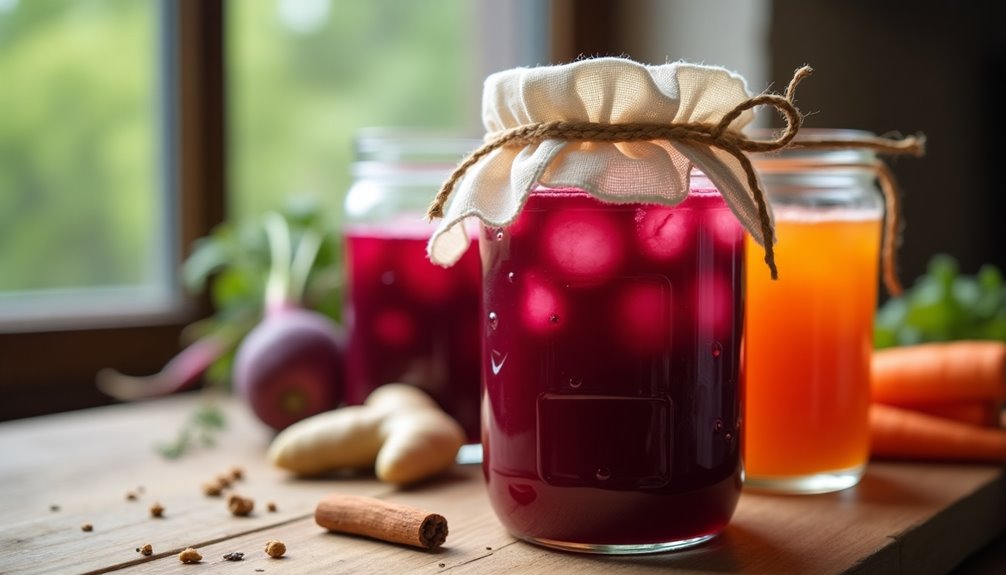
After mixing in the yeast, you need to protect your fermentation from outside contaminants. To do this, seal the juice with an airlock or use a balloon with a pinhole. This setup allows carbon dioxide produced during fermentation to escape while preventing unwanted bacteria or wild yeast from sneaking in. Fermenting is a delicate dance of balance, and this simple step is crucial for success.
Now, place your sealed juice in a dark, room temperature environment. The optimal conditions will help the fermentation process thrive.
Keep an eye on your juice over the next 3 to 5 days. You'll want to monitor the bubbling in the airlock, which is a sign that fermentation is actively taking place. The amount of bubbling will give you a good idea of how the process is progressing.
During this time, it's also a good idea to taste your juice periodically. This allows you to check the sweetness and ensure you're on track for your desired flavor profile. Remember, longer fermentation typically leads to a drier beverage, so finding that sweet spot is essential.
Once the initial fermentation is complete, you'll prepare for carbonation. To bottle the juice, mix 2 tablespoons of sugar with ¼ cup of boiling water. This sugar mix will help create that delightful fizz you're after.
Add this mixture to your fermented juice before capping it. It's important to let the bottled juice ferment at room temperature for an additional week. This second fermentation phase is where the magic happens, as the trapped carbon dioxide will infuse the juice, creating bubbles.
Throughout this process, tasting remains key. You'll want to experience the evolving flavors as fermentation progresses. This will help you adjust the amount of sugar or fermentation time to achieve the taste you're craving.
Frequently Asked Questions
How Do You Make Juice Ferment?
To make juice ferment, start with a gallon of preservative-free juice and add a quarter teaspoon of champagne yeast.
Pour out about two ounces to prevent overflow, then cap the bottle with an airlock or a balloon with a pinhole.
Let it sit in a dark place for 3 to 5 days, watching for bubbles.
Once done, store it in the fridge, releasing pressure and tasting for sweetness until it's just right.
How Long Does It Take for Fresh Juice to Ferment?
When you’re watching time slip through your fingers like sand, you’ll find fresh juice typically ferments in about 3 to 5 days. As the days pass, it’s important to keep an eye on the fermentation process, ensuring that the flavors develop just right. However, accidents happen, and knowing how to remove juice stains can save your clothes from permanent damage. With a bit of prompt action and the right cleaning methods, you can enjoy your fresh juice without worrying about the inevitable spills.
If you're using a suitable yeast, like champagne yeast, you'll see bubbling that signals active fermentation.
However, for certain juices without added sugar, it might stretch to 2 to 3 weeks.
Keep an eye on the temperature; it should hover between 27-30°C (80-86°F) for the best results.
How to Do Fermented Juice?
To make fermented juice, start with preservative-free fruit juice and add champagne yeast.
Cap the bottle with an airlock to let gases escape.
Pour out a bit of juice to make space for fermentation, and you can mix in sugar if you prefer it sweeter.
Store the bottle in a warm, dark place for about 3 to 5 days, watching for bubbles.
Once fermented, chill it in the fridge and enjoy your creation!
What Juice Is Best to Ferment?
When you're choosing juice for fermentation, think clear, think natural, think flavorful.
Grape, apple, and pear juices stand out as the best options because they're packed with sugars that yeast loves. You'll want to avoid juices from concentrate or those with preservatives, as they can hinder the process.
If you're feeling adventurous, try unique juices like blackberry or pink lemonade for a twist that can create delicious and distinct flavors.
Conclusion
So, you've mastered the art of fermenting juice—who knew turning sweet nectar into a fizzy delight could be so easy? You start with a simple fruit juice, and before you know it, you've created a bubbling potion worthy of a witch's cauldron. Who would've thought that letting nature work its magic could transform a mundane drink into a lively concoction? Now, as you sip your tangy elixir, remember: sometimes, the best things in life come from a little chaos. Cheers!

Cindy thoroughly researches juicing trends, techniques, and recipes to provide readers with practical advice and inspiration. Her writing style is accessible, engaging, and designed to make complex concepts easy to understand. Cindy’s dedication to promoting the advantages of juicing shines through her work, empowering readers to make positive changes in their lives through the simple act of juicing.