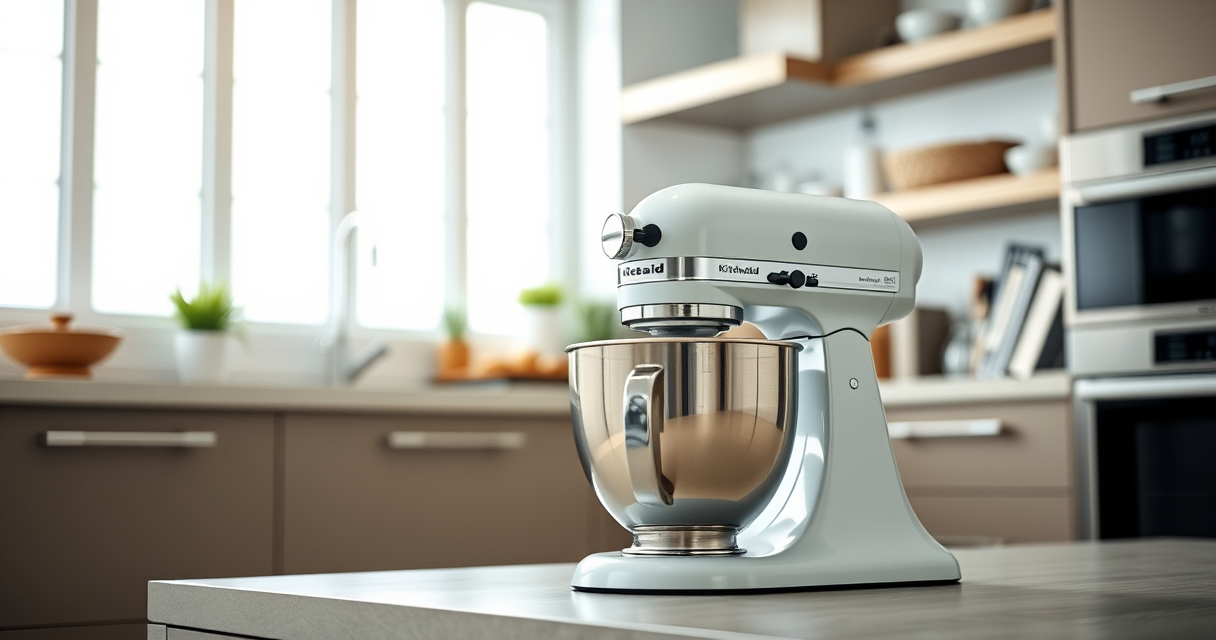

If your KitchenAid Artisan Series 5 Quart Tilt Head Stand Mixer is leaking oil, it can be frustrating and may signal a mechanical issue. While some leaks are minor and easy to fix, others might require more detailed troubleshooting. In this guide, we’ll walk you through the necessary steps to identify the cause of the leak, perform safe repairs, and prevent future issues. Proper maintenance and understanding of your mixer’s components are key to keeping it running smoothly for years to come.

Get kitchen staples and gadgets delivered free with Prime
- Fast, free delivery on millions of items
- Prime Video, Amazon Music and more included
- Member-only deals all year
Before starting any repair, ensure your mixer is unplugged, and you have the right tools on hand. This guide provides practical, detailed steps based on the specific features of the KitchenAid Artisan Series 5 Quart Tilt Head Stand Mixer, including its durable metal construction and tilt-head design, which makes access easier during repairs.
Key Takeaways
| Identify the source of the leak | Determine if oil is coming from the gear housing, motor, or other components. |
| Regular maintenance helps prevent leaks | Cleaning and inspecting your mixer regularly can avoid costly repairs. |
| Use proper tools and safety measures | Always unplug the mixer and wear safety gear during repairs. |
| Replace worn parts promptly | Worn gears or seals can cause oil leaks and should be addressed quickly. |
| Consult professional repair if unsure | When in doubt, seek expert help to avoid damage or injury. |
Step 1: Unplug and Prepare Your Mixer
- Ensure the mixer is unplugged from the power outlet to prevent accidental activation.
- Place a towel or cloth underneath the mixer to catch any oil drips during inspection.
- Gather necessary tools: a Phillips screwdriver, flat-head screwdriver, and possibly a replacement seal or gear if needed.
Step 2: Access the Gear Housing
Use the screwdriver to remove the screws securing the bottom or side panels of the mixer housing. Your KitchenAid Artisan mixer’s tilt-head design makes access easier by allowing you to tilt the head back, but you may need to remove additional panels for full access.
Carefully lift or remove panels to expose the internal gear housing, which is often the source of oil leaks due to worn seals or gear damage.
Step 3: Inspect for Damage or Worn Components
- Look for oil pooling around the gear housing and check for cracks or worn seals.
- Examine the gears themselves for signs of wear or damage.
- Identify if the oil is coming from the shaft seals or gear assembly.
If seals are cracked or oil is leaking from the gear assembly, replacements may be necessary.
Step 4: Replace Worn Seals or Gears
Remove the old seals or damaged gears carefully, using appropriate tools. Install new seals or gears according to the manufacturer’s instructions, ensuring they are seated properly to prevent future leaks.
Apply a small amount of food-safe lubricant if recommended, to ensure smooth operation and seal integrity.
Step 5: Reassemble and Test the Mixer
- Replace all panels and secure screws tightly, but avoid over-tightening which can cause damage.
- Plug in the mixer and run it at low speed to check for leaks.
- Observe the gear housing and motor area for any signs of oil escaping during operation.
If the leak persists, repeat inspection or consult a professional repair service.
The Products in This Guide

KitchenAid Artisan Series 5 Quart Tilt Head Stand Mixer
- ✔ Weight: 26 lbs
- ✔ Dimensions: 14 x 8 x 14 inches
- ✔ Warranty: 1 year

KitchenAid Stand Mixer Attachment
- ✔ Weight: 5 lbs
- ✔ Dimensions: 8 x 6 x 4 inches
- ✔ Warranty: 1 year
KitchenAid Artisan Series 5 Quart Tilt Head Stand Mixer
The KitchenAid Artisan Series 5 Quart Tilt Head Stand Mixer is built to last with its sturdy metal design, offering excellent performance for various baking needs. Its tilt-head feature provides easy access for maintenance and cleaning, making it a popular choice among home bakers. Proper care and timely repairs can extend its lifespan, ensuring it continues to operate smoothly.
Pros:
- Durable metal construction
- Tilt-head design for easy access
- Powerful 10-speed motor
- Large 5-quart stainless steel bowl
Cons:
- Oil leaks can occur if seals wear out
- Requires careful disassembly for repairs
- Replacement parts may need ordering
Best for: Home bakers who rely on a sturdy, versatile stand mixer for frequent use.
Not ideal for: Users seeking a lightweight or budget-friendly mixer without the need for repairs.
Bottom line: A durable, versatile mixer that can be maintained easily with proper troubleshooting.
KitchenAid Stand Mixer Attachment
The KitchenAid Metal Food Grinder attachment expands your mixer’s capabilities, allowing you to grind meat, vegetables, and more with ease. It connects seamlessly to the power hub and offers multiple grinding plates for customized texture. This accessory is a valuable addition for those who want to add fresh, homemade ingredients to their recipes.
Pros:
- Multiple grinding plates included
- Sturdy metal construction
- Easy to attach and clean
- Makes fresh ground foods
Cons:
- Requires separate purchase
- Adds to overall cost
- May need occasional blade sharpening
Best for: Home cooks interested in fresh grinding and food prep.
Not ideal for: Those not regularly grinding foods or with limited kitchen space.
Bottom line: A versatile, high-quality attachment for fresh grinding needs.
Frequently Asked Questions
Why is my KitchenAid mixer leaking oil?
Oil leaks can occur due to worn or damaged seals, gear wear, or over-lubrication. Inspect the gear housing and seals to identify the cause.
Can I fix a leak myself?
Yes, if you are comfortable with basic disassembly and follow safety precautions. Replace worn seals or damaged parts as needed. For complex issues, seek professional repair.
Is oil leaking harmful?
Small leaks are usually not harmful but can affect performance. Excess oil might damage internal components or cause a mess. Address leaks promptly.
How often should I perform maintenance on my mixer?
Regular cleaning after each use and periodic inspection of seals and gears can prevent leaks and prolong your mixer’s lifespan.
What parts are most likely to need replacement?
Seals, gears, and lubricants are common wear parts that may need replacement over time to prevent leaks and ensure smooth operation.
Keep Your KitchenAid Mixer Running Smoothly
Addressing oil leaks in your KitchenAid Artisan mixer doesn’t have to be daunting. With careful inspection, proper part replacement, and regular maintenance, you can restore your mixer’s performance and extend its lifespan. Always prioritize safety, and don’t hesitate to seek professional help if needed. A well-maintained mixer is a valuable kitchen companion for years to come.
Affiliate disclosure: As an Amazon Associate we earn from qualifying purchases. Prices and availability are accurate as of the time of publishing.
Fall Picks
fall essentials
As an affiliate, we earn on qualifying purchases.