To get juice out of your carpet, act quickly. Blot the stain with a clean cloth to absorb as much liquid as possible. Then mix 1 tablespoon of liquid dish soap with 2 cups of warm water, and gently blot the stained area with a sponge. If the stain persists, try a vinegar solution of equal parts white vinegar and water; let it sit for 10 minutes before blotting. Keep going, and you'll discover more effective tips!
Key Takeaways
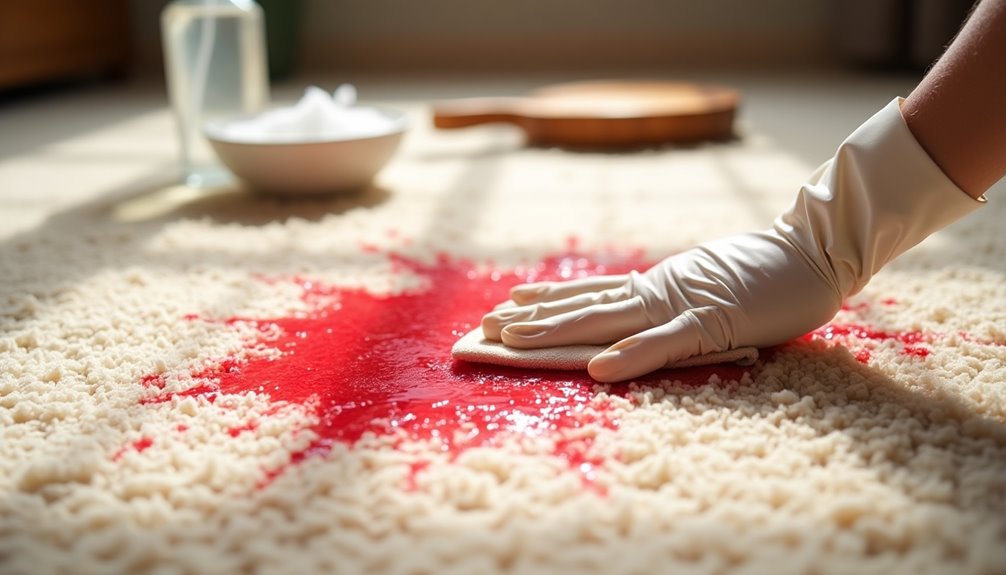
- Act quickly by blotting the juice stain with a clean cloth to absorb excess liquid without rubbing.
- Prepare a cleaning solution by mixing 1 tablespoon of dish soap with 2 cups of warm water and apply it gently.
- For stubborn stains, use a mixture of ½ cup white vinegar and ½ cup water; let it sit for 10 minutes before blotting.
- Rinse the treated area with cold water to remove any cleaning solution residue, then blot dry with a clean towel.
- If the stain persists after DIY methods, consider seeking help from professional carpet cleaning services.
Juice stains can be a real headache, but tackling them quickly can save your carpet from lasting damage. When you find a fresh juice stain, don't panic. The faster you act, the better your chances are of completely removing the stain.
Start by grabbing a clean cloth or paper towel and blotting the stain gently. You want to absorb as much of the liquid as possible without rubbing it in deeper. Rubbing can push the juice further into the carpet fibers, making it more difficult to remove the stain later.
Once you've blotted the area, it's time to mix up a cleaning solution. Combine 1 tablespoon of liquid dish soap with 2 cups of warm water. This solution acts as a powerful cleaning agent that can break down those pesky juice stains.
Take a clean sponge and dip it into your soapy mixture. Apply it to the stained area and continue blotting gently. You'll want to repeat this process, alternating between applying the cleaning solution and blotting until the stain lifts. It might take a little time, but persistence is key when you're trying to remove the stain.
If you're dealing with a particularly stubborn stain that won't seem to budge, don't worry; there's another trick you can try. Mix together ½ cup of white vinegar and ½ cup of water in a bowl. Apply this solution to the stain and let it sit for about 10 minutes. The vinegar acts as a natural stain remover, helping to break down the juice residue.
After the 10 minutes are up, take a clean cloth and gently blot the area again. You'll likely start to see some improvement!
After you've successfully lifted the stain, it's crucial to rinse the treated area with cold water. This step helps eliminate any leftover cleaning solution from the carpet fibers.
Using a clean towel, blot the area dry to speed up the drying process. Make sure you're using a clean towel so you don't inadvertently add more stains back into the carpet.
If, after all your efforts, the stain still proves resistant, it might be time to call in the professionals. They possess specialized tools and cleaning solutions that can tackle even the toughest juice stains.
However, before you reach for the phone, remember that most juice stains can be managed with these DIY methods.
Frequently Asked Questions
How Do You Get Juice Stains Out of Carpet?
When you're dealing with juice stains, act quickly. First, blot the stain with a clean cloth to soak up as much liquid as possible.
Then, mix one tablespoon of dishwashing detergent with two cups of warm water, applying it to the area. Blot until the stain lifts.
For tougher stains, try a vinegar and water solution. Always rinse with cold water afterward, and dry the area thoroughly to prevent re-dyeing.
How Do You Get Liquid Out of Carpet?
Removing liquid from carpet is like rescuing a ship caught in a storm; you need to act quickly.
Start by blotting the stain with a clean cloth, applying pressure to soak up as much liquid as you can. If it's a larger spill, grab a wet vacuum for extra help.
Rinse the area with distilled water, then continue blotting until no more liquid transfers.
What to Do After Spilling Juice on Carpet?
After spilling juice on your carpet, act quickly!
First, grab a clean cloth or paper towel and blot the area to absorb as much juice as you can. Don't rub; that'll spread the stain.
Next, mix liquid dish soap with warm water, and gently apply it to the stain using a sponge. Rinse with cold water, blot dry, and if needed, try an ammonia solution for tough stains.
Always test anything on a hidden spot first!
Can Juice Stains Be Removed?
Yes, juice stains can be removed if you act quickly. When you treat the stain immediately, you increase your chances of success.
Use a mixture of dishwashing detergent and warm water for fresh stains. If the stain persists, try solutions with white vinegar or ammonia, but remember to avoid ammonia on wool carpets.
Always blot, don't rub, to absorb the juice effectively. If home remedies fail, consider professional cleaning services for stubborn stains.
Conclusion
In conclusion, tackling juice stains on your carpet doesn't have to be a daunting task. Remember, "an ounce of prevention is worth a pound of cure." By acting quickly and using the right cleaning solutions, you can restore your carpet's beauty and keep it looking fresh. Don't let a spill ruin your space; with these steps, you'll be able to lift that stain and move on with your day, worry-free.

Cindy thoroughly researches juicing trends, techniques, and recipes to provide readers with practical advice and inspiration. Her writing style is accessible, engaging, and designed to make complex concepts easy to understand. Cindy’s dedication to promoting the advantages of juicing shines through her work, empowering readers to make positive changes in their lives through the simple act of juicing.