
You can easily juice fruit without a juicer by using a high-speed blender. Start by chopping your favorite fruits and veggies, then blend them with water for 2-3 minutes. For a smooth finish, strain the mixture through a nut milk bag or fine sieve to separate the juice from the pulp. Store any extra juice in glass jars in the fridge for up to 4 days. Want to know more about the process? Keep going!
Key Takeaways
- Use a high-speed blender to blend chopped fruits and vegetables with water for a smooth mixture.
- Strain the blended mixture using a nut milk bag or fine mesh sieve to separate juice from pulp.
- Choose your favorite fruits and vegetables for a personalized juice experience, considering health benefits.
- Store excess juice in glass jars in the refrigerator for up to 3-4 days to maintain freshness.
- Enjoy the convenience and cost savings of making juice at home without a traditional juicer.
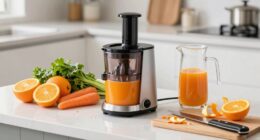
If you want to enjoy fresh juice but don't have a juicer, you're in luck! You can easily make delicious juice using a high-speed blender right in your kitchen. This method not only saves you money but also simplifies cleanup compared to traditional juicing methods.
So, let's dive into how you can juice without a juicer and create your own homemade juice.
Start by gathering your favorite fruits and vegetables. Apples, lemons, and ginger are popular choices that not only taste great but also offer additional health benefits. You can mix and match based on your preferences.
Once you've chosen your produce, chop them into smaller pieces to make blending easier.
Next, place the chopped fruits and vegetables into your high-speed blender. Add a little water to help the blending process, usually about one cup for every two to three cups of chopped produce.
Secure the lid tightly and blend the mixture on high speed for about 2-3 minutes. You want to achieve a smooth consistency, which helps in extracting as much juice as possible.
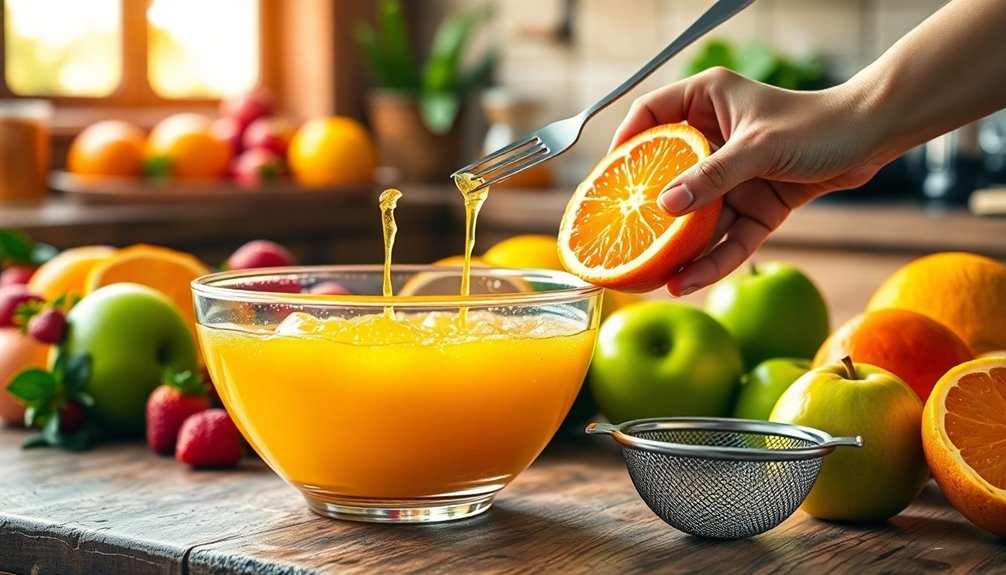
After blending, it's time to strain the mixture to separate the juice from the pulp. This step is crucial for getting that smooth, refreshing fresh juice you desire.
To do this, take a nut milk bag, fine mesh sieve, or cheesecloth and set it over a large bowl or pitcher. Pour the blended mixture into your chosen strainer and let it sit for a few minutes.
As the juice seeps through, you'll notice the pulp remaining in the bag or sieve. Don't forget to gently squeeze the bag or press down with a spoon to extract as much juice as possible.
Now that you've successfully strained the mixture, you've got homemade juice ready to enjoy! The resulting juice can be rich in flavor and nutrients, giving you a healthy boost.
If you find you've made more than you can drink in one sitting, you can easily store the fresh juice in glass jars. Make sure to seal them tightly and place them in the refrigerator.
Your delicious juice will stay fresh for up to 3-4 days, ensuring you can savor it throughout the week.

Ninja SS151 TWISTi Blender DUO, High-Speed 1600 WP Smoothie Maker & Nutrient Extractor* 5 Functions Smoothie, Spreads & More, smartTORQUE, 34-oz. Pitcher & (2) To-Go Cups, Gray
- Powerful Motor: 1600 Peak-Watt for tough ingredients
- Built-in Twist Tamper: Pushes ingredients for even blending
- High-Speed Blades: Blends, chops, crushes efficiently
As an affiliate, we earn on qualifying purchases.
As an affiliate, we earn on qualifying purchases.
Frequently Asked Questions
Can I Juice Fruit Without a Juicer?
Yes, you can juice fruit without a juicer!
You'll just need a high-speed blender. Start by blending your favorite fruits with a bit of water until smooth.
Then, strain the mixture through a nut milk bag or fine mesh sieve to separate the juice from the pulp.
This method lets you create delicious, fresh juice right at home. Plus, it's a fun way to experiment with different fruit combinations!
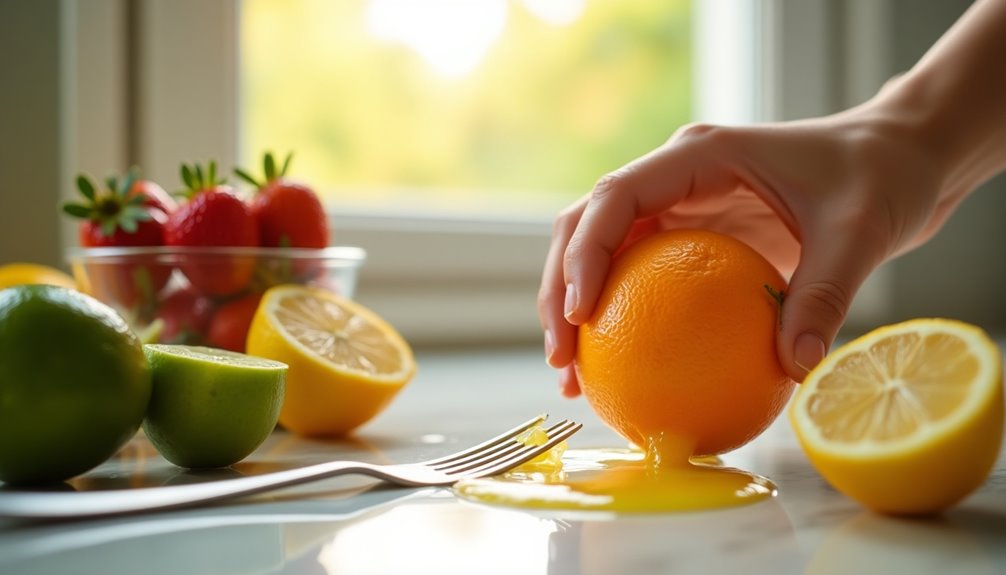
How Do You Juice Fruit by Hand?
Juicing fruit by hand is like squeezing the essence of summer right from the tree.
Start with ripe fruits like oranges or lemons, cutting them in half. Use a manual juicer or your hands, twisting and pressing to extract every drop.
For berries, mash them with a fork, then strain the pulp through a fine mesh sieve.
This way, you get a fresh, vibrant juice that's all your own, bursting with flavor.
Can You Juice Fruit in a Blender?
Yes, you can juice fruit in a blender! Just chop your fruits, add a splash of water, and blend them until smooth.
A high-speed blender works best for a silky texture. Once blended, strain the mixture through a fine mesh sieve or cheesecloth to separate the juice from the pulp.
Squeeze or press the pulp to get every drop. Enjoy your fresh juice, and remember, it'll stay good in the fridge for 3-4 days!
What Is a Good Substitute for a Juicer?
A good substitute for a juicer is a high-speed blender. You can easily blend your fruits and vegetables until smooth, then strain the mixture using a nut milk bag or fine-mesh sieve to get rid of any pulp.
If you don't have those, cheesecloth works too, though you might need to use it in layers. This method gives you fresh, nutrient-rich juice without needing specialized equipment, saving you money and effort.
Conclusion
Juicing fruit without a juicer might seem daunting, but it's as rewarding as discovering a hidden garden in your backyard. Just like finding that sweet, ripe peach among the leaves, you'll uncover vibrant flavors and nutrients with each squeeze. So grab your trusty tools and embrace the process. You'll not only enjoy a refreshing drink but also feel a sense of accomplishment, knowing you've turned simple fruit into liquid sunshine—one delicious drop at a time.