
Juicing limes is simple! Start by rolling them on the countertop to loosen the insides. You can warm them in the microwave for 20-25 seconds for more juice. Cut the limes in half and use an electric juicer or manual reamer to extract the juice. Fresh lime juice adds a zesty kick to your dishes. For long-term storage, freeze the juice in ice cube trays. There's plenty more you can do with lime juice!
Key Takeaways
- Roll and warm limes to loosen membranes and maximize juice yield before cutting them in half.
- Use an electric juicer for larger quantities or a manual reamer for smaller jobs.
- Fresh lime juice can be extracted using a fork or spoon if a juicer isn't available.
- Store fresh lime juice in an airtight container in the fridge for 2-3 days, or freeze for longer storage.
- Thaw frozen lime juice cubes as needed, and consider straining through a fine-mesh sieve for a smoother texture.
Juicing limes can be a simple process that enhances the flavor of your dishes and drinks. Whether you're whipping up a refreshing cocktail or adding a zesty kick to a marinade, fresh lime juice is a must-have ingredient in your kitchen. To make the most out of your limes, there are some handy tips and tricks that will help you extract every drop of that tangy goodness.
First, when you're ready to juice, start by rolling the limes on the countertop. This technique loosens the membranes inside, making the limes easier to juice. If you want to maximize your yield even further, consider warming them up. You can microwave the limes for about 20-25 seconds or simply leave them at room temperature for a bit. You'll find that warmer limes yield more juice than those kept in cold water. A medium lime typically produces around 2 tablespoons of juice, so if you need a cup of lime juice, you'll want to grab about 8-9 limes.
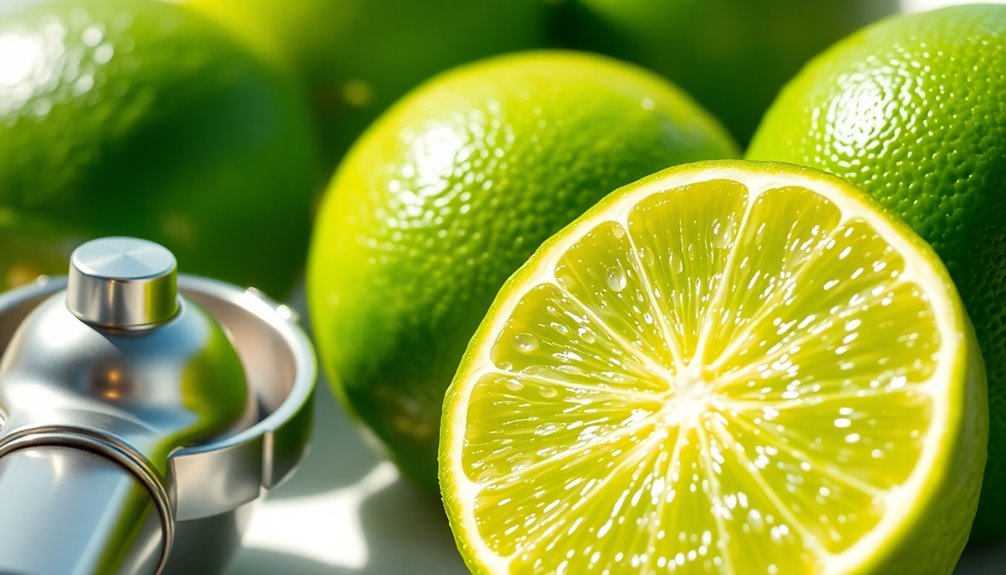
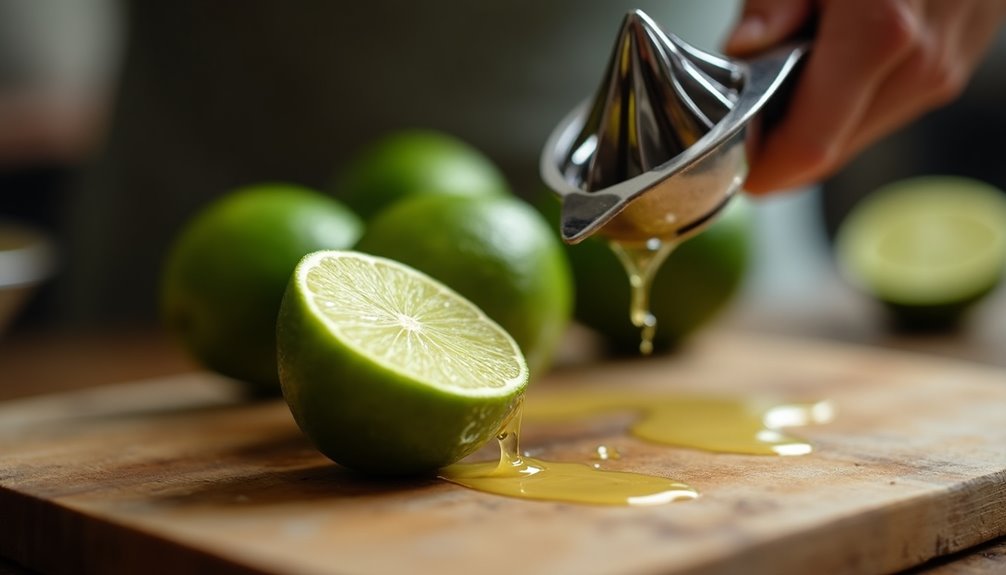
When it comes to the actual juicing, you've got a few options. Electric juicers are fantastic for larger quantities, while manual reamers or even a simple fork or spoon can also do the trick for smaller jobs. Just cut the limes in half and use your chosen tool to extract the juice directly into a large bowl. As you squeeze, don't forget to pour the juice into your recipe, as lime juice is best when it's fresh.
If you want to keep your freshly squeezed lime juice for later, there are some excellent storage tips to consider. For short-term storage, simply place the juice in an airtight container in the fridge, where it'll stay fresh for 2-3 days. For those times when you want to stock up, freezing the juice in ice cube trays is a great solution. Once frozen, you can pop the cubes into a zip-top bag, and they'll last up to 3-4 months. This way, you always have lime juice on hand for your new recipes, without worrying about spoilage.
When you're ready to use your lime juice, especially if you've frozen it, just pull out a few cubes, let them thaw, and you'll have that vibrant, packed-with-vitamin C goodness ready for your next culinary creation. If you prefer a smoother texture, you can always pour the juice through a fine-mesh sieve to catch any pulp or seeds.
Incorporating fresh lime juice into your meals and drinks can elevate their flavor profile dramatically. So go ahead, juice those limes, and enjoy the burst of freshness they bring to your kitchen!

Elite Gourmet ETS623 BPA-Free 40-Watt Electric Citrus Juicer, Compact, Large Volume, Pulp Control, Oranges, Lemons, Limes, Grapefruits with Easy Pour Spout, 24oz, Black/Stainless Steel
- Powerful Motor: 40W for faster juicing
- Large Capacity: 24oz (3 cups) for batch juicing
- Efficient Extraction: Auto-reversing reamer for maximum juice
As an affiliate, we earn on qualifying purchases.
As an affiliate, we earn on qualifying purchases.
Frequently Asked Questions
What's the Best Way to Juice a Lime?
When you want to get the most out of a lime, start by rolling it on the countertop to loosen the membranes.
For extra juice, microwave the lime for about 20-25 seconds.
Then, cut it lengthwise to maximize your yield.
Depending on how much you need, you can use an electric juicer for larger amounts or a manual reamer for more control.
How to Juice Limes With No Juicer?
Did you know that a medium-sized lime can contain about 30 to 40 juice-filled droplets?
To juice limes without a juicer, start by rolling them on the countertop to loosen the membranes. Then, microwave them for 20-25 seconds to soften.
Cut the limes in half lengthwise, and use a fork or spoon to twist and press for maximum extraction. You can also use a skewer for an efficient squeeze.
Enjoy every drop!
How to Get the Most Juice Out of Citrus?
To get the most juice out of citrus, start by rolling the fruit on a countertop. This breaks down the inner membranes and helps release more juice.
If you warm the citrus in the microwave for about 20 seconds, that'll soften it even further.
Always cut the fruit lengthwise for maximum surface area.
Finally, using a citrus juicer or manual reamer will help you extract every last drop efficiently.
Do I Need to Peel Limes Before Juicing?
You don't need to peel limes before juicing. In fact, keeping the peel on can enhance the flavor and aroma, thanks to the essential oils in the zest.
Peeling them may cause you to lose some juice and flavor. Just make sure you wash the limes thoroughly to remove any wax or pesticides.
Conclusion
Now that you know how to coax the zesty nectar from your limes, you can elevate your drinks and dishes with a splash of sunshine. With each squeeze, you're inviting a burst of freshness that dances on your palate. Remember, limes are like little green treasures, waiting to share their vibrant essence. So, go ahead and embrace the art of juicing; your culinary creations will sparkle with the enchanting touch of citrus magic!