
To make cucumber juice for high blood pressure, start by washing firm, ripe cucumbers and cutting them in half lengthwise. If you have a juicer, feed the halves directly into it. No juicer? Blend cucumber pieces with a bit of water, then strain the mixture through a fine sieve. You can enjoy it plain or add a squeeze of lemon for extra flavor. Regularly incorporating this juice into your routine can be beneficial—there's more to discover next!
Key Takeaways
- Choose firm, organic cucumbers and wash them thoroughly to ensure the best flavor and nutrient retention for your juice.
- Cut cucumbers in half lengthwise to facilitate easier juicing and maximize juice extraction.
- Use a juicer or blend cucumber pieces with a little water, then strain through a sieve for a smooth juice.
- Customize your juice with a squeeze of lemon or herbs, avoiding added sugars to maintain health benefits.
- Drink cucumber juice first thing in the morning for its detoxifying effects and to support blood pressure regulation.

If you're looking for a refreshing way to help manage high blood pressure, making cucumber juice is a great choice. This delicious beverage is low in calories and packed with potassium, which can help balance sodium levels in your body. The high water content in cucumbers not only keeps you hydrated but also plays a significant role in maintaining healthy blood pressure levels. Plus, juicing cucumbers unleashes antioxidants and anti-inflammatory compounds that can support your cardiovascular health.
To whip up this nutritious drink, you'll need some fresh cucumbers. Make sure to choose firm, ripe cucumbers for the best flavor and nutrient content. You can go for organic options if possible, as they tend to have fewer pesticides. Start by washing the cucumbers thoroughly; after all, you want to make fresh juice without any unwanted residues. It's essential to ensure that your ingredients are clean, especially if you're focusing on health improvements.
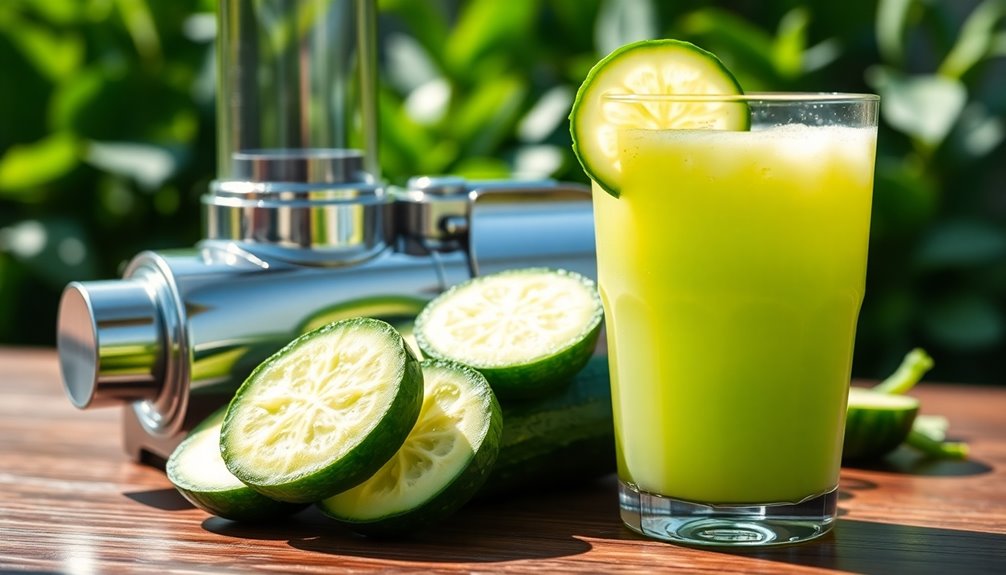
Next, you’ll want to prepare the cucumbers. Simply cut them in half lengthwise, which makes it easier to juice them. If you’re using a juicer, you can feed the halves directly into the machine. If you don’t have a juicer, don’t worry! You can blend the cucumber pieces in a blender with a little water and then strain the mixture through a fine mesh sieve or cheesecloth to extract the juice. In either case, use lots of cucumbers to get a generous amount of juice. Once you have extracted the juice, you can enhance its flavor by adding ingredients like lemon, mint, or a pinch of salt. This refreshing beverage is not only hydrating but also packed with nutrients. Now that you know how to prepare cucumber juice, you can enjoy it on its own or incorporate it into smoothies and cocktails for a unique twist.
Once you've extracted the cucumber juice, you can enjoy it as is or customize it to your taste. If you find the flavor a bit bland, you might consider adding a squeeze of lemon juice for an extra zing. However, be cautious with sugar; it's best to avoid adding sugar since it can counteract the health benefits you're aiming for. The natural sweetness of fresh cucumbers should be enough, but if you really want to sweeten it, try a small amount of honey or agave syrup instead.
Drinking cucumber juice first thing in the morning can enhance its detoxifying effects, making it even more beneficial for your blood pressure management. This routine can kickstart your day with hydration and nutrients that support your body's natural functions. Regular consumption of cucumber juice can help support kidney function too, promoting your body's ability to regulate blood pressure effectively.
Incorporating cucumber juice into your daily routine is a simple, enjoyable way to help manage high blood pressure. Plus, it's refreshing and can easily become a favorite part of your morning. So, grab those cucumbers, follow the steps, and enjoy your homemade, health-boosting cucumber juice!
Frequently Asked Questions
How to Make Cucumber Juice for High Blood Pressure and High Blood?
To make cucumber juice, you'll first want to wash and peel a couple of cucumbers.
Cut them into chunks, then blend them with a little water until smooth.
Strain the mixture through a fine mesh sieve or cheesecloth for a smoother texture.
For added flavor and benefits, squeeze in some fresh lemon juice.
Enjoy your refreshing cucumber juice on an empty stomach to maximize its health benefits and help regulate your blood pressure!
Who Should Not Drink Cucumber Juice?
When it comes to cucumber juice, it's not all sunshine and rainbows. If you've got a cucumber allergy, steer clear—it could trigger nasty reactions.
Those with low blood pressure should check in with a healthcare provider before sipping, as it might lower pressure even more.
Also, if you're managing renal issues or on a potassium-restricted diet, think twice.
Lastly, pregnant or breastfeeding? Consult your doctor to ensure it fits your needs.
How to Use Cucumber to Lower Blood Pressure?
To lower blood pressure, you can incorporate cucumber into your diet in various ways.
Start by adding fresh cucumber slices to your salads or sandwiches for a crunchy texture. You can also blend cucumber into smoothies for a refreshing drink.
Drinking cucumber juice regularly can enhance hydration and provide essential nutrients.
Don't forget to pair it with other potassium-rich foods for a more significant impact on your blood pressure management.
What Happens When You Drink Lemon and Cucumber Water for 7 Days?
When you drink lemon and cucumber water for seven days, you'll likely notice increased hydration, which is vital for your overall health.
The high potassium in cucumbers helps balance sodium levels, potentially lowering blood pressure.
You'll also benefit from the vitamin C and antioxidants in lemon, promoting better circulation.
This refreshing drink can motivate you to adopt healthier habits, encouraging more water intake and adding fruits and vegetables to your diet.
Conclusion
Incorporating cucumber juice into your diet can be a refreshing way to help manage high blood pressure. Did you know that studies show people who consume more potassium-rich foods, like cucumbers, can lower their blood pressure by up to 20%? So, why not whip up some cucumber juice today? Not only will it hydrate you, but it might also give your heart a well-deserved boost. Cheers to your health and a tasty way to support it!

Cindy thoroughly researches juicing trends, techniques, and recipes to provide readers with practical advice and inspiration. Her writing style is accessible, engaging, and designed to make complex concepts easy to understand. Cindy’s dedication to promoting the advantages of juicing shines through her work, empowering readers to make positive changes in their lives through the simple act of juicing.