
Making juice with a Vitamix is simple! Start by selecting your favorite fruits and vegetables, combining about 2 to 2.5 cups of produce with 2 cups of water. Blend everything on high for 40 to 50 seconds until smooth. If you prefer a thinner juice, strain the mixture using a nut milk bag or cheesecloth. Store any leftovers in an airtight container for up to three days. There are endless combinations to explore, so let's see what delicious mixes you can create!
Key Takeaways
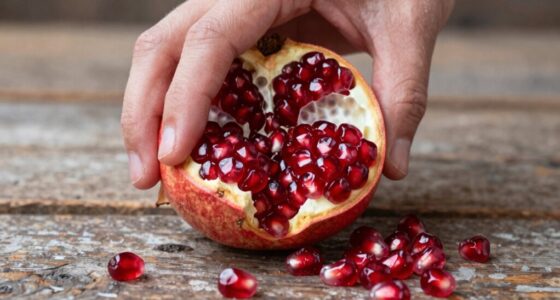
- Choose about 2 to 2.5 cups of your favorite fruits and vegetables, like spinach, kale, apples, and carrots.
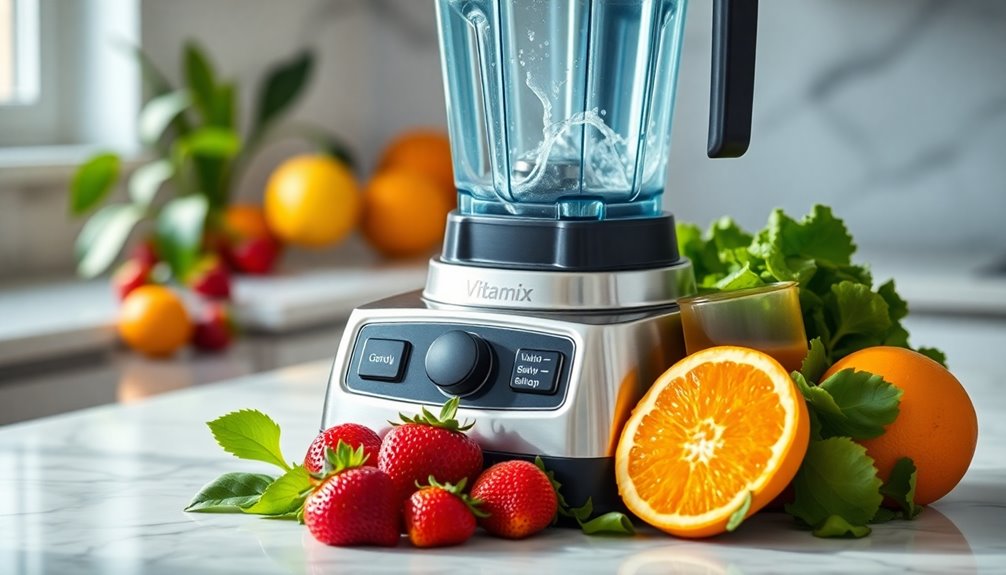
- Blend the ingredients with 2 cups of water in a Vitamix at high speed for 40 to 50 seconds.
- Use a tamper if needed to help blend stubborn ingredients until you achieve a smooth mixture.
- Strain the blended juice through a nut milk bag or cheesecloth to remove pulp, or enjoy it unstrained for texture.
- Store any leftover juice in an airtight glass container in the refrigerator for up to 2 to 3 days.
Making juice with a Vitamix is simple and rewarding, allowing you to enjoy fresh, nutritious beverages right at home. With just a few ingredients and some basic steps, you can whip up delicious juice packed with vitamins and minerals. The process begins with choosing your favorite fruits and vegetables. You'll want to combine about 2 to 2.5 cups of your chosen produce with 2 cups of water for the best flavor and texture. For instance, a mix of spinach, kale, apples, and carrots can create a refreshing and healthy drink.
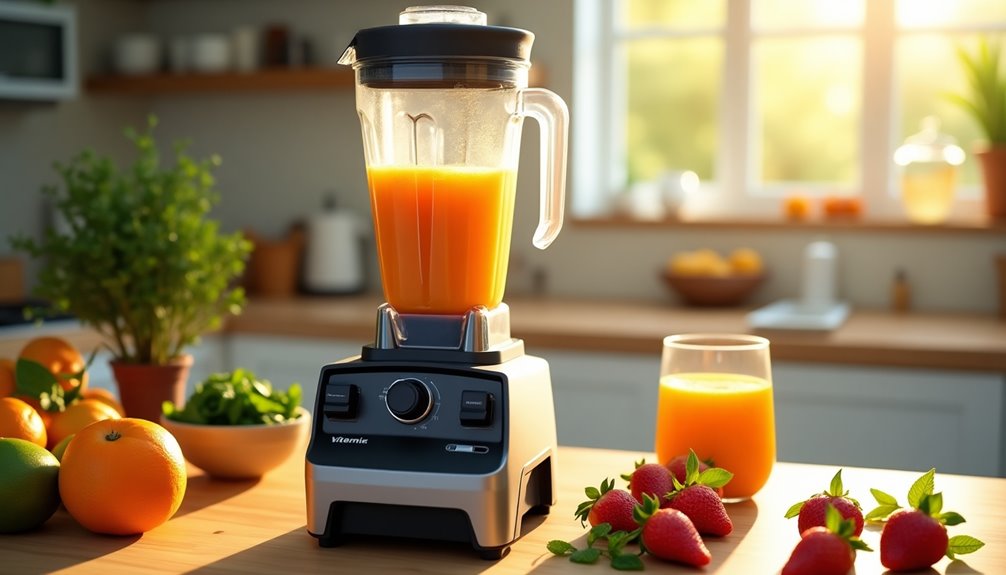
Once you've gathered your ingredients, it's time to blend. Place the fruits and vegetables into the Vitamix and secure the lid. Set your blender to high speed and let it work its magic for about 40 to 50 seconds. You might need to use a tamper to push down any stubborn ingredients that stick to the sides. This ensures everything gets blended evenly, resulting in a smooth mixture. The high-speed blending not only breaks down the produce but also helps release their essential juices, making for a truly refreshing drink.
If you prefer a smoother juice, you'll want to strain the juice after blending. Grab a nut milk bag or a piece of cheesecloth and pour the blended mixture into it. Twist the bag to extract as much liquid as possible, leaving behind any unwanted pulp. This step is perfect for those who enjoy a clean, crisp juice without any fiber. However, if you're someone who likes a bit of texture, you can skip this step or add more water to achieve a thinner consistency. This way, you can tailor the juice to your personal preference.
After you've made your juice, consider how to store any leftovers. If you've got extra juice, transfer it to an airtight glass container and place it in the refrigerator. Your homemade juice will stay fresh for about 2 to 3 days, ensuring you can savor the deliciousness over time. Just give it a little shake before pouring it out, as natural separation may occur.
Creating juice with a Vitamix opens up a world of possibilities for experimenting with different recipes. You can mix and match fruits and vegetables to find the perfect balance of flavors. Whether you're in the mood for something sweet, tart, or earthy, the Vitamix makes it easy to create a juice that suits your taste.

Nut Milk Maker Machine,10 in 1 Automatic Plant Based Milk Maker, Soy Milk Machine
【One-Touch Smart Control】With a simple and intuitive interface, the soy milk machine maker is easy to use for...
As an affiliate, we earn on qualifying purchases.
Frequently Asked Questions
Can I Use Vitamix as a Juicer?
Yes, you can use a Vitamix as a juicer. It blends whole fruits and vegetables quickly, creating a nutrient-rich juice in about 40-50 seconds.
If you want a smoother texture, just strain the mixture through a nut milk bag or cheesecloth to remove any pulp. You'll retain more fiber and nutrients compared to traditional juicing methods.
Plus, cleanup's a breeze—just blend warm soapy water in the container, and you're done!
Can You Make Juice With a Blender Instead of a Juicer?
Absolutely, you can make juice with a blender!
For instance, picture yourself blending fresh strawberries and spinach with some water for a refreshing drink. Just toss your ingredients in, blend until smooth, and then strain the mixture through a nut milk bag if you want a clearer juice.
This method not only saves time but also lets you keep some fiber for added health benefits.
What Is the First Thing I Should Make in My Vitamix?
When you first use your Vitamix, you should consider making a simple fruit juice.
It's a perfect way to familiarize yourself with the machine. Grab about 2 to 2.5 cups of your favorite fruits, like apples or oranges, and add 1 to 2 cups of water.
Layer the ingredients properly, blend on high for 40-50 seconds, and enjoy your refreshing drink.
Don't forget to strain it for a smoother texture if you prefer!
How to Use a Blender to Make Juice?
To use a blender for juice, you’ll want to gather your fruits and vegetables, chop them into smaller pieces, and layer them in the blender. Next, add some liquid, such as water or coconut water, to help with blending. If you’re looking for a refreshing twist, try incorporating a dragon fruit juice recipe by adding diced dragon fruit to your mix. Blend everything until smooth, and enjoy your delicious and nutritious beverage!
Next, you'll add water for a smoother consistency and blend on high until everything's well combined.
If you prefer a pulp-free juice, strain it through a nut milk bag.
Finally, enjoy your fresh juice immediately or store any leftovers in the fridge for later.

KIDISLE 32oz Automatic Soy Machine for Homemade Almond, Oat, Coconut, Soy, Plant Based Milks and Non Dairy Beverages with Delay Start/Keep Warm/Self-Cleaning/Boil Water, Black
【Versatile 8-in-1 Functionality】: This Nut Milk Maker offers eight different functions, from crafting nut milk and oat milk...
As an affiliate, we earn on qualifying purchases.
Conclusion
Using a Vitamix to make juice not only saves you time but also ensures you get the maximum nutrients from your fruits and veggies. Did you know that blending can retain up to 90% of the nutrients compared to traditional juicing methods? With just a few simple steps, you can whip up a vibrant, delicious drink that fuels your day. So grab your Vitamix, and let the vibrant colors and refreshing flavors inspire your healthy lifestyle!

MAGETANG 7 in 1 Nut Milk Maker Machine 28oz Automatic Milk Maker for Homemade Coconut, Oat, Soy, Plant-Based Milk, Juice with 18H Delay Start/6H Keep Warm/Self Cleaning (Cream)
【Healthy&Nutrient-rich】: Say goodbye to carton milk, Enjoy rich, creamy, and additive-free, handmade milk made from nuts, grains, beans,...
As an affiliate, we earn on qualifying purchases.

KIDISLE 8 in 1 Nut Milk Maker Blender, 32oz Homemade Soy, Almond, Oat, Coconut, Plant Based and Non Dairy Beverages, Automatic Soybean Machine With Delay Start/Keep Warm/Boil Water, Cream
【Versatile 8-in-1 Functionality】: This Nut Milk Maker offers eight different functions, from crafting nut milk and oat milk...
As an affiliate, we earn on qualifying purchases.

Cindy thoroughly researches juicing trends, techniques, and recipes to provide readers with practical advice and inspiration. Her writing style is accessible, engaging, and designed to make complex concepts easy to understand. Cindy’s dedication to promoting the advantages of juicing shines through her work, empowering readers to make positive changes in their lives through the simple act of juicing.