Before spending big on a whole house water filter, check your home’s water needs, space, and plumbing setup. Choose a location near the main water inlet for easy access and minimal pipe travel. Follow installation instructions carefully, secure fittings properly, and create a maintenance schedule for filter replacements. Regular inspections help prevent leaks and system failures. Ready to learn more about ensuring a smooth setup and long-lasting system? Keep exploring the essential checklist.
Key Takeaways
- Assess your home’s water quality to determine the filtration needs and suitable system type.
- Choose an accessible location near the main water inlet for easy installation and maintenance.
- Ensure adequate space for the filter unit and tools, and check plumbing for compatible fittings.
- Follow manufacturer instructions carefully during installation, prioritizing correct flow direction and secure fittings.
- Plan for ongoing maintenance, including regular filter replacements and system inspections to ensure efficiency.
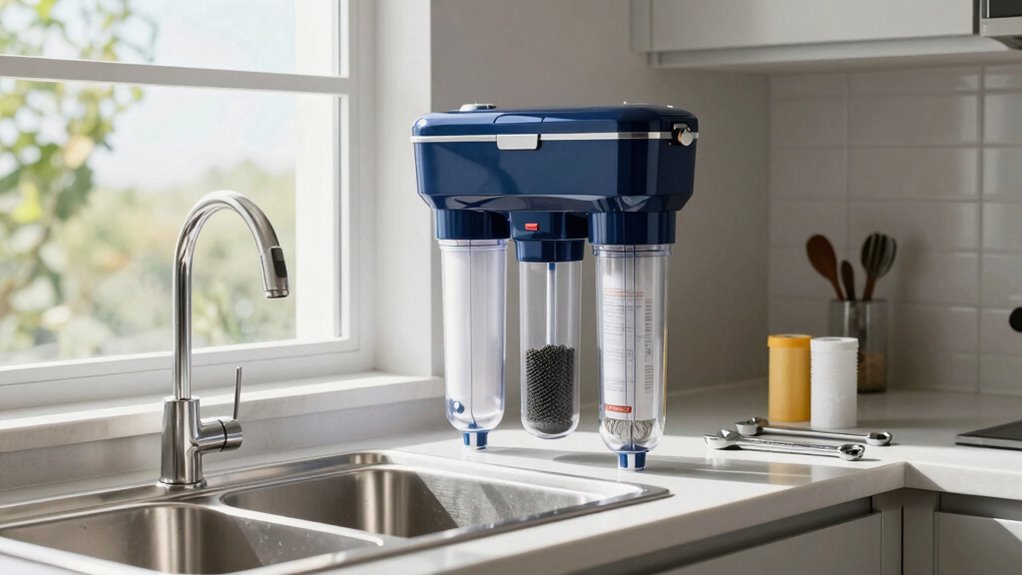
If you’re looking to guarantee clean, safe water throughout your home, installing a whole house water filter is an effective solution. Before you make a purchase, it’s essential to understand the installation tips that can ensure a smooth setup and the maintenance schedules necessary to keep your system functioning efficiently. Proper installation begins with choosing the right location—typically near your main water inlet—to minimize the distance water travels before filtering. Make sure the spot has enough space for the filter unit and is easily accessible for future maintenance. Check your home’s plumbing to determine whether any additional fittings or adapters are needed, and gather all required tools beforehand, such as wrenches, Teflon tape, and a bucket for catching excess water.
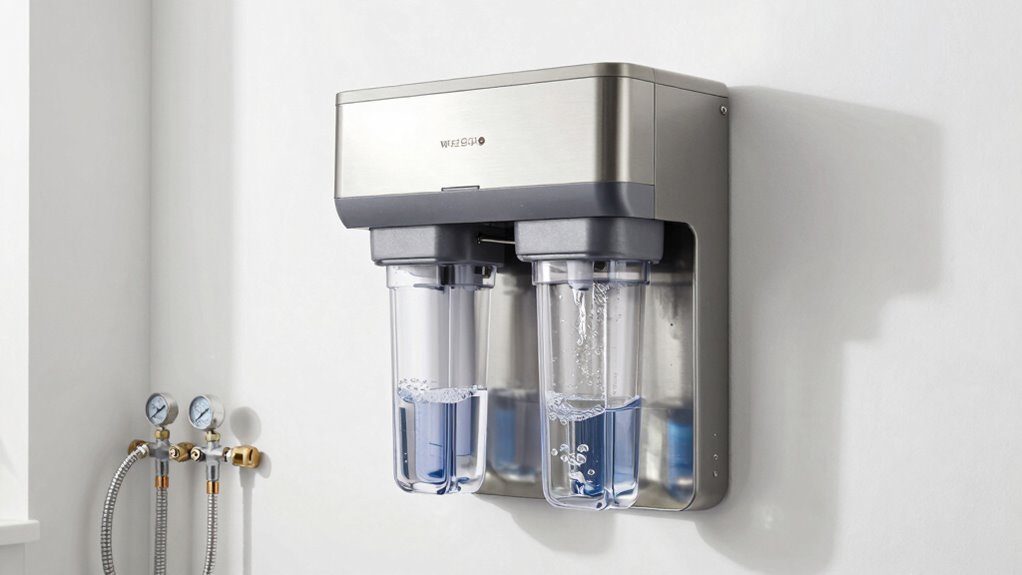
When installing, shut off your main water supply to prevent leaks or water damage, then drain the pipes to reduce pressure. Follow the manufacturer’s instructions carefully, ensuring the filter is installed in the correct direction of flow—usually indicated by arrows on the unit. Secure all fittings tightly to prevent leaks, but avoid over-tightening, which can damage components. Once the system is in place, turn the water back on slowly and check for leaks. Testing the water after installation confirms everything is working properly, and you’re ready to enjoy cleaner, safer water.
Maintenance schedules are just as important as the initial setup. Regularly replacing filters according to the manufacturer’s recommendations—often every three to six months—keeps your system running efficiently and ensures your water remains contaminant-free. Keep a log of each maintenance session to stay on track and avoid neglect. Periodic inspections of the entire system can help identify potential issues early, such as leaks or clogging, and prevent costly repairs down the line. Some systems include indicator lights or alarms that signal when a filter needs changing, so familiarize yourself with these features to stay proactive.
Frequently Asked Questions
How Often Should I Replace the Filter Cartridges?
You should replace your filter cartridges every 6 to 12 months, depending on your filter’s lifespan and water usage. Regular maintenance tips include checking for signs of clogging or reduced flow and following your manufacturer’s recommendations. Keep in mind that heavy water usage or high sediment levels may require more frequent replacements. Staying on top of these maintenance tips guarantees your whole house water filter continues to deliver clean, fresh water.
Can I Install a Whole House Filter Myself?
Think of installing a whole house filter like sailing a boat—you can navigate the waters yourself, but a seasoned captain (professional assistance) guarantees smooth sailing. You can attempt DIY installation if you’re handy with tools and follow clear instructions, but if you’re unsure or want peace of mind, hiring a professional is wise. Proper installation guarantees your filter works efficiently and safely, saving you headaches later on.
Do All Filters Remove Heavy Metals and Chemicals?
Not all filters effectively remove heavy metals and chemicals. Filter effectiveness varies depending on the type and design; some are specifically engineered for contaminant removal, while others focus on improving taste and odor. To guarantee you get the best protection, check the filter’s certifications and specifications for heavy metal and chemical removal. Investing in a high-quality filter tailored for your specific water concerns will give you peace of mind and cleaner water.
What Is the Lifespan of a Typical Water Filter System?
Back in the day, water filters lasted longer, but now, your system’s durability and filter lifespan vary. Typically, a whole house water filter system lasts about 5 to 10 years with proper maintenance. The filter lifespan depends on water quality and usage. Regularly replace filters as recommended to keep your system running efficiently and ensure clean water. Proper upkeep maximizes your investment and prolongs your system’s longevity.
Are There Any Maintenance Tips to Extend Filter Life?
To prolong your filter’s lifespan, practice regular filter maintenance by changing filters as recommended by the manufacturer, typically every 3-6 months. Keep an eye on water pressure and flow rates, since drops may signal clogging. Using pre-filters can also reduce the load on your main system. These steps help guarantee ideal performance and considerably contribute to lifespan extension, saving you money and maintaining clean, healthy water.
Conclusion
Before investing in a whole house water filter, remember it’s like choosing the right key for a lock—fit matters. Consider your water quality, filter type, and maintenance needs to guarantee it works seamlessly for your home. Don’t rush the decision; a well-chosen filter is the foundation of clean, safe water, just like a sturdy bridge connecting you to better health. Make your choice wisely, and enjoy the clear flow of pure water every day.