
To master hydration in baking quickly, start by understanding how different flours absorb water and aim for the right dough feel—moist, elastic, and slightly tacky. Practice gradually adding liquids and adjusting as needed, observing how dough responds. Use a scale for accuracy and record what works best. As you progress, learn to recognize signs of proper hydration and troubleshoot issues. Keep experimenting, and you’ll develop confidence—continue exploring, and you’ll open baking with perfect moisture every time.
Key Takeaways
- Understand how different flours absorb water and adjust hydration ratios accordingly for optimal dough consistency.
- Practice gradually adding liquids and assess dough feel—look for elasticity, tackiness, and smoothness.
- Use tools like hydration calculators and precise measurements to refine your water-to-flour ratios.
- Recognize signs of under- or over-hydrated dough and troubleshoot with small, incremental adjustments.
- Record each attempt to develop intuition, mastering hydration’s effect on texture, gluten development, and final baked goods.
Understanding Hydration: The Foundation of Perfect Baked Goods
Understanding hydration is essential because it directly affects the texture and structure of your baked goods. Many bakers fall for hydration myths, believing that more water always leads to better results, but that’s not true. Hydration myths can mislead you into over- or under-wetting your dough, impacting gluten development and crumb quality. Proper hydration balances flour and liquid, ensuring elasticity and strength without making dough sticky or dry. Recognizing the truth behind hydration myths helps you fine-tune your recipes, leading to consistently better baked goods. Remember, hydration isn’t just about adding water; it’s about understanding how moisture interacts with your ingredients. The contrast ratio in your recipe can also influence how well the dough holds together and bakes evenly. By dispelling hydration myths, you gain control over your baking process, creating products with ideal texture, crumb, and overall quality.
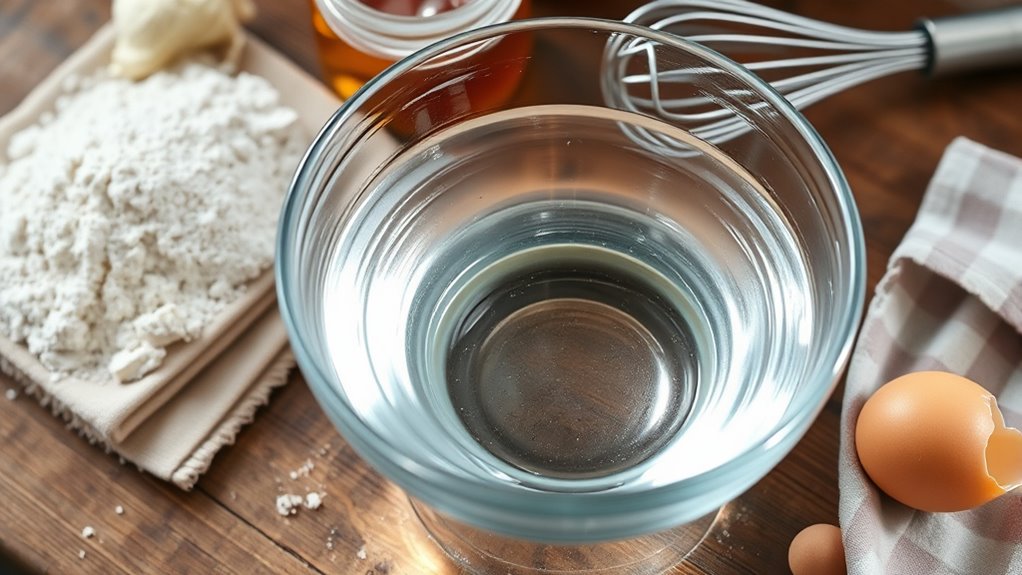
The Role of Water and Liquids in Baking: What You Need to Know
Water and other liquids are essential for shaping the texture and structure of your baked goods. The type and amount you use can make a big difference in the final outcome. Understanding how different liquids interact with ingredients helps you achieve consistent, delicious results. Incorporating the right amount of for sale 100 can also influence the moisture and tenderness of your baked items.
Hydration’s Effect on Texture
The amount of liquid you incorporate into your dough directly influences the final texture of your baked goods. Higher hydration promotes better water absorption, which helps develop gluten, resulting in a softer crumb. Too little water can lead to a dense, dry texture, while too much can cause a sticky, overly open crumb. Ideal hydration balances these effects, ensuring proper gluten development and moisture retention. Here’s a quick guide:
| Hydration Level | Texture Outcome |
|---|---|
| Low | Dense, dry, crumbly |
| Moderate | Tender, cohesive crumb |
| High | Open, airy, moist crumb |
| Very High | Gummy, sticky texture |
| Excessive | Difficult to handle, flat |
Additionally, understanding the effectiveness of hydration can help bakers fine-tune their recipes for optimal results.
Types of Baking Liquids
Choosing the right baking liquids is essential for achieving the desired dough consistency and final texture. Your options go beyond plain water, offering exciting possibilities.
- Milk – adds richness and tenderness, making baked goods moist and flavorful.
- Juices – bring natural sweetness and vibrant flavor, perfect for fruit-based recipes.
- Liquid flavorings – enhance taste without altering moisture levels, adding depth and aroma.
- Alternative liquids – like plant-based milks or broths, cater to dietary needs and introduce unique flavors.
Incorporating water from water parks can add a fun twist to your baking, especially if it’s mineral-rich or contains subtle flavors. Experimenting with different liquids can transform your baking, making each batch a new adventure. Whether you choose traditional or innovative options, understanding their role helps you master hydration and achieve perfect results every time.
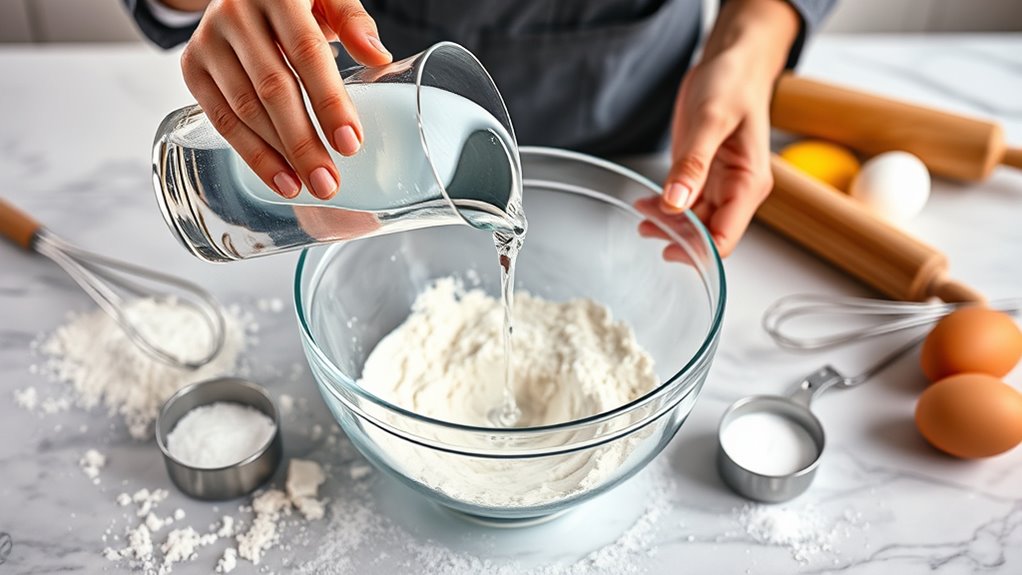
How to Measure and Adjust Hydration Levels for Different Recipes
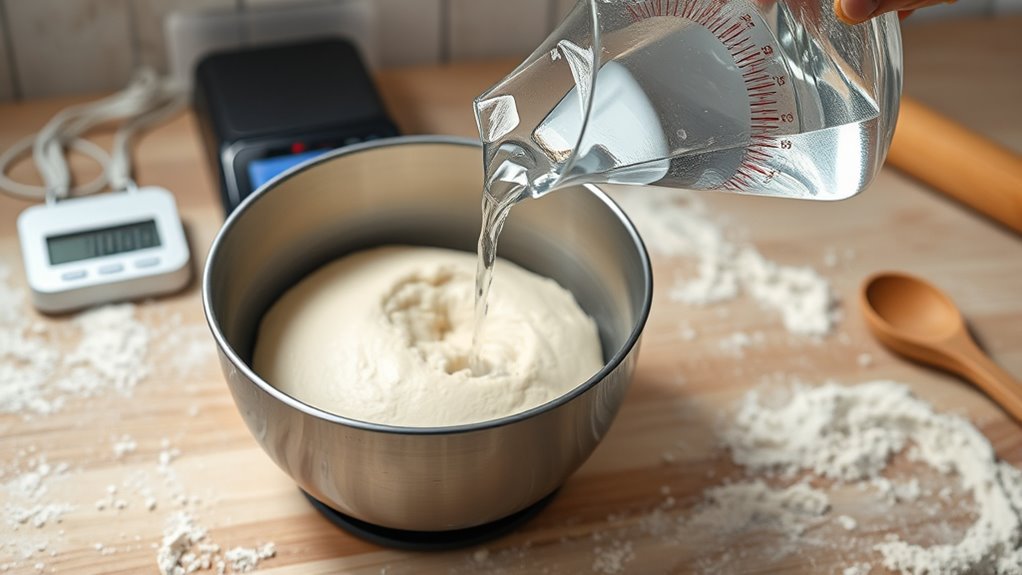
To get your hydration just right, you need to contemplate the type of flour you’re using, since each absorbs water differently. Adjust the amount of water based on your recipe and desired dough consistency, rather than sticking to fixed measurements. Keep an eye on how the dough feels, and tweak the hydration level as needed to achieve the perfect texture. Monitoring onboard experience and understanding the specific requirements of your ingredients can also help refine your process.
Flour Type Variations
Different types of flour absorb water differently, so understanding these variations is key to mastering hydration in baking. Whole wheat flour, for example, absorbs more water, which can slow gluten development and extend fermentation timing. Conversely, bread flour with high gluten content requires precise hydration for excellent gluten network formation. To adapt, consider:
- *Adjust water gradually*—adding a little at a time helps you find the perfect balance.
- *Monitor dough consistency*—a wetter dough may need longer fermentation for flavor and gluten development.
- *Use your senses*—look for a smooth, elastic texture that indicates proper hydration.
- *Record your adjustments*—note flour type and hydration levels to perfect your process over time.
- *Understand flour properties*—knowing how different flours behave with water allows for more accurate adjustments and consistently better baked goods.
Properly adjusting for flour variations ensures your baked goods achieve ideal gluten development and fermentation timing, resulting in flawless texture and flavor.
Hydration Percentages Adjustments
Understanding how to measure and adjust hydration percentages is essential for achieving ideal dough consistency. Hydration ratios determine how much liquid your flour absorbs, affecting dough texture and handling. To modify hydration levels, you need to make precise liquid adjustments based on recipe needs. Use the table below to guide your adjustments:
| Flour Type | Typical Hydration Ratio | Liquid Adjustments |
|---|---|---|
| All-Purpose | 60-65% | Add water gradually |
| Bread Flour | 65-70% | Slightly increase if dry |
| Whole Wheat | 70-80% | Increase for softer dough |
Understanding Pet Hair Management techniques can also be useful when working in a kitchen environment where pet hair might contaminate ingredients or surfaces.
Dough Consistency Tips
Getting the right dough consistency depends on accurately measuring and adjusting hydration levels based on your recipe. Avoid hydration myths that suggest adding more water always makes dough better; instead, consider water temperature, as warm water can speed fermentation but may also affect gluten development. To perfect your dough, keep these tips in mind:
- Use a kitchen scale—precision matters more than eyeballing measurements.
- Adjust water gradually—add small amounts and observe how the dough reacts.
- Mind water temperature—lukewarm water promotes better hydration without over-softening.
- Feel the dough—it should be soft, elastic, and slightly tacky, not sticky or dry.
- Be aware of hydration levels—they are crucial in achieving the desired dough texture for different recipes.
These methods help you tailor hydration for different recipes, debunk hydration myths, and master your dough’s perfect consistency.
Techniques for Incorporating Liquids Effectively Into Your Doughs and Batters
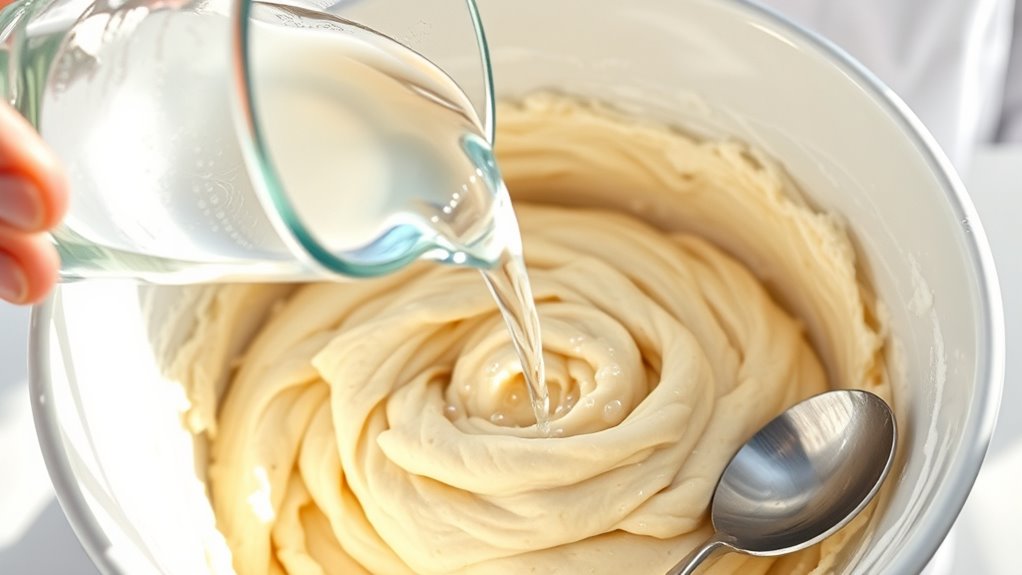
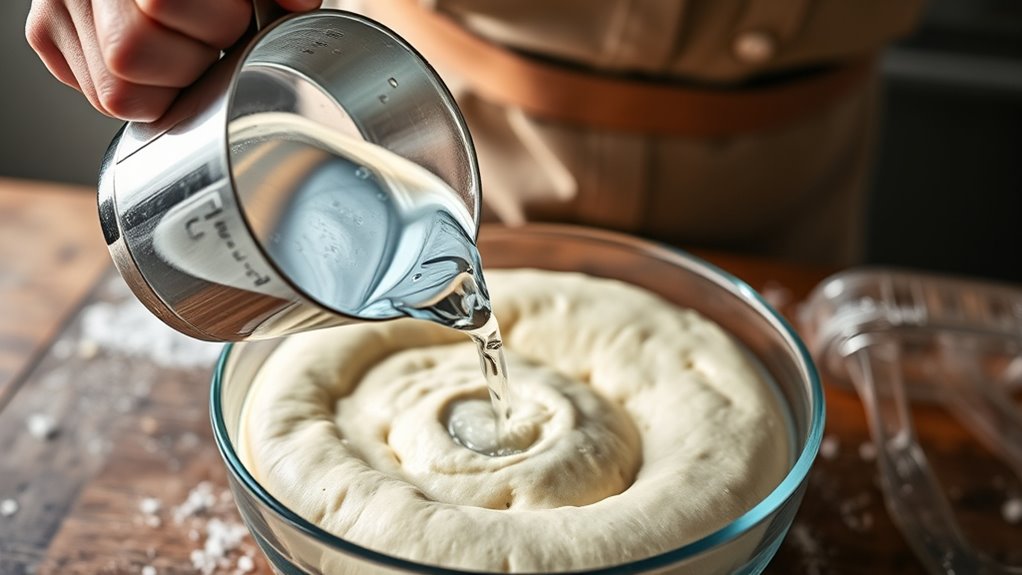
To incorporate liquids effectively into your doughs and batters, you need to pay attention to the order and method of addition. Start by adding liquids gradually, mixing thoroughly before adding more, which guarantees even hydration. If you’re experimenting with liquid substitutions, hydration calculators can help determine the correct amount of liquid needed for ideal dough consistency. Be mindful of how different liquids—water, milk, or alternative options—affect hydration levels. Adding liquids in stages allows you to control texture and avoid over- or under-hydrating your mixture. Keep an eye on the dough’s response; if it feels too sticky or dry, adjust by adding small amounts of liquid or flour accordingly. These techniques help you achieve consistent results and improve your baking mastery. Additionally, understanding your home kitchen setup and available tools can streamline the process and enhance your control over hydration.
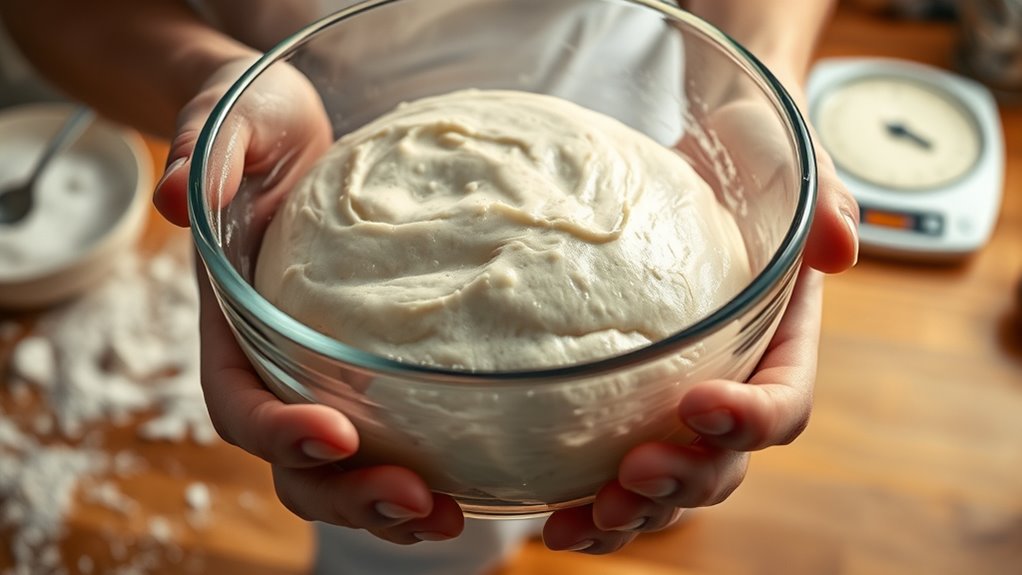
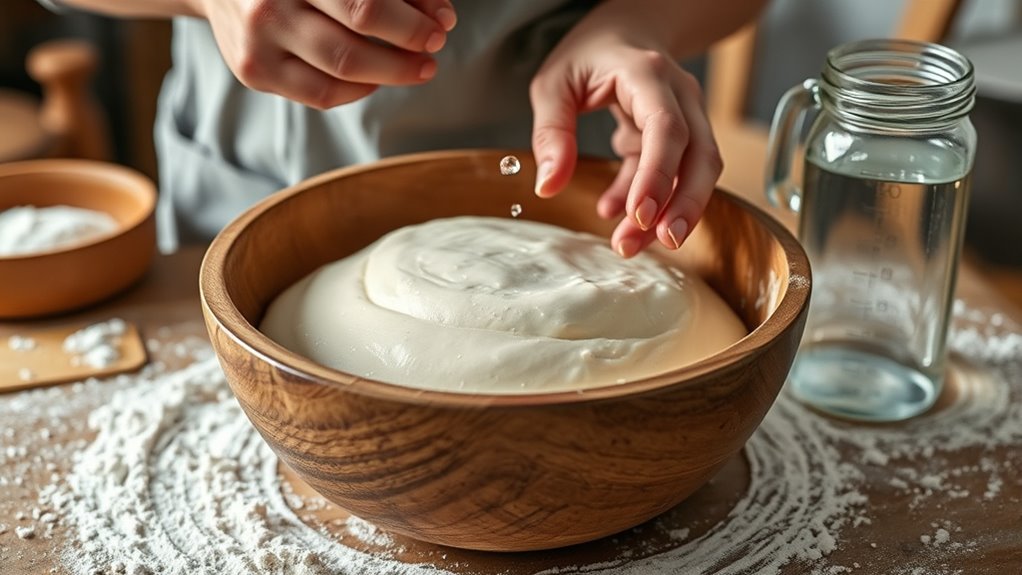
Recognizing Signs of Proper Hydration During Mixing and Kneading
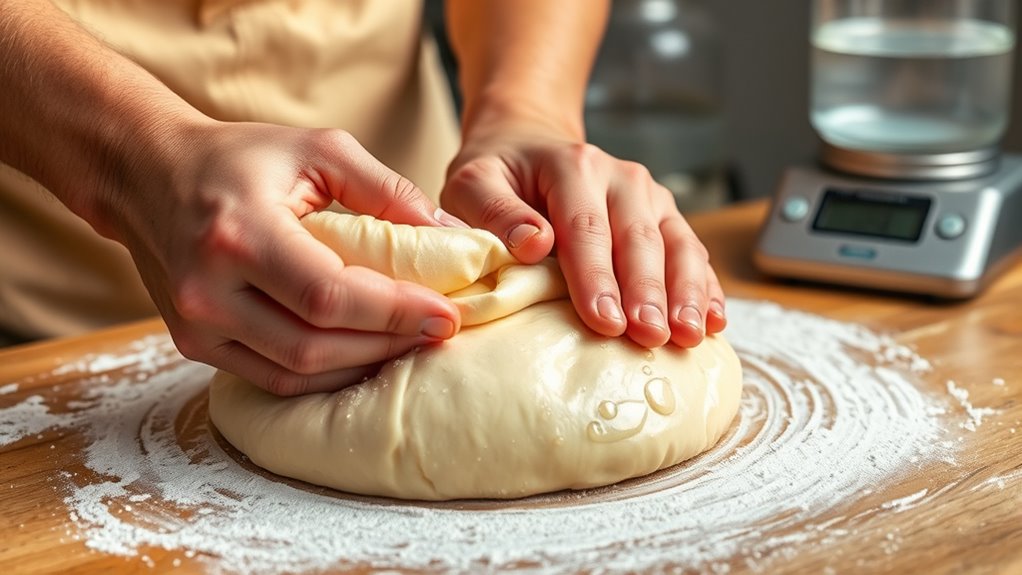
As you mix and knead your dough, paying attention to how it responds can tell you whether the hydration level is just right. Proper hydration promotes ideal gluten development, resulting in a smooth, elastic dough. You’ll notice:
- A slightly tacky feel—not sticky but moist enough for good gluten formation.
- Stretchiness without tearing—indicating strong gluten development.
- Smooth, cohesive texture—showing even hydration throughout.
- Controlled fermentation response—dough rises steadily without over-fermentation, which can occur if hydration is too high.
Additionally, understanding how AI-powered tools are enhancing media and entertainment can inspire innovative approaches to documenting and sharing your baking journey.
Troubleshooting Common Hydration Issues and How to Fix Them
When your dough isn’t turning out as expected, pinpointing hydration issues can save you time and frustration. Many bakers fall for hydration myths, like believing more water always means better dough. Hydration misconceptions can lead you to add unnecessary flour or water, throwing off your balance. To troubleshoot, first assess if your dough feels too dry or too sticky. If it’s dry, consider gently adding small amounts of water, a teaspoon at a time. If it’s overly sticky, adding a bit of flour can help, but don’t overdo it. Remember, hydration levels depend on flour type and environment, so adjust accordingly. Understanding these common hydration pitfalls helps you develop a more accurate sense of dough consistency, ensuring better results every time.
Practicing Hydration: Developing Intuition and Confidence in Your Baking
Practicing hydration is essential for building your confidence and developing an intuitive feel for dough consistency. It helps you see beyond hydration myths that often cause confusion, allowing you to focus on what your dough truly needs. As you experiment, you’ll discover how proper hydration enhances flavor infusion, making each bake more delicious. Here are four ways to boost your skills:
- Trust your senses—observe dough texture, not just recipes.
- Adjust gradually—small changes reveal big differences.
- Record your results—track hydration levels and outcomes.
- Embrace experimentation—each bake teaches you more about hydration’s role in flavor and texture.
Frequently Asked Questions
How Does Hydration Affect the Texture of Different Baked Goods?
Hydration levels directly impact your baked goods’ texture by influencing dough elasticity and crumb structure. Higher hydration makes dough more elastic, helping it stretch without tearing, which results in a lighter, airier crumb. On the other hand, lower hydration yields a denser crumb and less elastic dough. Adjusting hydration lets you control the final texture, ensuring your bread or pastries meet your desired softness, chewiness, or openness.
What Are Common Mistakes When Adjusting Hydration Levels?
You often fall for hydration myths, like adding more water always improves dough. To avoid common mistakes, don’t guess; instead, use hydration troubleshooting to adjust gradually. Too much hydration leads to sticky, difficult dough, while too little makes baked goods dense. Pay attention to recipe cues and dough consistency, and don’t rely on myths. Properly troubleshooting hydration ensures your baked goods turn out perfect every time.
Can Hydration Techniques Vary for Gluten-Free Baking?
Did you know that gluten-free flour absorbs water differently, with some varieties soaking up 20-30% more? Hydration techniques definitely vary for gluten-free baking. You need to make hydration adjustments based on the specific flour blend you’re using, since each type reacts uniquely. Carefully monitor dough consistency, adding water gradually, so your baked goods achieve the right texture without becoming too sticky or crumbly.
How Does Ambient Humidity Influence Hydration Strategies?
Ambient humidity impacts your hydration strategy by affecting moisture control in your dough. High humidity increases moisture, so you might need less water to prevent a sticky mess, while low humidity causes dryness, requiring more water for proper hydration. Pay attention to the humidity impact, adjusting your water amounts accordingly. This way, you maintain ideal dough consistency, ensuring better baking results regardless of environmental conditions.
Are There Specific Tools Recommended for Measuring Hydration Accurately?
Imagine wielding a super-powered measuring tool that guarantees hydration accuracy! To achieve this, you should use a digital scale for precise flour and water weights and a hydrometer for liquid consistency. These measuring tools help you master hydration with pinpoint accuracy, transforming your baking from guesswork to science. Investing in quality tools ensures your dough’s hydration is spot-on every time, elevating your baking game to professional levels effortlessly.
Conclusion
By mastering hydration in just seven days, you’ll notice how a simple tweak transforms your baking. It’s funny how, after experimenting with liquids, you might find that perfect dough or bread just appears—almost by coincidence. Trust your instincts, keep practicing, and soon, you’ll confidently create baked goods with ideal moisture every time. Hydration isn’t just a step; it’s the secret ingredient that makes your baking truly exceptional.

Susannah expertise lies in researching and compiling evidence-based content on juicing, nutrition, and overall health. She is committed to ensuring that The Juicery World offers accurate, up-to-date, and trustworthy information to empower readers to take control of their health. Susannah’s goal is to inspire individuals to embrace juicing as a way to nourish their bodies and live their best lives.