
TL;DR

Get kitchen staples and gadgets delivered free with Prime
- Fast, free delivery on millions of items
- Prime Video, Amazon Music and more included
- Member-only deals all year
Good Housekeeping’s Home Care & Cleaning Lab recommends unplugging a toaster or toaster oven and letting it cool completely before cleaning. Remove crumbs and wash removable parts separately; keep water and cleaning products away from heating elements, and let a toaster oven dry fully before reconnecting it.
Good Housekeeping’s Home Care & Cleaning Lab has outlined ways to clean toasters and toaster ovens while reducing the risk of damaging the appliances. Its main safety advice is to unplug the appliance and let it cool completely before cleaning, and to keep water and sharp tools away from the heating elements.
For a conventional toaster, the report recommends emptying the crumb tray over a bin, then shaking the unplugged toaster to dislodge loose crumbs. A small pastry brush can help remove remaining bits from accessible areas. The crumb tray can be wiped with a damp cloth or, if removable and suitable for washing, cleaned in warm, soapy water, rinsed, dried and put back.
To clean the outside, apply a small amount of all-purpose cleaner to a damp cloth or sponge rather than spraying into the appliance. Wipe around the knobs, lever and slots, where crumbs and grease can collect, then wipe again with a damp cloth and dry. The report suggests using a product made for stainless steel on stainless-steel surfaces.
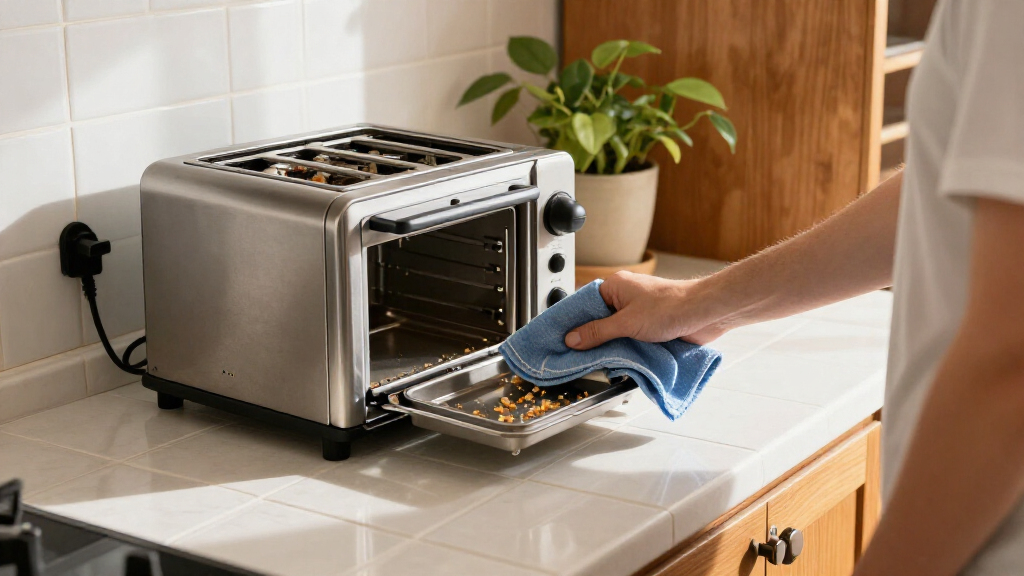
A toaster oven has more removable components and may collect grease from foods such as pizza. The report advises removing crumbs, then washing racks, pans and crumb trays in warm, soapy water with a non-abrasive sponge. For the interior, put all-purpose cleaner on a sponge and wipe surfaces while avoiding the heating elements. Use appropriate cleaner for the exterior and glass door, and allow the appliance to dry completely for at least five minutes before plugging it in again.
Cleaning Without Damaging Elements
Crumbs and grease can accumulate during ordinary use, but cleaning an appliance that is still plugged in or applying liquid directly inside it can create avoidable safety and damage risks. The report’s step-by-step distinction between removable parts, interior surfaces and heating elements gives readers a practical way to tackle routine buildup without treating the whole appliance as washable.
The guidance also addresses a common difference between the two appliances: a toaster oven’s racks and pans can be removed for washing, while its heating elements need to be kept clear of cleaner and water. Following the drying instruction before reconnecting the toaster oven helps avoid plugging it in while surfaces are still wet.
Products Worth Considering

Ninja DCT451 12-in-1 Smart Double Oven with FlexDoor, Stainless Steel

Cuisinart TOA-70NAS Air Fryer Toaster Oven with Grill

Cuisinart Chef's Classic 7-Piece Stainless Steel Cookware Set
As an affiliate, we earn on qualifying purchases.
Different Parts, Different Cleaning Steps
The advice comes from a Good Housekeeping report that credits cleaning professionals at the brand’s Home Care & Cleaning Lab. It covers both standard pop-up toasters and toaster ovens, which are used for a wider range of foods and have additional removable parts.
The report notes that toaster slots, knobs and other small crevices can be awkward to reach, while grease may build up in toaster ovens after reheating oily foods. Its method is built around basic supplies, including a damp cloth or sponge and a small brush, rather than using sharp tools or putting liquid directly on internal components.
“You should always unplug the toaster or toaster oven before cleaning it. Let it cool completely before you do anything else.”
— Good Housekeeping report, citing its Home Care & Cleaning Lab
Limits of the Published Advice
The supplied report does not give model-specific instructions or address whether every appliance’s removable parts are dishwasher-safe. Owners should check their appliance manual before washing parts or using a particular cleaner, since materials and manufacturer guidance can differ. The report also does not provide testing results or quantify how often appliances should be cleaned.
The source material does not identify a publication date, so the timing of the report cannot be stated more precisely here. Its recommendations are presented as general cleaning guidance, not as a substitute for manufacturer instructions or a response to a specific product safety notice.
Check the Manual Before Cleaning
Before starting, users can check the toaster or toaster oven’s manual for instructions about removable trays, approved cleaning products and surfaces that should not be washed. Once the appliance is unplugged and cool, the reported steps are to clear crumbs, clean removable parts separately, wipe surfaces without contacting heating elements, and let everything dry before reconnecting it.
Key Questions
Should I unplug a toaster before cleaning it?
Yes. Good Housekeeping’s cleaning guidance says to unplug the toaster or toaster oven and let it cool completely before cleaning.
Can I wash a toaster’s crumb tray?
The report says to clean the tray with a damp sponge or cloth. If it is removable and suitable for washing, it can be washed in warm, soapy water, then rinsed and dried before being reinserted. Check the appliance manual for model-specific instructions.
How do I clean crumbs from inside a toaster?
With the appliance unplugged and cool, empty the crumb tray, shake out loose crumbs over a bin and use a small pastry brush for remaining accessible bits. Avoid sharp tools and keep water away from the heating elements.
Can I spray cleaner inside a toaster oven?
The report recommends spraying all-purpose cleaner onto a sponge and wiping the interior, while avoiding the heating elements. It does not recommend spraying cleaner directly onto those elements.
How long should a toaster oven dry before I plug it in?
Good Housekeeping advises letting the toaster oven dry completely, for at least five minutes, before plugging it back in.
Source: goodhousekeeping.com