
In beverage photography, bottles highlight every flaw in your setup because high-resolution images can capture even small imperfections like fingerprints, scratches, or uneven lighting. Your choice of camera, lens, and lighting setup greatly affects how polished your shot looks. If you’re not precise, flaws become glaring. To get stunning results, you need to master these elements. Keep exploring, and you’ll discover how to minimize weaknesses and make your beverages look irresistible.

Get kitchen staples and gadgets delivered free with Prime
- Fast, free delivery on millions of items
- Prime Video, Amazon Music and more included
- Member-only deals all year
Key Takeaways
- Bottles are high-resolution objects that reveal every flaw, making imperfections in lighting or setup more visible.
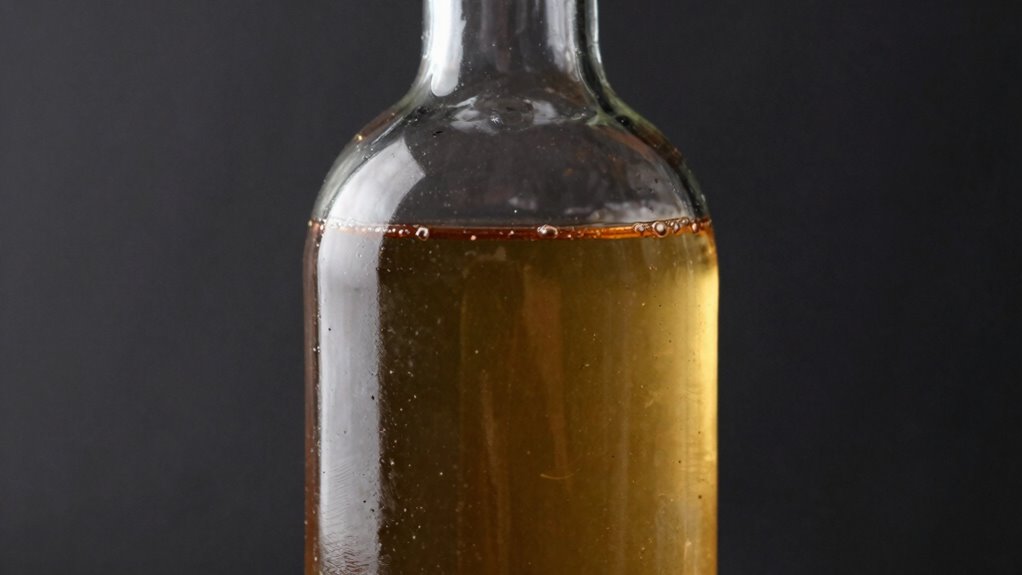
- Clear glass bottles highlight reflections, fingerprints, and scratches, exposing setup weaknesses.
- Properly lit bottles require precise control to avoid distracting reflections and uneven shadows.
- Slight misalignments or poor background choices become noticeable through transparent or reflective surfaces.
- Flaws in camera settings or lens choice are more apparent when capturing detailed bottle textures and transparency.
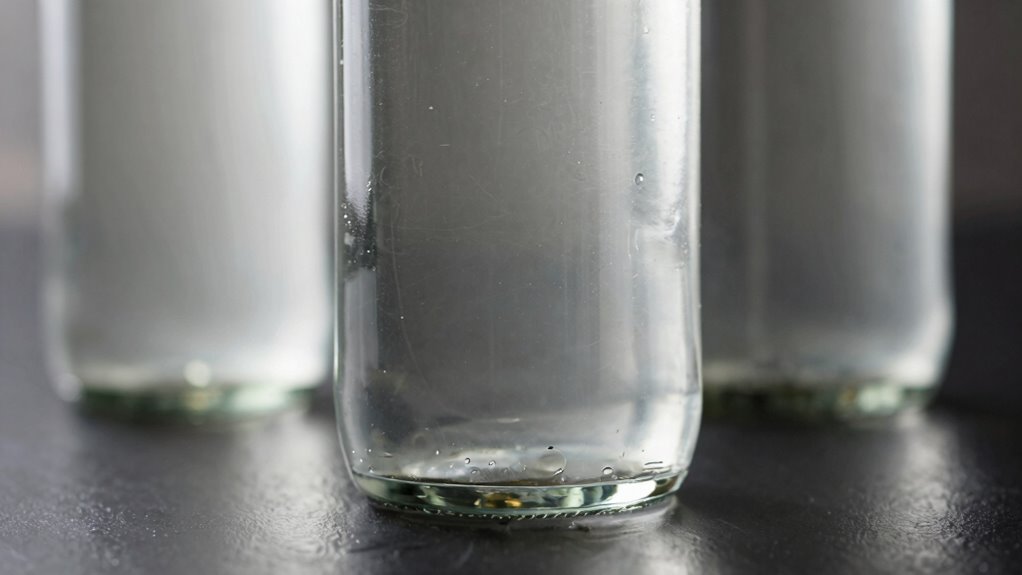
Capturing the perfect beverage shot requires a camera that can handle close-ups and vibrant colors with ease. When shooting bottles or glasses filled with colorful drinks, your setup’s weaknesses become glaringly obvious. Lighting techniques are essential here; they can make or break the clarity and appeal of your images. You want to light the beverage evenly, avoiding harsh reflections or shadows that distract from the drink’s natural gloss and color. Using diffused light sources, like softboxes or reflectors, helps create a gentle, even glow that enhances the liquid’s transparency and the bottle’s shape. Positioning your lights at the right angles is key—try side lighting to accentuate the drink’s texture or backlighting to highlight transparency and bubbles. Small adjustments can dramatically improve vibrancy and depth, so don’t underestimate the power of experimenting with your lighting setup. The right lens selection is equally vital when photographing bottles and beverages. A macro or a prime lens with a wide aperture allows you to capture intricate details—like condensation droplets or the swirling of ingredients—without sacrificing sharpness. A lens with a focal length around 50mm to 100mm gives you enough distance from the subject to compose carefully while avoiding distortion. If your lens has a wide maximum aperture (f/1.4 or f/2.8), you’ll be able to create a pleasing background blur, making your beverage pop against a soft backdrop. On the other hand, a zoom lens can be handy if you need flexibility to frame different compositions quickly. Remember, the right lens selection minimizes the need for excessive post-processing and guarantees your shot remains crisp and true to life. Additionally, understanding how to optimize your camera settings can significantly improve your results and save editing time later. Proper camera settings help you capture accurate colors and sharp details, especially in challenging lighting conditions. Adjusting your camera’s white balance settings ensures the colors of your beverage look natural and appealing, avoiding dull or overly warm tones. Being aware of Lighting techniques and their effects can help you avoid common pitfalls like unwanted reflections or uneven illumination. When you combine thoughtful lighting techniques with the appropriate lens choice, your beverage photography takes on a professional edge. Bottles and glasses expose every flaw—scratches, fingerprints, uneven lighting, or unflattering angles—so you must be meticulous. Small imperfections become glaring mistakes in high-resolution images. That’s why understanding how to manipulate light and choosing the right lens are your best tools. They help you highlight the drink’s appeal, capture its vibrant colors, and showcase details that make your shot stand out. Be patient, experiment with different setups, and always review your images critically. Master these elements, and your beverage photos will look tempting, polished, and flawless every time.
macro lens for beverage photography
As an affiliate, we earn on qualifying purchases.
As an affiliate, we earn on qualifying purchases.
Frequently Asked Questions
What Camera Settings Are Best for Beverage Macro Shots?
For beverage macro shots, use a small aperture like f/8 to f/16 to achieve a deep depth of field, keeping more of the bottle in focus. Set your ISO low for clarity and use a tripod to prevent camera shake. Focus carefully on the label or highlight, and afterward, apply color correction in post-processing to enhance vibrancy. These settings help reveal every detail and hide imperfections.
How Do I Prevent Reflections on Glass Bottles?
You can prevent reflections on glass bottles by controlling your light sources—use soft, diffused lighting and position them strategically. To combat glass distortion and guarantee label clarity, shoot at angles that minimize reflections and avoid direct light pointing straight at the bottle. You might think reflections are just a minor annoyance, but in beverage photography, they reveal every flaw—and with bottles, that’s especially true!
Which Lenses Are Ideal for Beverage Photography?
For beverage photography, you want a macro or prime lens with a wide aperture, like a 50mm or 100mm, to capture fine details and achieve a beautiful background blur. Use lighting techniques such as diffused softboxes to avoid harsh reflections and enhance clarity. Combine this with composition strategies like framing and angles to highlight the bottle’s shape and texture, ensuring your shots look appealing and professional.
How Can I Improve Lighting Without Causing Glare?
To improve lighting without causing glare, you should use lighting diffusion techniques, such as softboxes or diffusers, which soften the light and reduce harsh reflections. Position your light sources at angles that minimize direct reflections on the bottle’s surface. Adjust the distance and intensity of your lights to avoid overexposure. These steps help achieve even, glare-free illumination, highlighting your beverage’s details without distracting reflections.
What Post-Processing Tips Enhance Beverage Photos?
To enhance your beverage photos in post-processing, focus on color correction to make the drinks look vibrant and appealing. Adjust brightness and contrast carefully to add depth without losing detail. Select a clean, complementary background to highlight the beverage and eliminate distractions. Use subtle sharpening to enhance clarity. These steps will help your images pop, making your beverages look irresistible while maintaining a natural, professional appearance.
Conclusion
In the end, choosing the right camera for beverage photography isn’t just about capturing a pretty picture; it’s about revealing every nuance of your setup—flaws and all. With each shot, bottles expose your lighting, composition, and background choices, demanding your utmost attention. Remember, even the most venerable camera, like a trusty Leica, can’t hide imperfections. Embrace the challenge, refine your technique, and let your images speak volumes—much like a well-crafted sonnet from Shakespeare’s quill.
Halloween Picks
halloween
As an affiliate, we earn on qualifying purchases.