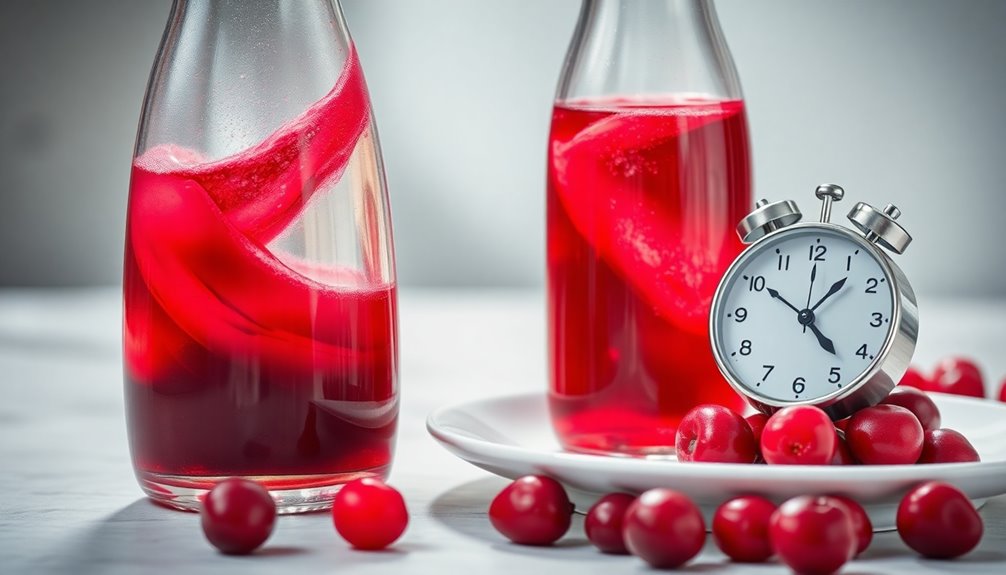
Cranberry juice is typically good for about 8 to 12 days after you’ve opened it, as long as you store it properly in the fridge. Keep it in an airtight container, ideally the original bottle, to prevent spoilage. Look out for any changes in color, odor, or signs of mold, which can indicate it’s gone bad. If you want to extend its shelf life significantly, stick around to learn about proper storage methods! To maximize the freshness of your cranberry juice, consider pouring it into smaller, airtight containers to limit exposure to air each time you pour a glass. Additionally, always check the expiration date on the bottle before opening, as this can give you a good indication of how long does cranberry juice last before it was opened. By following these tips and monitoring your juice carefully, you can enjoy its tart flavor and health benefits for as long as possible.
Key Takeaways
- Cranberry juice remains good for approximately 8 to 12 days after opening when properly stored in the refrigerator.
- Store the juice in an airtight container to prevent spoilage and maintain freshness.
- Regularly check for signs of spoilage, such as changes in color, odor, or visible mold.
- Freezing the juice can extend its shelf life up to 12 months if stored in a freezer-safe container.
- Always shake well after thawing and inspect for spoilage before consumption.

When you crack open a bottle of cranberry juice, you might wonder how long it will stay fresh. You've got an inviting, sweet-tart beverage in front of you, but you don't want to risk drinking something that's gone bad. Typically, after you've opened that bottle, you can expect your cranberry juice to last approximately 8 to 12 days when stored properly in the refrigerator. This timeframe can vary based on several factors, including how well you handle its storage.
To keep your cranberry juice fresh for as long as possible, make sure you store it in an airtight container. Ideally, use the original bottle or carton it came in. An airtight container helps prevent exposure to air, which can lead to spoilage. If you've transferred the juice to another container, ensure it seals tightly to maintain the juice's quality.
As the days pass, it's smart to keep an eye out for signs of spoilage. One of the first indicators you might notice is a change in color; if the juice darkens or becomes cloudy, it's a red flag. Unpleasant odors are another telltale sign that your cranberry juice has seen better days. If you catch a whiff of something off, it's best to err on the side of caution and toss it. Additionally, if you spot any visible mold, don't hesitate—dispose of the juice immediately. Regular inspection as the expiration date approaches can help ensure you're drinking safe, fresh juice.
What if you know you won't finish the juice within that 8 to 12-day window? You can consider freezing it for extended storage! Freezing cranberry juice can preserve it for up to 12 months, allowing you to enjoy it later without the worry of spoilage.
Just pour the juice into a freezer-safe airtight container, leaving some space at the top for expansion. Once you're ready to use it, thaw the juice in the refrigerator or under cool running water, and give it a good shake before drinking.

EanOruus Juicer Machines, 3-in-1 Cold Press Juicer with 6.5" Extra Large Chute, 100oz Large Capacity, AC Motor, Makes Juice, Nut Milk & Sorbet, Premium Gray
3-in-1 Versatility for Wellness: Equipped with two interchangeable strainers (Juice & Sorbet), easily switch between extracting pure, nutrient-rich...
As an affiliate, we earn on qualifying purchases.
Frequently Asked Questions
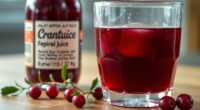
How Long Is Ocean Spray Cranberry Juice Good for After Opening?
When you open Ocean Spray cranberry juice, it stays fresh for about 8 to 12 days if you store it in the fridge.
Make sure you keep it in its original container, sealed tightly to maintain its flavor.
Always check for signs of spoilage, like changes in color or smell, before drinking.
If you want to keep it longer, consider freezing it, which can extend its shelf life for up to 12 months.
How to Tell if Cranberry Juice Went Bad?
Imagine opening a treasure chest, only to find it filled with moldy gems.
To tell if your cranberry juice has gone bad, look for signs of spoilage. If it's turned a murky hue or smells sour, it's time to toss it.
Floating particles or a film on top? That's a red flag. And if it tastes off, don't risk it—better safe than sorry!
Always trust your senses when it comes to food safety.
Is It OK to Drink Old Cranberry Juice?
It's not safe to drink old cranberry juice if it shows signs of spoilage, like off smells or unusual color.
If the juice's been stored properly and doesn't exhibit these changes, you might be okay, but always err on the side of caution.
Trust your senses—if you're unsure about its freshness, it's better to toss it out.
Drinking spoiled juice can lead to foodborne illness, so stay safe!
How Long Does Opened Juice Last in the Fridge?
Opened juice usually lasts about 7 to 10 days in the fridge, but it's best to check the specific type of juice.
Store it in an airtight container to keep it fresh longer. Make sure to refrigerate it right after opening and avoid leaving it at room temperature for too long.
Always monitor for signs of spoilage like changes in color or smell before consuming, as these can indicate it's no longer safe to drink.
Juicer Machines with 5.8" Large Chute, 2-in-1 Cold Press Juicer for Whole Vegetables Fruits 400W, Masticating juicer Easy to Clean Juice Extractor Machine for Making Nut Mike, Juice, Premium Gray
2-IN-1 Juicer Machines: This juicer features a powerful motor, enabling it to effortlessly produce a variety of nutritious...
As an affiliate, we earn on qualifying purchases.
Conclusion
In the grand tapestry of your kitchen, opened cranberry juice is like a vibrant thread that can either fade or flourish. Once you pop that seal, it's best to savor its tangy allure within 7 to 10 days for optimal freshness. Just as a sunset paints the sky, your juice will gradually lose its vibrancy. So, embrace those days wisely, and let the tartness dance on your palate before time weaves it into memory.

Ninja NeverClog Cold Press Juicer | Powerful Electric Slow Masticating Juicer with Pulp Control | XL Capacity | 24 oz. Juice Jug & 36 oz. Pulp Container | Dishwasher Safe | Charcoal | 150W | JC151
NON-STOP JUICING: This powerful masticating juicer’s high-torque motor powers through tough fruits and vegetables like apples, carrots, celery,...
As an affiliate, we earn on qualifying purchases.
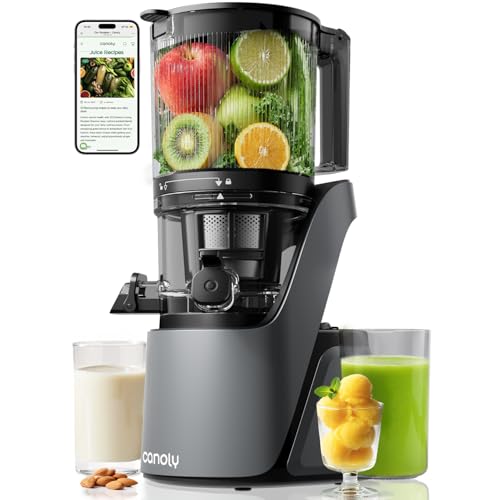
Canoly C16 Cold Press Juicer, 6" Extra Wide Feed Chute, 3-IN-1 Strainers (Juice & Sorbet & Nut Milk), Powerful AC Brushless Motor, Self Precut System, Juicer Machines with BPA-Free (Space Gray)
Canoly C16 3-in-1 Multi-Function Juicer: Features two strainers (Juice & Sorbet) to create fresh fruit/vegetable juice, creamy nut...
As an affiliate, we earn on qualifying purchases.

Cindy thoroughly researches juicing trends, techniques, and recipes to provide readers with practical advice and inspiration. Her writing style is accessible, engaging, and designed to make complex concepts easy to understand. Cindy’s dedication to promoting the advantages of juicing shines through her work, empowering readers to make positive changes in their lives through the simple act of juicing.