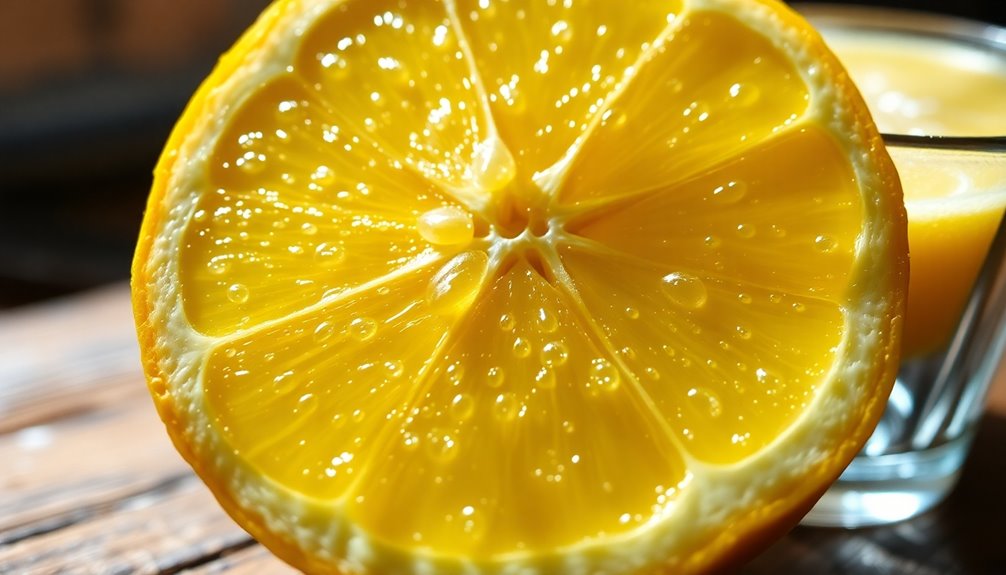

When you ask how much juice you get from one lemon, the answer really depends on its size. A medium lemon usually yields about 3 tablespoons, while a large one can give you up to 4 tablespoons. Smaller lemons typically provide around 2 tablespoons. If you're aiming for a specific recipe, knowing these measurements can help. Stick around to discover tips for maximizing your lemon juice extraction!
Key Takeaways
- A medium lemon yields about 3 tablespoons of juice.
- A large lemon can produce up to 4 tablespoons of juice.
- Smaller lemons typically yield around 2 tablespoons of juice.
- Juice yield varies based on the lemon's size, ripeness, and rind thickness.
- Accurate measurements enhance recipe precision and help select the ideal lemon.
When you squeeze a lemon, you might wonder just how much juice you'll get from it. The answer varies based on the size of the lemon you're working with. Generally, the larger the lemon, the more juice it'll yield. If you're using a medium lemon, you can expect about 3 tablespoons of juice. This amount is quite useful for recipes, cocktails, or even just to brighten up a glass of water.
On the other hand, if you happen to have a large lemon, you're in for a treat! A large lemon can produce up to 4 tablespoons of juice, which is roughly a quarter cup. This extra juice can come in handy when you're making a big batch of lemonade or need some zesty flavor for a dish.
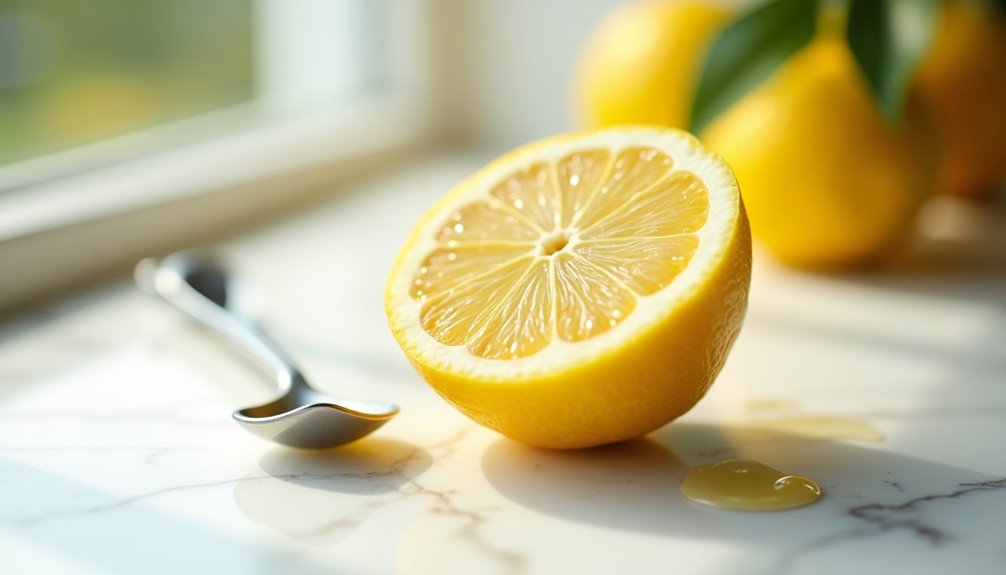
It's interesting to note that smaller lemons tend to yield less juice, around 2 tablespoons. So, if you're looking to maximize your juice output, it's wise to choose the right size lemon for your needs.
When you're aiming for a specific amount of juice, knowing how many lemons to use can streamline your cooking or cocktail-making process. For example, if you need 1 cup of lemon juice, you'll typically need about 5 to 6 medium lemons. This might seem like a lot, but it's essential to account for the fact that not every lemon is created equal. The juiciness of a lemon can vary due to its size, ripeness, and even the thickness of its rind.
If you want to be precise, consider that half a medium lemon will yield about 1.5 tablespoons of juice, while half a large lemon will give you around 2 tablespoons. These measurements are handy when you're trying to fine-tune your recipes.

BLACK+DECKER 32oz Electric Citrus Juicer, CJ625, Pressure Activated, Adjustable Pulp Control, Dishwasher-Safe
This product is highly durable
As an affiliate, we earn on qualifying purchases.
Frequently Asked Questions
Can I Substitute Bottled Lemon Juice for Fresh Lemon Juice?
Yes, you can substitute bottled lemon juice for fresh lemon juice, but keep in mind that it may not deliver the same vibrant flavor.
If you're in a pinch, bottled juice works fine for cooking and baking, but fresh lemon juice really shines in recipes that depend on its brightness and acidity.
Whenever possible, opt for fresh lemons to enhance your dishes, as they provide a more pronounced taste and aroma.
How Much of Bottled Lemon Juice Is Equal to 1 Lemon?
When you're substituting bottled lemon juice for fresh, you'll want to keep it simple. Generally, 2 tablespoons of bottled lemon juice equals the juice from one medium lemon.
If you're looking to make a larger batch, remember that 1/4 cup of bottled juice is roughly equivalent to the juice from about 2-3 medium lemons.
Just remember, fresh lemon juice usually has a brighter flavor, so adjust according to your taste!
How Much Are 2 Lemons Juiced?
When it comes to juicing lemons, you're in for a treat!
Two medium lemons usually yield about 6 tablespoons of juice, which is roughly 3/8 cup. If you're using larger lemons, you can squeeze out about ½ cup.
Keep in mind that smaller lemons might give you around 4 tablespoons total. Always have a few extras on hand, as the size and ripeness can really make a difference!
Is It Safe to Drink Lemon Juice Every Day?
Yes, it's generally safe to drink lemon juice daily, as long as you do it in moderation.
You'll benefit from vitamin C and improved digestion, but don't overdo it. Too much lemon juice can harm your teeth due to its acidity and may lead to other issues like electrolyte imbalances.
If you have acid reflux or citrus allergies, it's best to consult with a healthcare professional before making it a daily habit.

Cuisinart Pulp Control Citrus Juicer, Orange Juicer Squeezer and Lemon Squeezer with 3 Pulp Control Settings, Accommodates Small Limes and Large Grapefruits, CCJ-500P1, Black/Stainless Steel
PULP CONTROL CITRUS JUICER: The Cuisinart Pulp Control Citrus Juicer is not only an orange juicer and lemon...
As an affiliate, we earn on qualifying purchases.
Conclusion
In the quest for quenching your culinary cravings, one lemon typically yields about two to three tablespoons of juice. This zesty, vibrant liquid can elevate your dishes, adding a delightful dash of brightness. So, next time you squeeze, savor the symphony of flavors that a single lemon can bring. With just a bit of effort, you’ll discover that this little fruit packs a powerful punch, turning ordinary meals into extraordinary experiences. Enjoy the lemon’s luscious legacy! When you’re in the kitchen, the question often arises: how much juice in one lemon? Understanding this can help you accurately measure ingredients and enhance the flavor profiles of your recipes. Embrace the versatility of lemons, whether you’re crafting a tangy dressing, brightening a sauce, or even making a refreshing beverage, and watch as your culinary creations transform into tantalizing triumphs.

Eurolux Electric Citrus Juicer Stainless Steel | Premium Hands-Free One-Touch Orange Juice Squeezer for Oranges, Lemons, and Limes | Quiet Operation, Easy to Clean, Countertop Small Kitchen Appliance
Quiet & Powerful Performance — Enjoy smooth, quiet juicing with a 300W motor that runs at 110 RPM...
As an affiliate, we earn on qualifying purchases.

Eurolux Premium Electric Orange Juicer | Stainless Steel Citrus Squeezer With New Ultra-Powerful Motor and Soft Grip Handle for Effortless Juicing, Auto Shutoff, Dishwasher-safe Parts, Pulp Control
SUPERIOR JUICING POWER — It wields a 160W high-torque motor so you can experience commercial-grade juicing power at...
As an affiliate, we earn on qualifying purchases.

Cindy thoroughly researches juicing trends, techniques, and recipes to provide readers with practical advice and inspiration. Her writing style is accessible, engaging, and designed to make complex concepts easy to understand. Cindy’s dedication to promoting the advantages of juicing shines through her work, empowering readers to make positive changes in their lives through the simple act of juicing.