
Get your groove on by creating a juice groove in your cutting board! Start with a hardwood board for durability and aesthetics. Use a router with a 1/2″ or 3/4″ bit to carefully cut a groove around the edge, ensuring it’s deep enough to catch juices. Sand the edges for a smooth finish and apply food-safe mineral oil for protection. This practical enhancement will bring both style and functionality to your kitchen. You’ll discover more tips to perfect your project! Once your juice groove is complete, consider expanding your culinary skills by learning how to make apple cider vinegar at home. It’s a fantastic way to utilize any leftover apple scraps and enhance the flavors of your dishes. By fermenting these scraps with sugar and water, you can create homemade vinegar that pairs perfectly with your freshly prepared meals.
Key Takeaways
- Select quality wood, like maple or oak, for durability and aesthetic appeal when crafting your cutting board with a juice groove.
- Use a router with a suitable bit and templates to ensure consistent groove placement and clean cuts during the DIY process.
- Maintain safety by wearing protective gear and securing your workpiece to prevent movement while cutting the groove.
- Sand the groove edges for a smooth finish and apply food-safe mineral oil to protect and enhance the wood's appearance.
- Regularly clean and maintain your cutting board to ensure hygiene and prolong its lifespan while enjoying its functional design.
Understanding Juice Grooves

When you slice into juicy fruits or meats, juice grooves play a crucial role in keeping your workspace tidy. These grooves contain liquids, preventing spills that can create a mess. They enhance kitchen cleanliness and safety by managing juices, reducing the risk of slips and cross-contamination. Additionally, a simple system using scrap materials can be employed to create these grooves effectively.
Depending on your cutting board's size and intended use, the groove's depth and width can vary. Typically found in wooden boards, different wood types can offer both aesthetic appeal and functional benefits.
Juice grooves improve usability, making them ideal for tasks involving juicy foods. Plus, they help protect your board from moisture, extending its life and enhancing your culinary experience.
Essential Tools for Your DIY Project
Embarking on your DIY juice groove project requires the right set of tools to ensure success. Start with a table saw or hand saw to cut your wood strips to size. A router is essential for crafting the groove, so choose between a fixed or plunge router. Don't forget a thickness planer to keep your wood flat and even, along with a jointer or hand plane for smooth surfaces. Smoothing is key, so have a belt or orbit sander handy to achieve a polished look. Safety gear like goggles, earplugs, and a dust mask is crucial, along with work gloves for handling materials. Finally, gather clamps, router bits, and sandpaper for finishing touches. These tools will set you up nicely for your project!
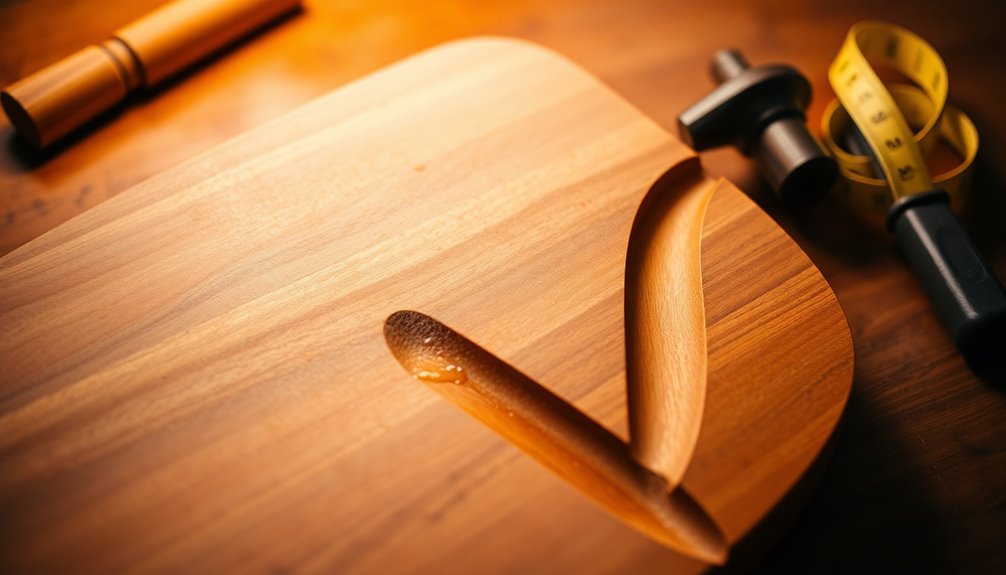
Techniques for Cutting the Perfect Groove

With the right tools gathered, you're ready to focus on cutting the perfect groove in your cutting board.
Start by selecting the appropriate router bit, typically 1/2" or 3/4" wide, depending on your desired groove size. Using a template ensures consistency in placement and shape.
Secure your board firmly to prevent movement during cutting, and employ edge guides to maintain straight cuts and avoid burns. Always prioritize safety when handling routers.
Consider the groove's depth and placement—aim for about 3/4" to 1" from the edges. Utilize methods like template routing for accuracy. Remember that creating a juice groove is essential for enhancing the functionality of your cutting board.
With these techniques, you'll create a functional groove that enhances your cutting board's utility while ensuring a polished finish.
Choosing the Right Type of Cutting Board
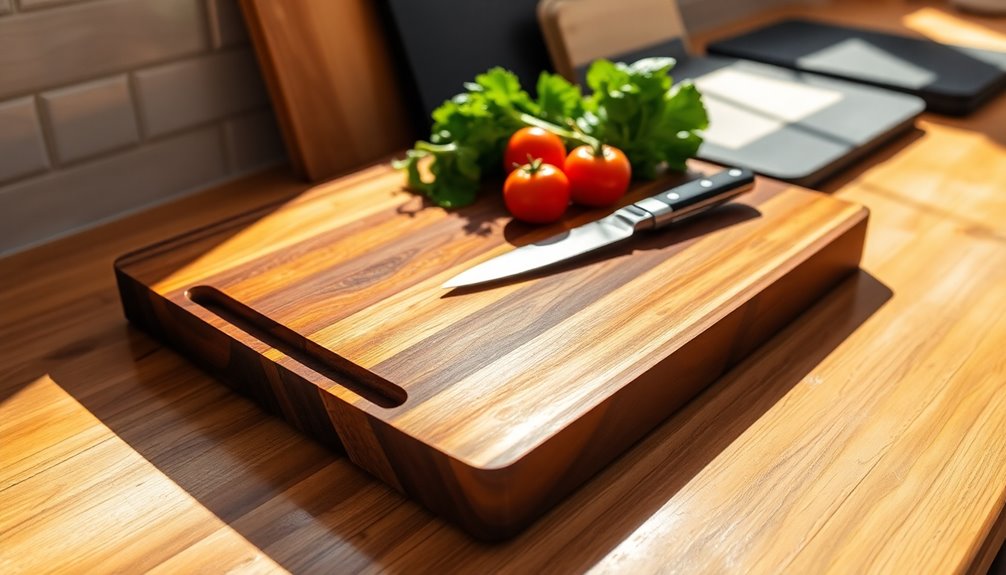
Choosing the right type of cutting board can significantly enhance your cooking experience, as each material offers unique benefits suited to different needs. Wood boards, particularly hardwoods like maple and oak, are durable and add an aesthetic touch to your kitchen. They can serve as beautiful serving platters as well, especially when you opt for high-quality materials that ensure longevity. If you prefer something eco-friendly, bamboo boards are lightweight and resistant to warping, while recycled plastic options provide sustainability without sacrificing functionality. Plastic boards are easy to clean but may not last as long as wood. Consider the size and features like juice grooves or grips to match your cooking style. Ultimately, assess your priorities like durability, maintenance, and eco-friendliness to find the perfect cutting board for you. Energy-efficient options are also available, making it easier to choose a board that aligns with your cooking and environmental goals.
Maintaining Hygiene and Preventing Bacterial Growth

Keeping your cutting board clean and hygienic is just as important as picking the right one. After each use, wash it with hot, soapy water and rinse thoroughly to remove soap residues. Dry it completely with a clean towel or let it air dry to prevent moisture buildup. If your board has been used for raw meats, sanitize it with a chlorine bleach solution. To prevent cross-contamination, use separate boards for raw meats, vegetables, and cooked foods. Designate specific boards and clean them immediately after use. Regularly inspect for wear and damage; discard any hard-to-clean boards. Lastly, ensure your cutting board is completely dry after cleaning to inhibit bacterial growth and maintain its integrity. Proper cleaning not only preserves the quality of your board but also prevents bacteria growth on surfaces. Additionally, using a HEPA filter in your kitchen can further enhance your environment by reducing airborne contaminants that may settle on your cutting board.
Overcoming Common DIY Challenges
Although tackling DIY projects can be exciting, it often comes with its own set of challenges that can derail your plans.
First, set realistic timelines; unexpected complications can extend your project. Make sure you have the right tools on hand, as a lack of them can cause delays. Special tools may be required for specific DIY tasks, so ensure you have everything ready before you start. Maintaining a tidy workspace can also help you stay focused, as a clean environment promotes better mental well-being.
Plan adequately for potential roadblocks, and be prepared for tasks that might be more complex than you thought. If you're new to DIY, expect a learning curve that could take extra time.
Keep an eye on your budget, as hidden expenses and underestimating material costs can lead to overruns.
Lastly, never hesitate to seek professional help if you hit a wall—it's better than risking safety or legal issues.
Customizing Your Cutting Board
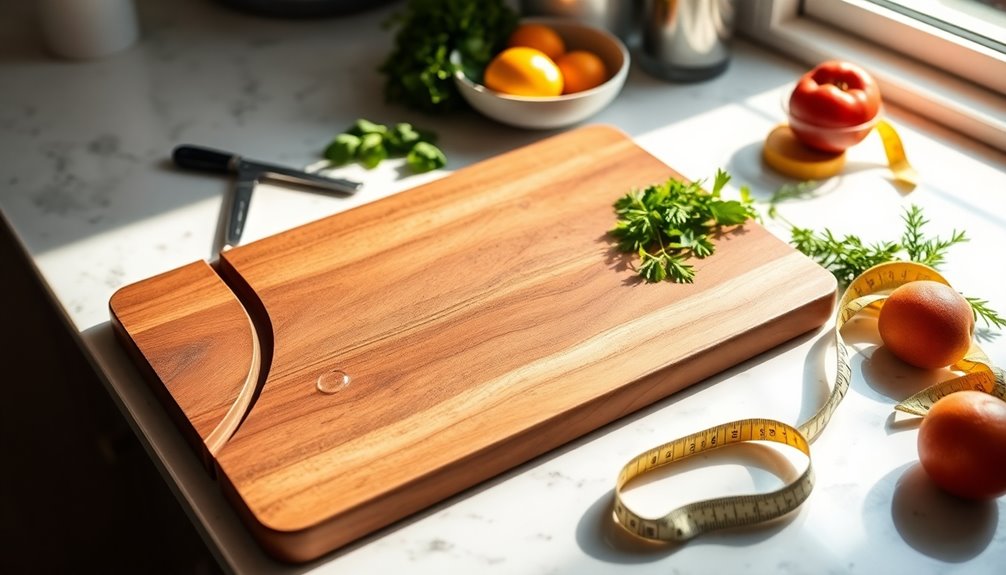
Customizing your cutting board allows you to create a unique kitchen accessory that reflects your style and personality. You can choose from various personalization techniques like engraving family names or quotes, etching subtle designs, or using laser cutting for intricate patterns. Personalization enhances ordinary items into meaningful possessions, representing your identity and love. Monogramming your initials adds a special touch, while custom quotes can bring sentimentality to your board.
Additionally, incorporating features like juice grooves can not only improve functionality but also align with the principles of educational toys, promoting creativity and hands-on engagement in the kitchen. Start by selecting high-quality wood suitable for your chosen technique, and consider incorporating accent woods for visual interest. Plan your design layout carefully to achieve the desired aesthetic. Don't forget to add functional features like juice grooves or handles, enhancing both usability and style. By personalizing your cutting board, you'll enjoy a functional piece that's distinctly yours.
Safety Tips When Using Power Tools

When using power tools, it's crucial to prioritize safety to prevent accidents and injuries. Always read and follow the tool's instruction manual before starting. Equip yourself with proper protective gear like safety goggles, dust masks, and hearing protection. Additionally, using tools with HEPA filtration can help minimize airborne particles that may arise during cutting.
Ensure your workspace is clean and well-lit, free from debris that could cause tripping. Check your tools for any damage and only use those in good condition. Avoid using tools in wet or damp conditions, and always use a ground fault circuit interrupter (GFCI) for electrical safety. Additionally, remember that maintaining positive control of the router is essential to prevent accidents while creating features like juice grooves.
Maintain good footing and balance, and secure workpieces with clamps to free your hands. Finally, dress appropriately to avoid loose clothing and distractions while working. Stay focused and safe!
Final Touches and Enjoying Your Creation
After ensuring your safety while working with power tools, it's time to focus on the final touches that will elevate your cutting board project.
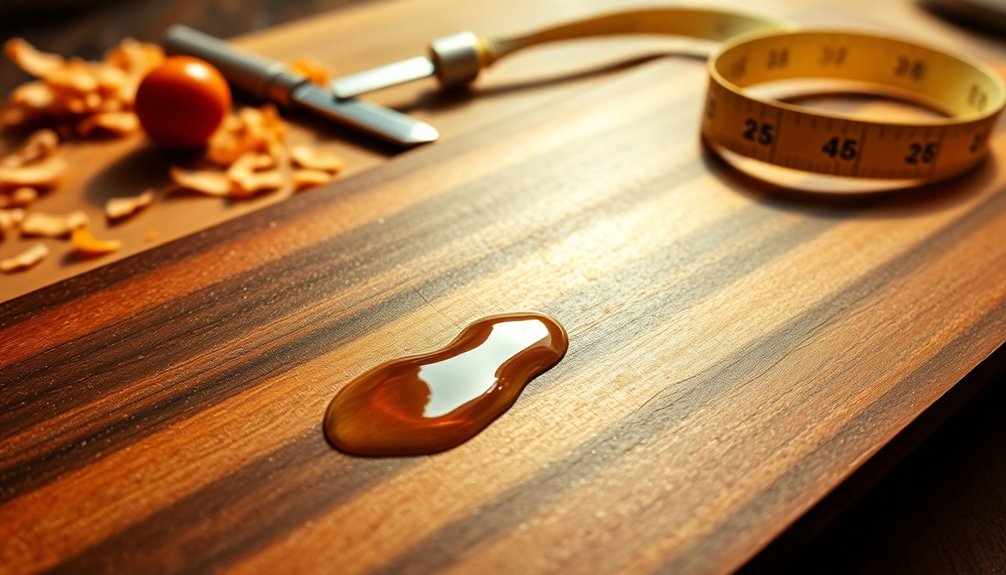
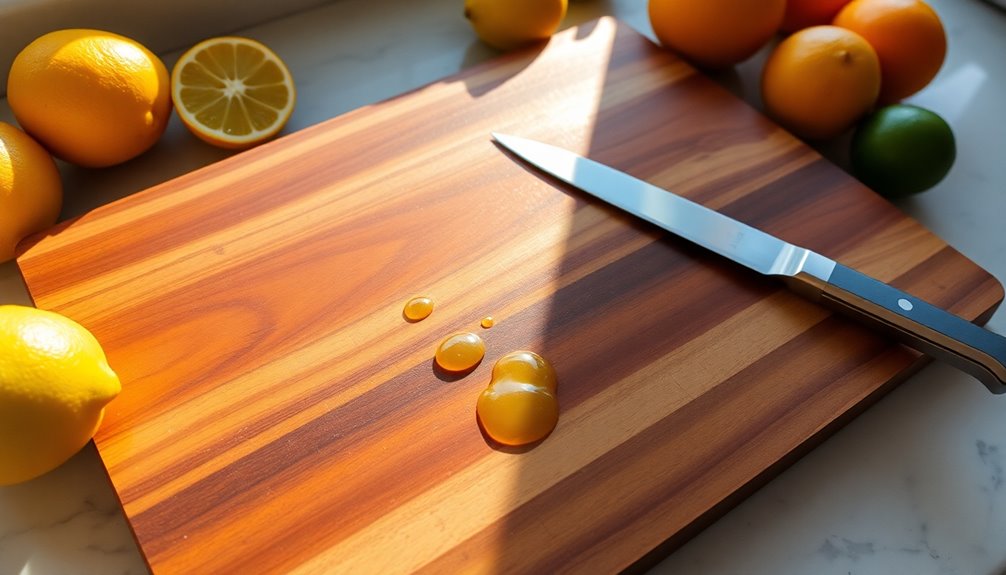
Start by sanding the groove to eliminate any rough edges, ensuring a smooth finish. Once done, clean the board thoroughly to remove dust and debris. Additionally, incorporating a juice groove not only enhances the board's functionality but also makes it a standout piece in your kitchen. Regular maintenance, including applying heat pump maintenance techniques, will ensure it lasts for years.
Next, apply a food-safe mineral oil to protect the wood and enhance its appearance. Inspect the cutting board for any imperfections that may need additional sanding.
Store it in a dry place to prevent warping. To enjoy your creation, use your board for practical cooking tasks, appreciate its aesthetic appeal, or consider gifting it to a cooking enthusiast.
Regular maintenance will ensure it lasts for years.
Frequently Asked Questions
Can I Use a Hand Saw Instead of a Router for Grooves?
You can use a hand saw for grooves, but it won't be as precise or efficient as a router.
Hand saws are great for small, non-repetitive tasks where exact depth and width aren't critical. However, you'll need skill to ensure straight cuts and consistent depth.
If you're set on using a hand saw, consider using jigs or templates to guide your cuts and improve your accuracy. Just be prepared for a more labor-intensive process.
How Deep Should the Juice Groove Be for Effective Use?
Imagine preparing a juicy roast, and the drippings run off your cutting board, creating a mess. To prevent this, aim for a juice groove about 1/4 inch deep.
This depth effectively captures juices without compromising your board's strength. If you're working with a thicker board, you might adjust slightly deeper, but always ensure the groove maintains the board's integrity.
Regular maintenance keeps it functional and looking great!
What Other Uses Can I Have for a Cutting Board With Grooves?
You can use a cutting board with grooves for various tasks beyond just food prep.
It's perfect for serving meats and cheeses at gatherings, as the grooves catch any juices, keeping your presentation neat.
You can also use it for crafting or as a base for rolling dough, ensuring minimal mess.
Plus, it works great for marinating meats, allowing juices to stay contained while you flavor your ingredients effectively.
Can Juice Grooves Be Added to Existing Cutting Boards?
Yes, you can add juice grooves to existing cutting boards!
Using a handheld router and a jig, you'll create a groove along the edge to catch juices from fruits and vegetables.
Start by setting up your jig for stability, then make multiple shallow passes to avoid damaging the board.
Remember to choose the right router bit and maintain a consistent speed for clean cuts.
Always prioritize safety and wear protective gear while working!
Are There Specific Patterns for Juice Grooves That Work Best?
You might think all juice grooves are the same, but that's not true!
Straight grooves are simple and effective, while curved grooves add a decorative touch.
If you're working with larger boards, interconnected grooves allow for better liquid flow.
You can even mix patterns for a unique look!
Ultimately, the best groove pattern depends on your style and the board's intended use, so feel free to get creative!
Conclusion
Now that you've crafted your very own juice groove, you can finally say goodbye to those pesky spills—because who needs to keep their kitchen clean, right? With your cutting board looking like a masterpiece, you'll wonder why you ever thought buying one was a good idea. Just remember, every perfectly carved groove is a reminder of your DIY prowess, even if it means your countertops now double as a splash zone. Enjoy your creation, mess and all!

Susannah expertise lies in researching and compiling evidence-based content on juicing, nutrition, and overall health. She is committed to ensuring that The Juicery World offers accurate, up-to-date, and trustworthy information to empower readers to take control of their health. Susannah’s goal is to inspire individuals to embrace juicing as a way to nourish their bodies and live their best lives.