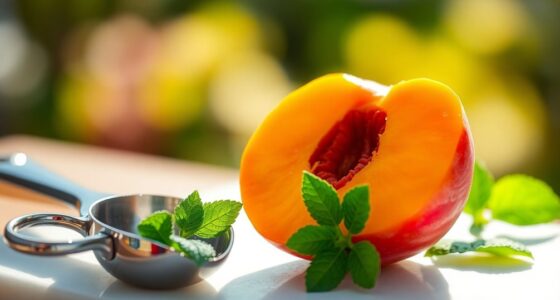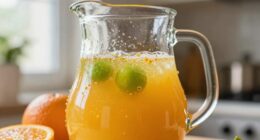

To make jelly from juice, pour 3 cups of your favorite fruit juice into a saucepan, then stir in a box of pectin. Bring it to a rolling boil, add 4 cups of sugar, and boil for one more minute. Don’t forget to remove any foam for clarity! Pour the mixture into sterilized jars, process them in a boiling water bath for 10 minutes, and let them cool. Stick around to learn tips for perfecting your jelly! For those looking to explore different flavors, one popular choice is how to prepare jollibee pineapple juice, which can make a delightful jelly. Simply substitute the fruit juice in the recipe with freshly squeezed pineapple juice for a tropical twist. Remember, the quality of your juice will directly impact the final taste and texture of your jelly, so choose ripe and flavorful fruit for the best results.
Key Takeaways
- Combine 3 cups of fruit juice with pectin in a saucepan and bring to a full rolling boil.
- Quickly add 4 cups of sugar, ensuring it dissolves before boiling for an additional minute.
- Remove any foam that forms during boiling for a clearer, more appealing jelly.
- Fill clean, sterilized jars with the mixture, leaving space at the top, and process in a boiling water bath for 10 minutes.
- Allow jars to cool completely; jelly will fully gel in 6-8 hours and can be stored in the pantry.
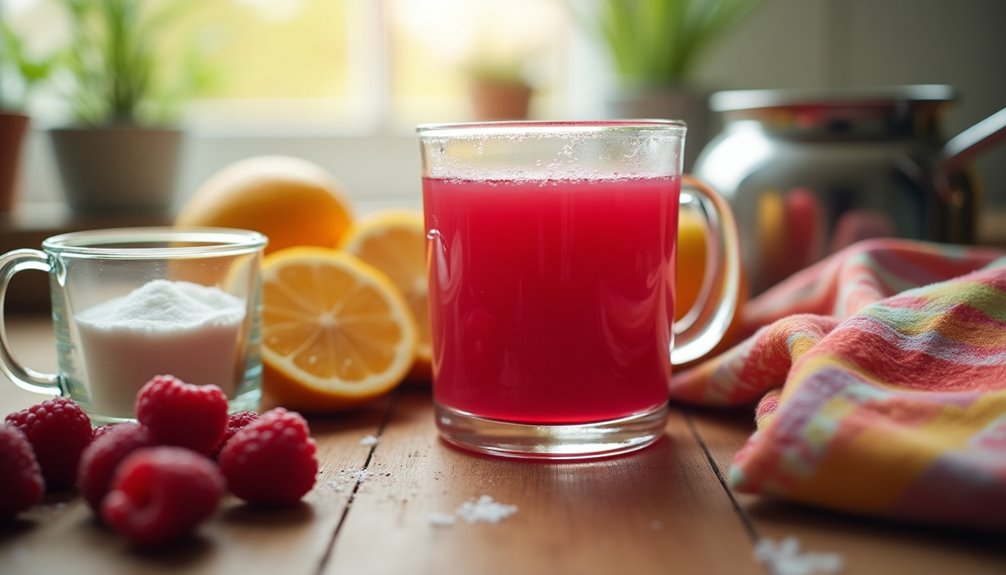
Making jelly from juice is a fun and rewarding kitchen project, especially when you want to preserve the vibrant flavors of your favorite fruits. You don't need to be a professional chef to create delicious homemade jelly; with just a few ingredients and some simple steps, you can enjoy your very own jars of fruit goodness. So, let's dive into the process of transforming your favorite juice into a delightful jelly.
To get started, gather your ingredients: about 3 cups of fruit juice, 1 box of pectin, and 4 cups of sugar. The type of juice you choose can significantly influence the flavor of your jelly, so pick one that you love. You can even adjust the amount of sugar according to your taste preference, but keep in mind that the standard recipe typically calls for 4 cups.
Once you've got everything together, pour the juice into a saucepan and stir in the pectin. Turn up the heat and bring the mixture to a full rolling boil—this means the bubbles won't stop forming even if you stir it.
Once your juice and pectin mixture reaches that glorious full rolling boil, it's time to add the sugar. Stir it in quickly, making sure it dissolves completely. Allow the mixture to boil for one more minute—this step is crucial for achieving that perfect jelly consistency. As you boil, you might notice some foam forming on the surface. Don't skip this part! It's essential to remove the foam to ensure your jelly looks clear and appetizing once cooled.
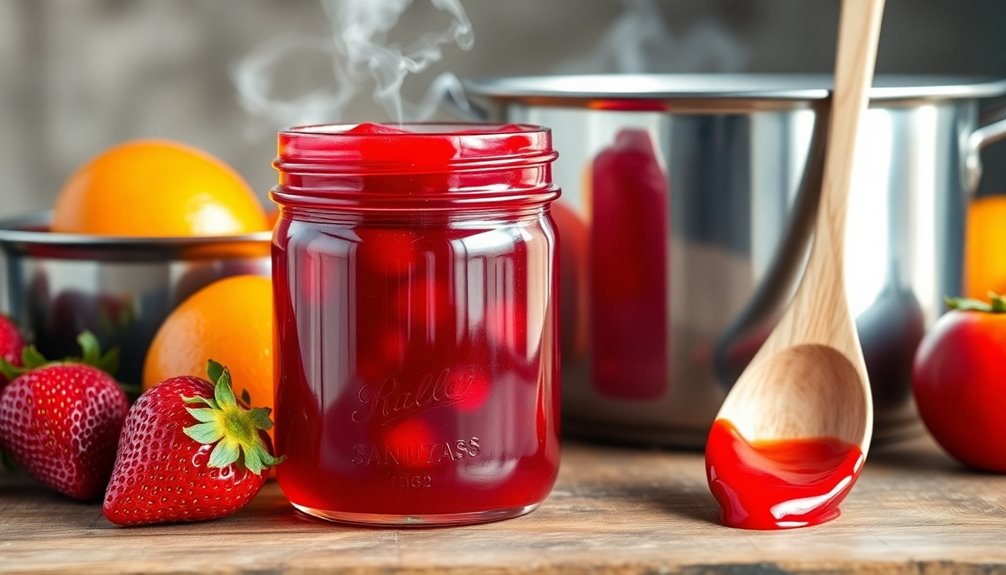
After boiling, you're ready to ladle your mixture into clean jars. It's best to use sterilized jars to ensure your jelly stays fresh. Fill the jars, leaving a little space at the top, and make sure to remove any remaining foam.
Once you're done filling the jars, it's time to process them for shelf stability. Place the jars in a boiling water bath for 10 minutes. This step not only seals the jars but helps preserve your homemade jelly for longer shelf life.
After 10 minutes, carefully remove the jars from the boiling water bath and place them on a clean towel or drying rack. Allow the jars to cool completely at room temperature. You might notice that your jelly takes about 6-8 hours to fully gel, so try to resist the urge to open them too soon. If you didn't remove the foam, you might see some cloudiness in your jelly, so keeping an eye on that's essential.
Once the jelly has set, you'll have delicious, regular jelly ready to enjoy on toast, in desserts, or straight from the jar. If you've processed them properly, these jars can be stored in your pantry for months. If not, don't worry; you can keep them in the refrigerator for several months. Enjoy your homemade jelly, and feel proud of your kitchen accomplishment!
Frequently Asked Questions
Can I Make Jelly From Store-Bought Juice?
Yes, you can absolutely make jelly from store-bought juice!
It's a quick and convenient option that saves you time. Using bottled juice means you won't have to deal with boiling or straining fresh fruit.
For every quart of juice, you'll need a box of pectin and about 1.5 to 3 cups of sugar, depending on how sweet you like it.
Just remember to follow proper canning procedures for safety!
How to Extract Juice for Jelly?
To extract juice for jelly, start by crushing your chosen fruits.
If you're using softer fruits like berries, gently heat them to release more juice.
For harder fruits, chop them into small pieces and simmer with water until they soften.
Use a jelly bag or fine mesh strainer to separate the liquid, letting gravity work its magic.
Always ensure your containers are clean and sanitized to avoid contamination.
How Many Cups of Juice Does It Take to Make Jelly?
Picture yourself swimming in a sea of juice, but before you start splashing, let's talk numbers.
You'll need about four cups of juice, which is one quart, to whip up around five to six half-pints of jelly.
It's like a jelly factory in your kitchen! Just remember, precise measuring is key.
Too much or too little juice might turn your jelly dreams into a gooey nightmare, and nobody wants that!
Can You Freeze Juice to Make Jelly Later?
Yes, you can freeze juice to use later for making jelly. Freezing keeps the juice's flavor and quality intact for months.
Just make sure you use airtight containers or freezer bags to avoid freezer burn. When you're ready to use it, thaw the juice in the refrigerator for even consistency.
Keep an eye out for any off smells or color changes after thawing, as they could signal spoilage before you start your jelly preparation.
Conclusion
Now that you've transformed your juice into a sparkling jar of jelly, let the vibrant colors dance on your shelf like a sunset in a bottle. Each spoonful is a sweet reminder of summer days, bursting with flavor that spreads joy on your toast. So go ahead, pop open that jar and let the delightful aroma fill your kitchen, as you savor the taste of homemade goodness, one delicious bite at a time. Enjoy your creation!

Cindy thoroughly researches juicing trends, techniques, and recipes to provide readers with practical advice and inspiration. Her writing style is accessible, engaging, and designed to make complex concepts easy to understand. Cindy’s dedication to promoting the advantages of juicing shines through her work, empowering readers to make positive changes in their lives through the simple act of juicing.