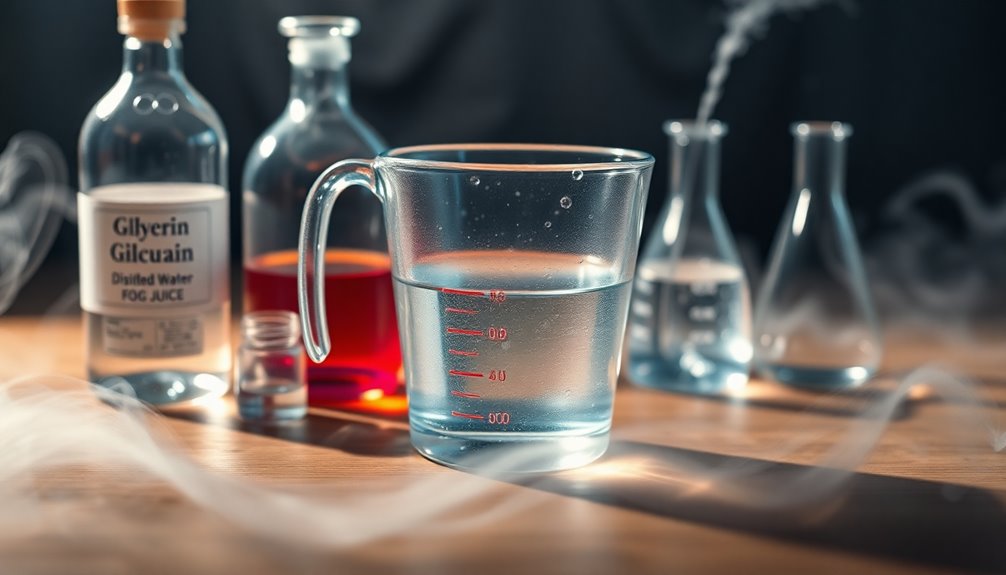
To make low-lying fog juice, mix 1/3 cup of vegetable glycerin with 2/3 cup of distilled water. Measure accurately for the best results. Combine the ingredients in a bowl until evenly mixed, ensuring a consistent fog for your event. Pour the mixture into your fog machine, but consider using a fog chiller for a thicker effect. Remember to test a small batch first to adjust the thickness to your liking. There’s more to discover about enhancing your fog juice! Experimenting with different ratios of glycerin and water can lead to unique fog effects, so don’t hesitate to tweak the recipe to suit your specific needs. If you’re interested in learning more about how to create fog juice, there are various resources and tutorials available online that provide additional tips and tricks. Ultimately, the key is to enjoy the process and have fun with the enchanting atmosphere that fog can bring to your gatherings!
Key Takeaways
- Combine 1/3 cup of vegetable glycerin with 2/3 cup of distilled water for a thicker fog effect.
- Mix ingredients thoroughly in a bowl for an even blend before pouring into the fog machine.
- Conduct a small test batch to evaluate fog thickness and adjust glycerin or water as needed.
- Use a fog chiller to enhance low-lying fog effects for your event.
- Be aware that homemade fog juice may void your fog machine's warranty, so check before using.
If you want to create an enchanting atmosphere for your next event, making your own fog juice is a simple and effective solution. Low-lying fog adds a magical touch that can elevate any gathering, from Halloween parties to weddings. By mixing the right ingredients, you can whip up a homemade solution that produces thick, mesmerizing fog. The key ingredients you'll need are vegetable glycerin and distilled water, both of which are easy to find.
Start by measuring out your ingredients. For a good fog juice recipe, mix 1/3 cup of vegetable glycerin with 2/3 cup of distilled water. This ratio creates a thicker fog that clings closer to the ground, perfect for that desired low-lying effect. Make sure to use high-quality vegetable glycerin; lower quality options mightn't produce the same thickness and can result in less consistent fog.
Once you've got your measurements, combine them thoroughly in a bowl. It's essential that the mixture is well combined before you pour it into your fog machine. An even mixture will ensure that you achieve the desired effect without any unexpected surprises.
Before you go all out, always conduct a test batch. This small-scale trial allows you to see how your homemade fog juice performs. If the fog isn't thick enough, you can adjust the ratios slightly. Perhaps adding a bit more glycerin can enhance the thickness, or maybe you'll find that you need to tweak the distilled water a bit. Testing helps you perfect the blend before using it in a larger setting, ensuring that everything looks just right when the big moment arrives.
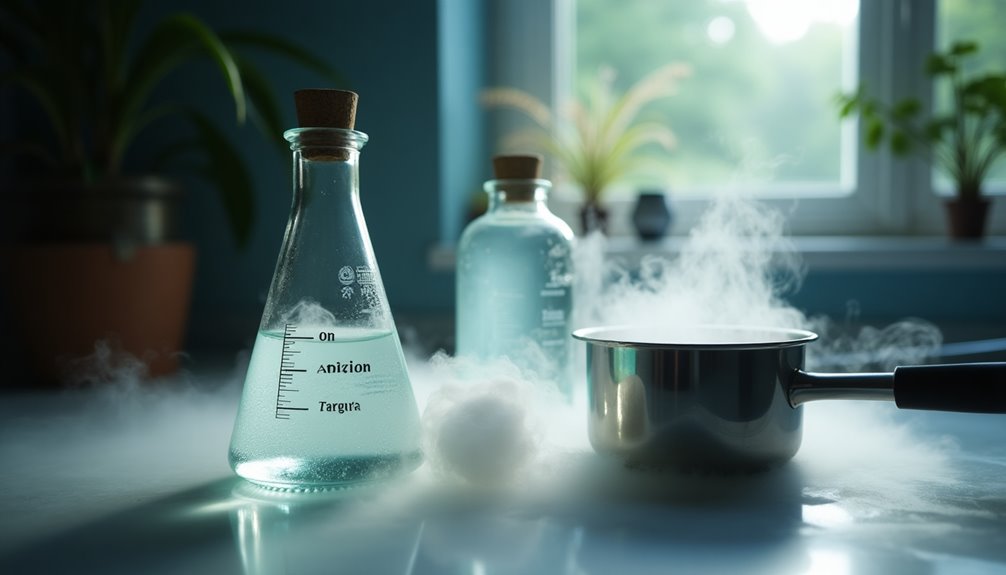
If you're using a fog chiller with your fog machine, it's worth noting that the resulting fog will be even lower to the ground. This is because the chiller cools the fog, allowing it to settle more effectively.
With your homemade solution in hand, you'll be able to create an atmosphere that feels immersive and captivating. Just remember to keep an eye on the fog machine's warranty. Many manufacturers state that using homemade fog juice might void the warranty, so proceed with caution.
Creating your own fog juice can be a fun and rewarding process. You'll not only save money compared to store-bought options, but you'll also have the satisfaction of knowing exactly what's in your fog. Plus, the ability to customize the thickness and performance of your fog means you can tailor it to your specific needs.

Instant Pot Duo 7-in-1 Electric Pressure Cooker, Slow Cooker, Rice, Steamer, Sauté, Yogurt Maker, Warmer & Sterilizer, Includes App With Over 800 Recipes, Stainless Steel, 6 Quart
- 7-in-1 Cooking Functions: Pressure, slow, sauté, steam, rice, yogurt, warm
- Smart One-Touch Programs: 13 customizable cooking options
- Safe Steam Release: Easy and secure steam switch
As an affiliate, we earn on qualifying purchases.
Frequently Asked Questions
How to Make Fog Low Lying?
To make fog low-lying, start by cooling it before it disperses. Use a fog chiller filled with ice to ensure the fog stays closer to the ground.
Adjust your fog machine settings to produce denser fog, allowing it to creep along the floor. Keep an eye on the ice levels, replacing it as necessary.
If you want a chillier effect, consider using dry ice, but handle it safely and ensure proper ventilation.
How Do You Make Fog Juice?
Imagine you're setting up for an epic Halloween party and want to create an eerie atmosphere.
To make fog juice, you'll need to mix 1/3 cup of vegetable glycerin with 2/3 cup of distilled water. Stir it well, then pour it into your fog machine's reservoir.
Be sure to use high-quality glycerin for the best results. Always test it in a controlled environment first to tweak the mixture for your desired fog effect.
How Do You Make Homemade Fogger Solution?
To make a homemade fogger solution, you'll need to mix 1/3 cup of vegetable glycerin with 2/3 cup of distilled water.
Stir the mixture well to ensure it's combined thoroughly.
Once you've got it ready, pour it into your fog machine.
Just remember, using a homemade solution might void your warranty, so it's a good idea to check the manufacturer's guidelines first.
Store any leftover mixture in a sealed container for later use.
What Is the Ratio for Fog Fluid?
When it comes to fog fluid, think of it as a recipe for an atmospheric potion.
Typically, the common ratio is 1 part vegetable glycerin to 3 parts distilled water. If you want a denser fog, you might try a higher concentration, like 1/3 cup glycerin to 2/3 cup water.
Just remember, the effectiveness can vary based on your fog machine's wattage and the surrounding temperature, so experiment a little!
Conclusion
By crafting your own low-lying fog juice, you're not just mixing ingredients; you're conjuring an enchanting atmosphere that dances like whispers of mist in the moonlight. With each puff, you transform ordinary spaces into ethereal realms, where imagination takes flight. So, gather your supplies, follow the steps, and watch your surroundings shimmer with mystery. It's time to let your creativity flow like fog rolling over a tranquil landscape, inviting magic into every moment.