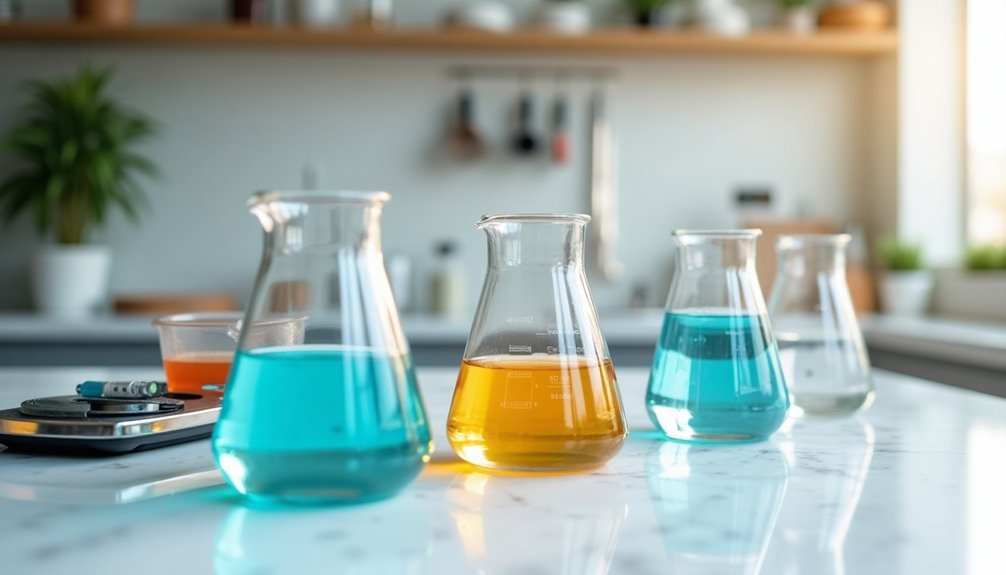
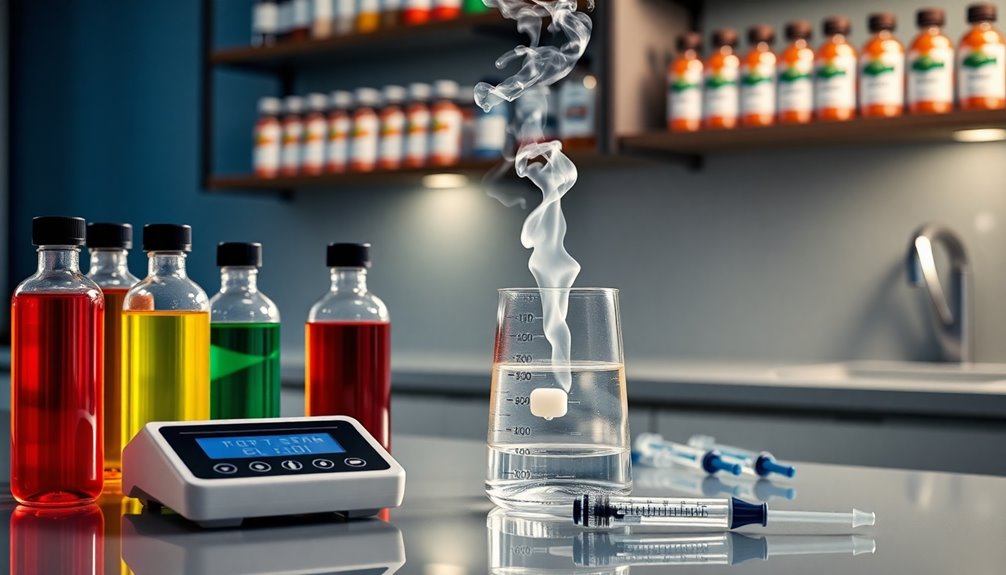
I have been vaping for a few years now, and one of the most rewarding things I have done is creating my own vape juice. Not only is it more affordable than buying premade juices, but it also allows me to customize the flavor and nicotine levels to suit my taste.

In this article, I’ll guide you through the process of making your own vape juice, from understanding the basic ingredients to mixing and steeping your own unique blend. We’ll cover the necessary supplies, including vegetable glycerin (VG), propylene glycol (PG), flavor concentrates, and nicotine, as well as important safety considerations. Whether you’re experimenting with flavors or aiming for a custom nicotine strength, the process can be both fun and rewarding. Though this guide focuses on vape juice, if you’re also interested in related DIY projects, like making pimp juice traction compound for racing, exploring the chemistry behind it can be quite similar.

First, it’s important to understand what vape juice is and what it’s made of. Vape juice, also known as e-liquid, is a liquid that is vaporized by an electronic cigarette or vaping device. The main ingredients in vape juice are propylene glycol (PG), vegetable glycerin (VG), flavorings, and nicotine (which is optional).

PG and VG are both odorless liquids that are used as a base for the flavorings and nicotine. PG is thinner and produces a stronger throat hit, while VG is thicker and produces more vapor. Understanding the ratio of PG to VG in your vape juice is crucial for determining the overall flavor and vapor production.

Key Takeaways

  • Making your own vape juice is cost-effective and allows for customizable flavors and nicotine levels.
  • The main ingredients in vape juice are propylene glycol, vegetable glycerin, flavorings, and optional nicotine.
  • PG produces a stronger throat hit, while VG produces more vapor.
  • Proper storage and handling, as well as compliance with laws and regulations, are important for ensuring the safety and quality of homemade e-liquid.

Understanding the Basics of Vape Juice

So, you wanna make your own vape juice? Well, let’s talk about the basics of vape juice.

Vape juice, also known as e-liquid or e-juice, is a combination of several ingredients that create the vapor you inhale. These ingredients include a base liquid, flavorings, and nicotine (although nicotine is optional).

When selecting your ingredients, it’s important to consider the nicotine level. Nicotine is what gives you the throat hit and buzz when vaping. It’s measured in milligrams per milliliter (mg/ml). If you’re a heavy smoker, you may want to start with a higher nicotine level and gradually decrease it over time. However, if you’re not a smoker, it’s best to avoid nicotine altogether.

As for the base liquid, most e-liquids use a combination of propylene glycol (PG) and vegetable glycerin (VG). PG is thinner and provides more of a throat hit, while VG is thicker and produces more vapor. It’s up to you to decide how much of each you want to use.

Now that you understand the basics of vape juice and have selected your ingredients, it’s time to move onto the fun part – choosing your flavor profiles.

Choosing Your Flavor Profiles

Choosing your flavor profiles is key to crafting a delicious e-liquid that will satisfy your taste buds. When it comes to selecting the perfect flavor combination, there are two main categories to consider: fruit and dessert flavors.

Fruit flavors are typically lighter and refreshing, while dessert flavors tend to be richer and sweeter. It’s important to decide which category you want to focus on before selecting specific flavors.

Once you’ve chosen your category, it’s time to select your specific flavors. Here are some tips to help you make the best choices:

  1. Start with simple flavors and build from there. It’s easier to add more complexity than to take it away.

  2. Consider using DIY flavor extracts to create a truly unique flavor profile.

  3. Read reviews of different flavors to get an idea of how they taste and what other people think of them.

  4. Don’t be afraid to experiment and try new combinations.

Now that you’ve selected your flavor profiles, it’s time to start mixing your ingredients.

Mixing Your Ingredients

Once you’ve got your desired flavor profiles, it’s time for you to start mixing your ingredients to achieve that perfect blend that suits your taste buds. Measuring accurately is crucial when making your own vape juice. Use a scale to weigh your ingredients in grams to ensure that you get the right amount of each component.

When mixing your ingredients, start with the base, which is usually made up of propylene glycol (PG) and vegetable glycerin (VG). The ratio of PG to VG will depend on your preference, but a common ratio is 50:50. After measuring your base, add your desired flavorings and adjust the nicotine levels to your liking. Keep in mind that nicotine can be dangerous in high concentrations, so always take caution when handling it.

Once you’ve mixed your ingredients, give it a good shake and let it sit for a few minutes before testing it out.

As you mix your ingredients, keep in mind that the flavor and nicotine levels may not be perfect right away. This is where steeping your vape juice comes in. Steeping is the process of allowing your vape juice to sit and age, allowing the flavors to blend and mature over time. We’ll go over this process in more detail in the next section.

Steeping Your Vape Juice

I want to talk about steeping my vape juice. Steeping is important because it allows the flavors to blend together and mature, making the vape juice taste better.

There are different steeping methods, such as the shake and vape, hot water bath, and time steeping, each with its own benefits and drawbacks.

Why Steeping is Important

Steeping your homemade vape juice is crucial for developing the fullest and most enjoyable flavor possible. Different steeping times can affect the taste of your vape juice, so it’s important to follow a specific steeping process that works for you.

The longer you steep your juice, the more intense and complex the flavor will become. On the other hand, a shorter steeping time will result in a milder taste. Flavor development during steeping depends on the ingredients you used and the type of vape juice you’re making.

For instance, a fruit-flavored vape juice may require a shorter steeping time than a dessert-flavored one. However, it’s essential to be patient and allow your juice to steep for the recommended time to ensure that all the flavors blend together perfectly.

With the right steeping time, you’ll enjoy a rich, flavorful vape juice that will satisfy your taste buds. Moving forward, let’s explore different steeping methods to find the one that suits you best.

Different Steeping Methods

Ready to take your vape juice to the next level? Let’s explore some different methods for steeping that will have your taste buds dancing with joy.

Steeping is a crucial process in making your own vape juice, as it allows the flavors to meld together for a smoother, more balanced taste. There are two main methods of steeping: cold steeping and hot steeping.

Cold steeping involves placing your e-liquid in a cool, dark place for several days or even weeks. This slow method allows the flavors to slowly mix together without the heat accelerating the process.

Hot steeping, on the other hand, involves heating the e-liquid to a specific temperature for a shorter period of time. This method is quicker, but it can also result in a harsher taste if not done correctly. Experiment with both methods to see which one works best for your particular recipe and preferences.

To really ensure your vape juice is at its best, testing and tweaking your recipe is essential. In the next section, we’ll explore some tips for testing and adjusting your mix until it’s perfect.

Testing and Tweaking Your Recipe

To perfect my vape juice recipe, I always start with small amounts of flavorings and adjust them as needed. Flavor experimentation is crucial to creating a unique and satisfying vape juice. I try different combinations of flavors and ratios until I find the perfect blend.

It’s also important to keep in mind that some flavors may be more potent than others, so it’s best to start with a small amount and gradually add more until you reach the desired taste. Another aspect of tweaking my recipe is ingredient substitutions. Sometimes, certain ingredients may not be available or may not work well with the other flavors in the recipe.

In these cases, I experiment with different substitutions until I find the perfect match. It’s important to keep track of the changes I make and the results I get so that I can easily reproduce a successful recipe in the future.

When I have perfected my recipe, I move on to the next step of storing my vape juice to ensure that it stays fresh and flavorful. I make sure to store it in a cool, dark place, as exposure to light and heat can degrade the quality of the juice. It’s also important to use airtight containers to prevent oxidation, which can affect the flavor over time. Knowing **how long vape juice lasts** helps me keep track of when it’s time to remix a fresh batch, ensuring I always have the best possible vaping experience.

Storing Your Vape Juice

Don’t let your hard work go to waste, ensure your flavorful recipe lasts by properly storing your homemade e-liquid. Proper storage is crucial to maintain the quality and freshness of your vape juice.

The first thing you need to consider is the expiration date of the ingredients you used. Most flavorings and nicotine have an expiration date, so it’s essential to check them before mixing. Expired ingredients may not only affect the taste and aroma of your e-liquid, but they could also pose health risks.

Safety measures and handling precautions are also critical when storing your vape juice. Always keep your e-liquid out of reach of children and pets. Store them in a cool, dry place away from direct sunlight, heat, and air. Exposure to these elements can cause the flavor and potency of your vape juice to deteriorate.

You can use dark glass bottles to prolong the shelf life of your e-liquid. Remember to label the bottles with the date you mixed them and the recipe you used.

Proper storage and handling of your vape juice can ensure that your hard work and efforts in creating the perfect recipe won’t go to waste. Now that you know how to store your vape juice correctly, the next step is to learn about labeling and packaging your e-liquid to make them look professional and safe.

Labeling and Packaging Your Vape Juice

Ensuring the safety and professional appearance of your homemade e-liquid is crucial, and a key aspect of achieving this is through proper labeling and packaging. To create an effective label, consider the following four design elements:

  1. Color: Select colors that complement the flavor or theme of your e-liquid. For example, green might work well for a mint or cucumber flavor, while red might be appropriate for a cherry or strawberry flavor.

  2. Font: Choose a font that’s easy to read and consistent with your brand. Avoid using multiple fonts or styles, as this can make your label appear cluttered and unprofessional.

  3. Information: Your label should include the name of your e-liquid, the flavor, and the nicotine strength. You may also want to include a warning about the potential health risks of vaping and a list of ingredients.

  4. Legal requirements: Be sure to comply with all relevant laws and regulations, including those related to labeling and packaging. For example, in the United States, e-liquid labels must include a warning about nicotine and a statement that the product is intended for use by adults only.

Proper labeling and packaging can help ensure the safety and quality of your homemade e-liquid. In the next section, we’ll discuss some of the advantages of making your own vape juice.

Advantages of Making Your Own Vape Juice

I personally find making my own vape juice highly advantageous for two main reasons: customization and cost-effectiveness.

By mixing my own ingredients, I have the freedom to create unique flavors and tailor the nicotine strength to my preference.

Additionally, making my own vape juice has proven to be much more cost-effective in the long run compared to purchasing pre-made juices. With the ability to purchase ingredients in bulk and reuse bottles, I’ve saved a significant amount of money.

Customization

To really make your vape juice your own, you can add unique flavors and personal touches that will make it stand out like a diamond in a sea of plain e-liquids. The customization options are endless when it comes to making your own vape juice.

You can mix and match different flavors to create a unique blend that perfectly suits your personal flavor preferences. Want a fruity and refreshing vape juice? Mix some strawberry and watermelon flavors together. Craving something sweet and indulgent? Add some vanilla and caramel into the mix.

Aside from flavor, you can also adjust the nicotine strength and PG/VG ratio to suit your preferences. This level of customization is simply not possible with store-bought e-liquids. Plus, making your own vape juice allows you to experiment with different flavor combinations until you find the perfect blend for you.

With all the customization options available, making your own vape juice is a fun and rewarding experience. And the best part? It’s also cost-effective.

Cost-Effectiveness

Saving money is a major benefit of creating your own e-liquid, allowing you to enjoy your favorite flavors without breaking the bank. Here are some ways that DIY vape juice can be cost-effective:

  • DIY equipment: By investing in the necessary equipment, such as mixing bottles, measuring tools, and a scale, you can save money in the long run by not having to purchase pre-made e-liquid. These items are typically affordable and can be reused for future batches.

  • Bulk purchasing: Buying ingredients in bulk can significantly reduce the cost per bottle of e-liquid. For example, purchasing a large bottle of nicotine base rather than multiple small bottles can save money in the long run. Additionally, purchasing flavor concentrates in larger quantities can also result in cost savings.

Overall, making your own e-liquid can be a cost-effective alternative to purchasing pre-made vape juice. However, it’s important to avoid common mistakes to ensure the quality and safety of your DIY e-liquid.

When making your own e-liquid, it’s important to follow proper safety procedures, such as wearing gloves and goggles, and to carefully measure ingredients to avoid over-diluting or over-flavoring.

In the next section, we’ll discuss common mistakes and how to avoid them to ensure that your DIY e-liquid is of the highest quality.

Common Mistakes and How to Avoid Them

Avoiding common mistakes in making your own vape juice can be the key to creating a satisfying and safe vaping experience. One of the most common mistakes beginners make is not measuring their ingredients properly. It’s essential to use precise measurements when mixing your ingredients to prevent harsh flavors or even dangerous chemical reactions.

Always use a digital scale to measure your ingredients accurately, and make sure to follow the recipe precisely. Another common mistake is not steeping the juice properly. Steeping is the process of letting the flavors blend and develop over time. Skipping this step can result in a weak flavor or an off-taste.

To steep your juice correctly, store it in a cool, dark place and shake it daily. The longer you steep, the better the flavor will be. By avoiding these common mistakes and troubleshooting tips, you can create a delicious and safe vape juice blend.

Moving forward, let’s explore some tips for creating the perfect vape juice blend.

Tips for Creating the Perfect Vape Juice Blend

Achieving the perfect balance of flavors in your e-liquid can be tricky, but there are a few tips that can help you nail that perfect vape juice blend.

First and foremost, experimenting with flavors is key. Don’t be afraid to mix and match different flavors until you find the perfect combination that suits your taste buds. Start with small amounts and gradually increase the concentration until you achieve the desired taste.

Another important factor to consider when creating your own vape juice is adjusting nicotine levels. This is a personal preference and will differ from person to person. Start with a low nicotine concentration and gradually increase it until you find the perfect balance. Keep in mind that too much nicotine can be harmful and can cause adverse effects, so it’s crucial to find the right concentration that works for you.

With these tips in mind, you’ll be well on your way to creating the perfect vape juice blend that will satisfy your cravings.

Frequently Asked Questions

Can I use any type of flavoring in my vape juice?

I’ve found that not all flavorings are compatible with DIY mixing techniques for vape juice. It’s important to research which flavorings are safe to use and in what concentrations. Always follow mixing instructions carefully to avoid unsafe or unpleasant results.

How long does it typically take to steep vape juice?

Steeping vape juice is like aging wine, it enhances the flavor. Steeping methods vary based on the flavor and nicotine strength. Importance of steeping time can range from a few days to a few weeks for optimal taste.

What is the best nicotine strength to use for DIY vape juice?

When it comes to DIY vape juice, finding the right nicotine strength is crucial. It’s important to start low and work your way up, and to always wear gloves when handling nicotine. Flavoring dos and don’ts include using high-quality ingredients and avoiding overuse.

Is it safe to mix different brands of e-liquid ingredients?

Mixing e liquids from different brands may pose risks, such as flavor inconsistencies and chemical interactions. However, with careful research and experimentation, unique flavor blends can be created. Tips include starting with small batches and keeping notes of the ingredients used.

Can I reuse old vape juice bottles for my DIY vape juice?

Like a caterpillar shedding its cocoon, old vape juice bottles can transform into vessels for new creations. But first, thorough cleaning is crucial. Alternatively, seek out sterile containers for DIY vape juice.

Conclusion

In conclusion, creating your own vape juice is a rewarding and fulfilling process that allows you to tailor your vaping experience to your specific tastes and preferences. It’s like being a mad scientist in a laboratory, carefully measuring and blending different flavors and ingredients to create the perfect blend that satisfies your cravings.

Just like a painter mixing different colors to create a masterpiece, making your own vape juice takes practice and patience. It requires attention to detail, precision, and a willingness to experiment and tweak your recipe until you achieve the perfect balance of flavor and vapor production.

So, roll up your sleeves, put on your safety goggles, and start mixing and steeping your way to the ultimate vaping experience.

You May Also Like

How Much Juice Is In One Lime

IMUSA Lemon or Lime Manual Squeezer, Citrus Juicer for Max Extraction, Green…

How Good Is Orange Juice After Opening

Tropicana 100% Orange Juice, 10 Fl Oz (Pack of 24) – Real…

How Long Does Lemon Juice Last After Opening

Hamilton Beach Juicer Machine, Big Mouth Large 3” Feed Chute for Whole…