To make pear juice, rinse and chop two ripe pears, then mix them with two cups of chilled water in a blender or juicer. If using a juicer, peel and quarter the pears first. For extra flavor, add a splash of lemon juice or a hint of ginger. Sweeten with honey if desired. Enjoy your refreshing drink immediately for the best taste and nutrition. There's more fun to discover about enhancing your juice recipe!
Key Takeaways
- Rinse and chop two ripe pears, then blend with two cups of chilled water for a smooth consistency.
- Alternatively, peel and quarter pears, then use a juicer for a more concentrated juice.
- Enhance flavor by adding a splash of lemon juice or a hint of ginger during blending or juicing.
- Sweeten the juice with sugar or honey if the pears are tart for a balanced taste.
- Consume the juice immediately for the best taste and nutritional benefits; store in a sealed container if needed.
Making pear juice is a simple and rewarding process that lets you enjoy the fresh, sweet flavor of this delicious fruit. Whether you're using a blender or a juicer, you'll find that creating homemade pear juice isn't only easy but also a delightful way to experience the natural taste of pears. With just a few steps, you can whip up a refreshing drink that's perfect for any occasion.
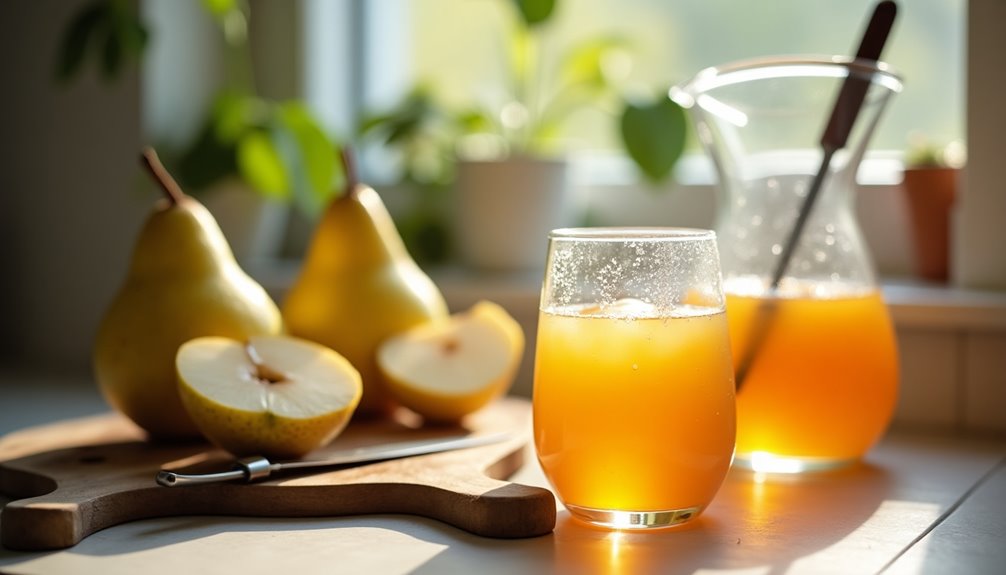
To start, gather your ingredients. For a basic pear juice recipe, you'll need two ripe pears, preferably sweet varieties like Bartlett or Asian pears, which are juicy and flavorful. Rinse them thoroughly under cool water, then peel and chop them into manageable pieces.
If you're using a blender, combine the chopped pears with two cups of chilled water. This combination will help you create a smooth blend. For added zest, consider including a splash of lemon juice or a hint of ginger. These optional ingredients enhance the flavor and provide a refreshing kick that complements the sweetness of the pears.
If you're juicing pears with a juicer, the process is slightly different but just as straightforward. Begin by selecting juicy Asian pears, as they yield a lot of delicious pear juice. Peel and quarter them, then feed the pieces through your juicer. The result will be a vibrant and refreshing drink that captures the essence of fresh fruit.
You can also experiment by combining the juiced pears with other fruits like oranges for a unique twist. This not only diversifies the flavor but also boosts the vitamin C content, making your fruit juice even healthier.
Once you've made your fresh pear juice, it's best to consume it immediately. Pear juice is known to oxidize quickly, which can diminish its flavor and nutritional value. Enjoying it right after preparation ensures you get the full benefits of its sweet fruit goodness.
If you find your juice a little tart, you can always add sugar or honey to sweeten it naturally. Just a teaspoon or two can elevate the taste without overpowering the natural sweetness of the pears.
For those who want to keep their homemade pear juice looking vibrant, remember to add a splash of lemon juice. Not only does this prevent discoloration, but it also enhances the overall flavor profile of your delicious pear juice.
Plus, pear juice comes with health benefits, such as reducing bad cholesterol levels and alleviating digestive issues, so you can enjoy it guilt-free.

Elite Gourmet ETS623 Electric Citrus Juicer, 24 oz, Black/Stainless Steel
- Powerful Motor: 40W for faster juicing
- Large Capacity: 24oz (3 cups) for batch juicing
- Efficient Extraction: Auto-reversing reamer for maximum juice
As an affiliate, we earn on qualifying purchases.
As an affiliate, we earn on qualifying purchases.
Frequently Asked Questions
How to Get Juice Out of a Pear?
To get juice out of a pear, you'll want to start by rinsing and peeling the fruit.
Then, chop it into smaller pieces to make juicing easier.
If you've got a juicer, just toss the pieces in. If you're using a blender, blend the chopped pears with some chilled water.
After blending, strain the mixture through a mesh strainer to remove any pulp, and enjoy your fresh juice right away!
Are Pears Good for Juicing?
Yes, pears are great for juicing! Their high water content and natural sweetness make for a delicious and refreshing drink.
When you juice pears, you get a burst of vitamins and antioxidants, which can boost your health. You'll find that ripe pears yield the best flavor, enhancing your juice's taste.
Plus, the hint of apple flavor adds a unique twist that you'll love. So, go ahead and enjoy the benefits of pear juice!
Do I Need to Peel Pears Before Juicing?
Peeling pears before juicing is like choosing whether to wear a coat on a brisk day—it depends on your preference.
If you're using organic pears, you don't need to peel them; the skin adds nutrients and a richer flavor.
However, if they're non-organic, it's best to peel them to avoid any pesticide residues.
Just remember to always remove the core and seeds for a smooth, enjoyable juice experience!
How Much Juice Does One Pear Make?
When you juice a medium-sized pear, you can expect to get about 1/2 to 3/4 cup of juice. The exact amount depends on the pear’s variety and ripeness. If you’re looking to make a larger quantity of juice, it’s helpful to know how many apples for a gallon would be needed, as apples can provide a complementary flavor to pear juice. Generally, you’ll need about 24 to 32 medium-sized apples to yield a gallon of juice, depending on their juiciness and size. Combining pears and apples in your juicing can create a delicious blend that’s both refreshing and nutritious.
If you're using Asian pears, you're likely to get more juice due to their higher water content.
Keep in mind that using a juicer instead of a blender can yield more juice, so choose your method wisely for the best results!
Conclusion
Now that you've mastered the art of pear juice making, you're practically a juice wizard! With just a few simple steps, you've transformed humble pears into liquid gold that could rival the nectar of the gods. Your friends will be begging for your secret recipe, and soon, you'll be hosting pear juice parties that'll go down in history! So grab those juicy pears, and let the magic flow—because you're not just making juice; you're creating a sensation!