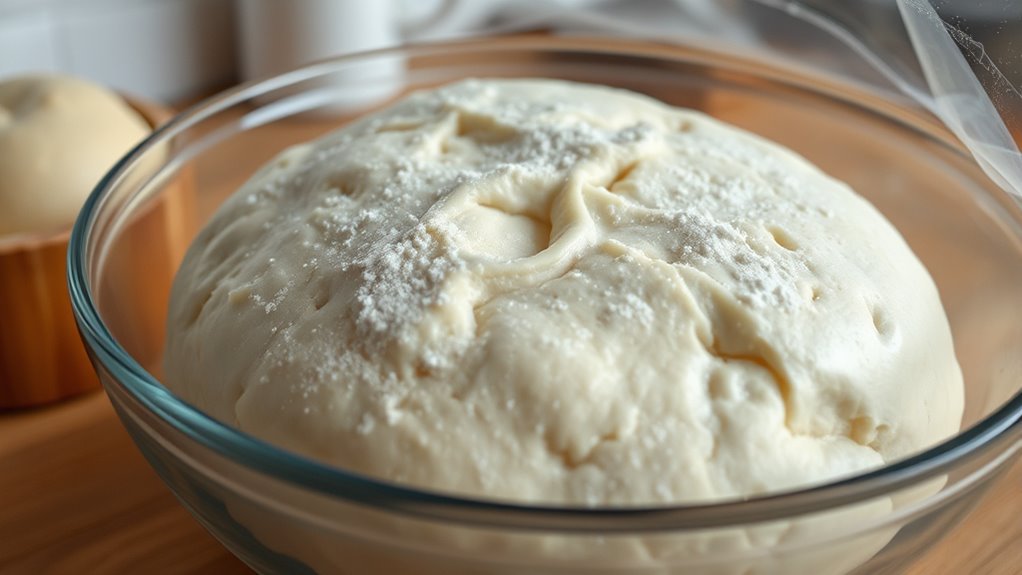

Proofing dough is when you let it rest so yeast can ferment and gluten can develop, making the bread airy and flavorful. You place the dough in a warm, draft-free spot, often in a lightly oiled bowl, and wait until it roughly doubles in size and feels light when pressed. This process affects how well your bread rises and tastes. If you want to master perfect proofing, there’s more simple tips to help you succeed.
Key Takeaways
- Proofing is the resting period where dough ferments and rises, developing gluten and flavor.
- It requires a warm, draft-free environment to ensure consistent yeast activity.
- Proper kneading develops gluten, trapping gas for a light, airy texture.
- Signs of readiness include doubled size and a light, airy feel when pressed.
- Controlling temperature and timing prevents over- or under-proofing for the best results.
What Does Proofing Mean in Baking?
Have you ever wondered what “proofing” really means in baking? Proofing is the process where dough rests to allow gluten development and fermentation. This step helps the dough become elastic and airy, which is essential for good bread texture. The type of flour you use influences proofing; bread flour, with higher protein content, promotes better gluten formation, resulting in a stronger dough that holds gas well. Meanwhile, all-purpose flour can work too but may require longer proofing times. During proofing, yeast ferments the sugars, producing carbon dioxide that causes the dough to rise. This fermentation not only expands the dough but also enhances flavor. Additionally, color accuracy in projectors affects how true-to-life the bread’s appearance appears, especially when judging the crust color during baking. Overall, proofing transforms simple ingredients into a tender, well-structured loaf.
The Science Behind Proofing Dough
Understanding the science behind proofing helps you control your bread’s rise. Yeast ferments sugars, producing gas that makes the dough expand, while temperature influences how quickly this process occurs. By mastering these factors, you can achieve perfect proofing every time. Celebrating the role of fathers in nurturing growth and development can also be applied to understanding how yeast fosters the rise of dough.
Yeast Fermentation Process
When yeast ferments, it consumes sugars in the dough and produces carbon dioxide and alcohol as byproducts. This process is vital for gluten development, as the carbon dioxide gets trapped in the dough’s gluten network, causing it to rise. The fermentation timeline influences how much gas is produced and how well the gluten structure forms. During proofing, yeast activity gradually increases, strengthening the dough’s texture. Proper fermentation guarantees the dough becomes light and airy, with a good rise. If fermentation is too short, the gluten won’t develop fully, resulting in dense bread. Conversely, over-fermentation can weaken the gluten, making the dough collapse. Understanding this process helps you control proofing, achieving ideal dough structure and flavor. Electric bikes are also an example of how modern technology can enhance physical activities, combining exercise with efficient energy use.
Gas Production Mechanics
Ever wonder how your dough rises so effectively during proofing? It all comes down to gas production mechanics. When yeast ferments, it produces carbon dioxide (CO₂), creating bubbles that get trapped by gluten development. The strength of your gluten network depends on flour types; bread flour with higher protein content forms a more elastic structure, trapping more gas. Different flours influence how well this process works, impacting dough rise. Here’s a quick comparison:
| Flour Type | Gluten Development | Gas Trapping Ability |
|---|---|---|
| Bread Flour | High | Excellent |
| All-Purpose | Moderate | Good |
| Whole Wheat | Lower | Fair |
| Cake Flour | Very Low | Poor |
| Gluten-Enhanced | Very High | Superior |
Understanding this helps you optimize proofing for perfect rise. Additionally, the biological activity of yeast varies depending on fermentation conditions, influencing how effectively gas is produced during proofing.
Temperature’s Role in Proofing
Temperature plays a crucial role in how quickly and effectively your dough proofs. Maintaining proper temperature control guarantees the yeast activates at the right rate, influencing dough rise and texture. If your dough temperature is too cold, yeast activity slows down, leading to a longer proofing time and a denser loaf. Conversely, if it’s too warm, yeast may become overactive, causing over-proofing and a collapse in structure. To optimize proofing, monitor the dough temperature carefully, typically aiming for around 75-80°F (24-27°C). Using warm water for mixing or proofing in a warm environment helps regulate temperature. Consistent dough temperature ensures even fermentation, resulting in better flavor, texture, and a more reliable rise. Proper temperature control is indispensable for successful proofing. Additionally, understanding the paint sprayer technology involved in various sprayers can help you choose the right equipment for your projects.
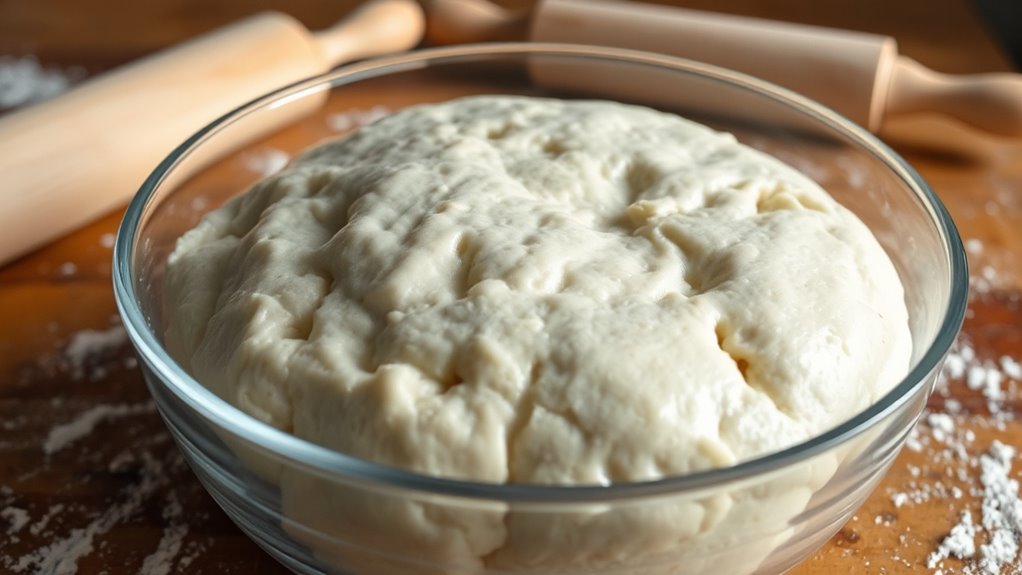
How to Properly Proof Your Dough at Home
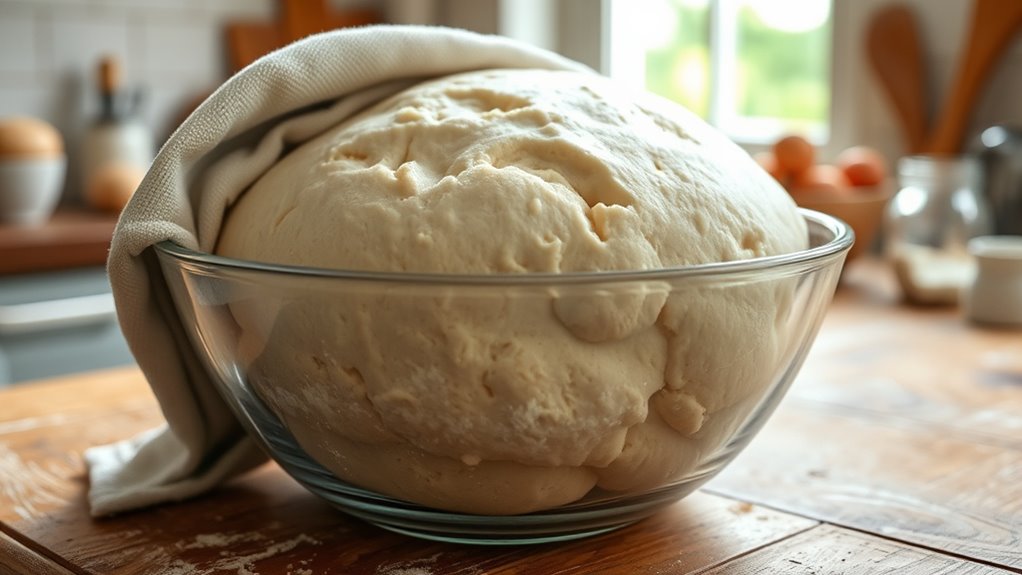
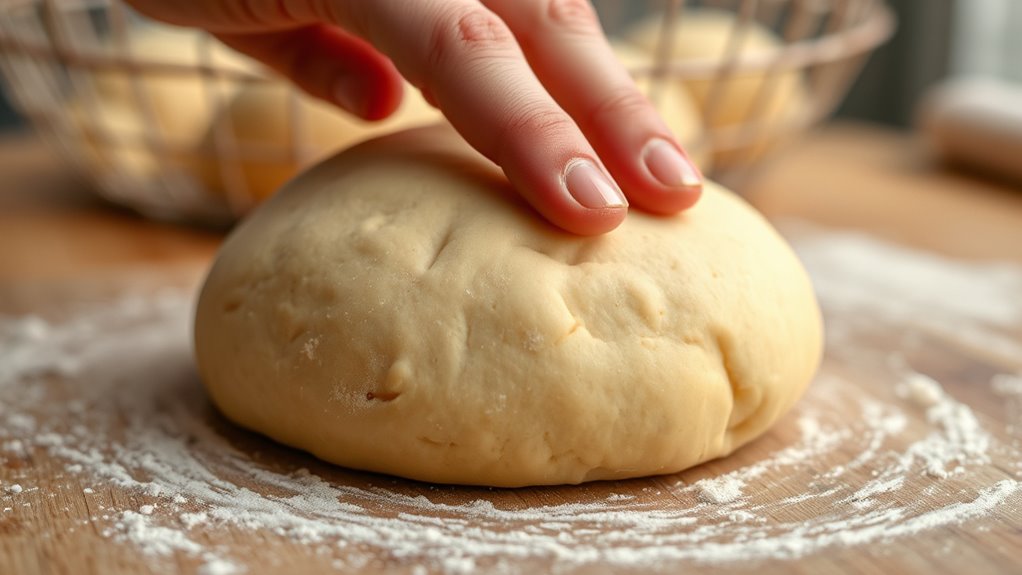
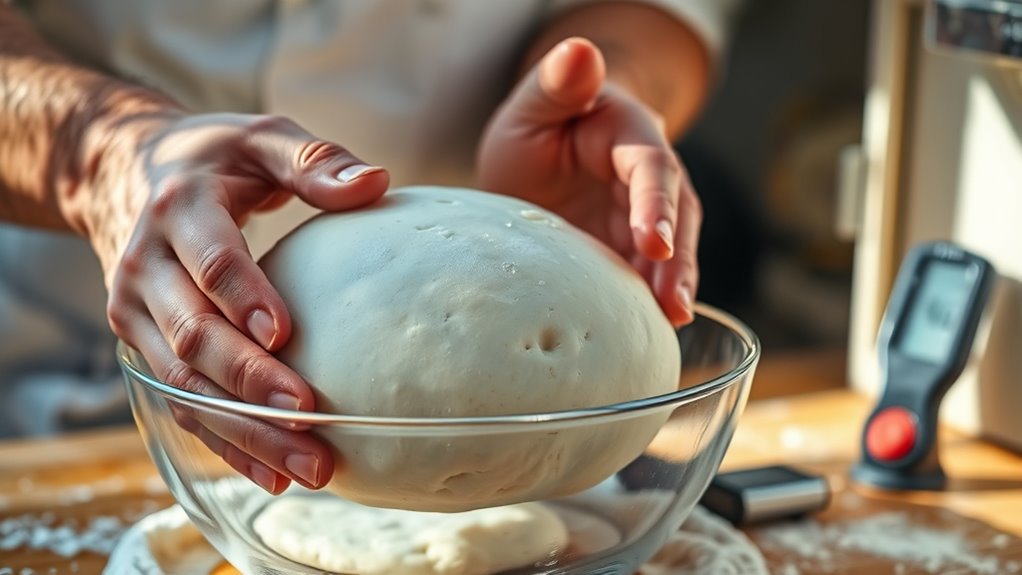
To make certain your dough rises properly, creating the right environment for proofing is essential. Start by choosing the right flour types; bread flour with higher gluten content helps develop the structure needed for good proofing. After mixing your ingredients, use proper kneading techniques to develop the gluten network, which traps gas and helps the dough rise. Once kneaded, shape your dough into a ball and place it in a lightly oiled bowl. Cover it with a damp towel or plastic wrap to keep moisture in. Find a warm, draft-free spot for proofing. Avoid sudden temperature changes, and don’t overproof. Automation technologies are increasingly being used to monitor and control proofing environments for optimal results. With these steps, your dough will ferment evenly, resulting in a perfect rise and a better final product.
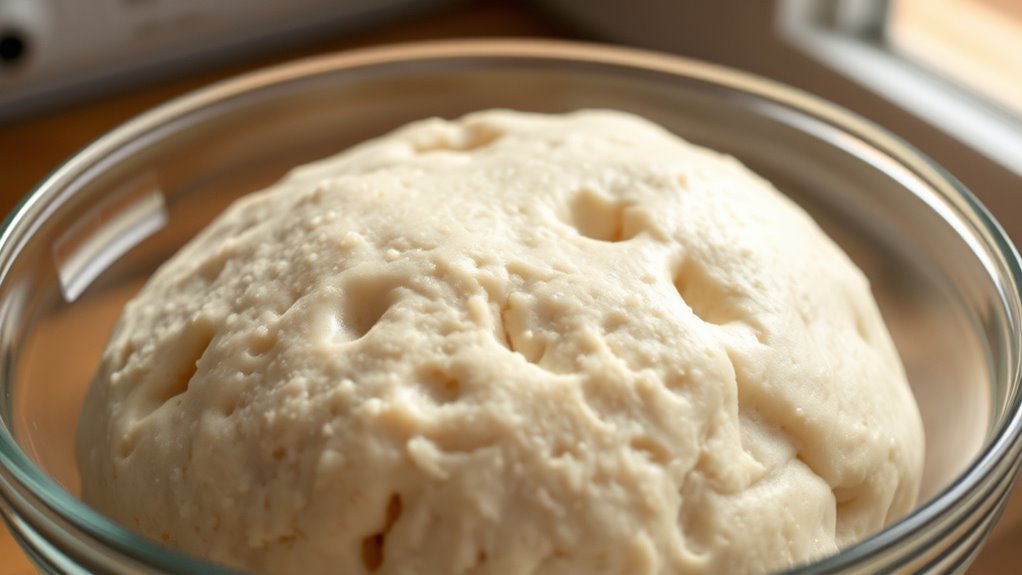
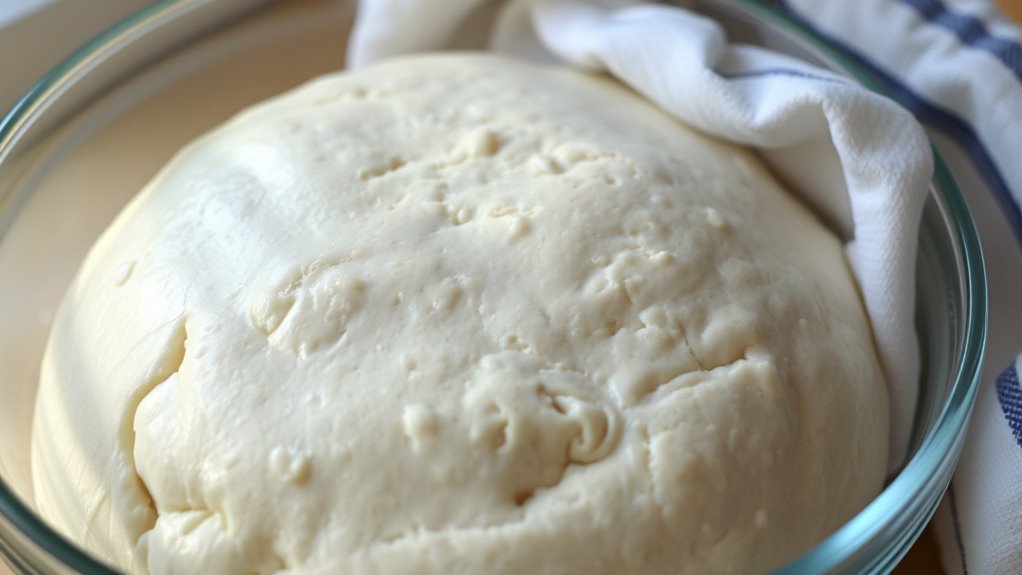
Common Signs That Your Dough Is Ready
Knowing the right moment when your dough is ready is essential for achieving the perfect bake. One key sign is dough elasticity—you should be able to gently stretch it without tearing, indicating good gluten development. When properly proofed, it feels soft yet resilient. Another sign is the surface appearance; it should be smooth and slightly puffed. You can also perform the poke test: gently press your finger into the dough, and if the indentation slowly springs back, it’s ready. Understanding industry trends in baking can help you refine your techniques for even better results.
Troubleshooting: What to Do if Your Dough Doesn’t Rise
If your dough isn’t rising as expected, don’t panic. First, check for overproofing issues; if it sat too long, the yeast may have exhausted its energy, preventing further rise. To fix this, gently punch down the dough, reshape it, and try proofing again. If you suspect ingredient substitutions, like using cold water or low-yeast amounts, these could hinder rising. Consider warming the dough slightly or adding a bit more yeast if needed. Also, verify your yeast is active—expired or improperly stored yeast can cause problems. Remember, proper environment matters: a warm, draft-free spot helps with rising. Additionally, understanding the divorce process and how to handle setbacks can be similar to troubleshooting dough issues.
Tips for Perfectly Proofed Dough Every Time
Achieving perfectly proofed dough every time requires paying close attention to several key factors. First, focus on proper gluten development through effective kneading techniques. Proper kneading helps create a strong, elastic dough that traps gases produced by the yeast, leading to consistent rising. Don’t over-knead or under-knead; aim for a smooth, slightly tacky surface. Next, guarantee your dough is in a warm, draft-free environment; this promotes even fermentation. Use a clean, lightly oiled bowl to prevent sticking and maintain moisture. Keep an eye on the proofing time—too long or too short can affect the final rise. By mastering kneading techniques and monitoring gluten development, you’ll consistently achieve dough that puffs up beautifully, creating a light, airy texture in your baked goods. Additionally, understanding the importance of airless paint sprayers can help you appreciate how consistent application and environment control contribute to quality results.
Frequently Asked Questions
Can I Proof Dough in a Refrigerator Overnight?
Yes, you can proof dough in the refrigerator overnight. This slow fermentation process allows the yeast to activate gently, enhancing flavor and texture. Just cover your dough tightly and place it in the fridge. The cooler temperature slows yeast activity, giving you more control over fermentation. When you’re ready to bake, let the dough come to room temperature for a better rise and ideal results.
How Does Temperature Affect the Proofing Process?
Imagine the dough’s fermentation timing as a dance, where temperature sets the rhythm. When it’s warm, yeast activity speeds up, shortening proofing time and boosting fermentation. Conversely, cooler temperatures slow yeast activity, extending proofing and allowing flavors to develop more fully. You control the proofing process by adjusting temperature, ensuring your dough rises perfectly—warm for quick proofing, cool for deeper flavor and longer fermentation.
Is It Possible to Over-Proof Dough?
Yes, you can over-proof dough. When yeast activity continues too long, the dough becomes overly airy, and gluten development weakens, causing it to collapse or lack structure. Over-proofed dough may also develop a sour taste. Keep an eye on it, and don’t let it rise beyond its ideal point. Proper timing ensures the yeast activity is balanced, resulting in well-developed gluten and perfect texture in your baked goods.
Can I Proof Dough in a Microwave?
Think of proofing dough in a microwave like trying to grow a plant in a tiny greenhouse—it’s risky. Yes, you can proof dough there, but the microwave’s heat can quickly activate the yeast and speed up dough fermentation unevenly. If you use it, keep the microwave off or on low, and monitor closely. Otherwise, you risk over-proofing or killing the yeast, ruining your bread’s rise and texture.
How Do I Speed up the Proofing Process?
To speed up the proofing process, you can warm the environment to activate the yeast faster, which accelerates dough fermentation. Use a warm, humid spot like near a heating vent or inside a turned-off oven with the light on. Cover your dough with a damp cloth to retain moisture. Avoid drafts and excessive heat, as these can hinder yeast activation. This way, your dough proofs quicker without compromising quality.
Conclusion
Now that you know what proofing is and how to master it, you’ll see your dough rise like a champion every time. Think of proofing as giving your bread a gentle nap—it’s the secret to fluffy, delicious results. With a little patience and attention, you’ll turn simple ingredients into bakery-worthy masterpieces. So, trust the process, keep your hands warm, and watch your dough bloom into perfection—your baking journey is just getting started!

Susannah expertise lies in researching and compiling evidence-based content on juicing, nutrition, and overall health. She is committed to ensuring that The Juicery World offers accurate, up-to-date, and trustworthy information to empower readers to take control of their health. Susannah’s goal is to inspire individuals to embrace juicing as a way to nourish their bodies and live their best lives.