To achieve perfect label alignment on round bottles, use the seam trick. Start by identifying the seam or visual marker on your label as a guide. Apply a repositionable adhesive and lay the bottle horizontally for easier handling. Wrap the label and align the seam with your marker, smoothing out air bubbles from center to edges. Adjustments are easier if adhesive is temporary. Mastering this technique guarantees even, professional wraps every time—keep going to learn more about flawless application.
Key Takeaways
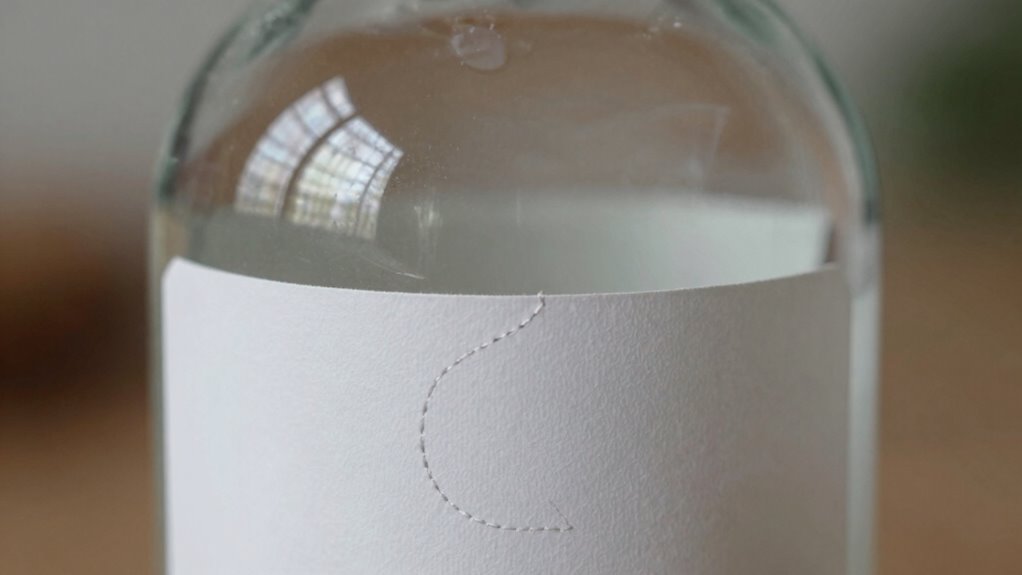
- Use the seam as a visual marker to align the label evenly during application.
- Apply a light, repositionable adhesive to allow adjustments before final setting.
- Lay the bottle horizontally for better visualization and precise placement.
- Smooth the label from the center outward to eliminate air bubbles and ensure a snug fit.
- Make small adjustments by repositioning the label until the seam aligns perfectly.
Aligning labels on round bottles can be a challenging task, but with the right techniques, you can achieve a professional and consistent look. The key to perfect wrap-around labels lies in mastering label placement and choosing the right adhesive. When you’re working with curved surfaces, it’s easy for labels to slip out of alignment or develop unsightly bubbles. To avoid this, start by carefully positioning your label before applying any adhesive. Use a clean, flat surface to lay your bottle horizontally, which makes it easier to visualize the placement.
Master label placement and adhesive choice for flawless round bottle wraps.
Before you peel off the backing, identify the seam or any visual marker on your label that you want to align with a specific point on the bottle, such as the neck or the base. This “seam trick” ensures that your label wraps evenly around the circumference. Once you’ve determined the starting point, apply a light strip of adhesive to the back of the label. The choice of adhesive is vital; opt for a repositionable or spray adhesive that allows you to adjust the label as needed. This flexibility helps you fine-tune the placement without risking permanent misalignment.
As you begin to wrap the label around the bottle, hold it firmly at the starting edge and gently stretch it to fit the circumference. Keep an eye on the seam, making sure it aligns perfectly with your visual marker. Using your fingers, gently smooth the label from the center outward to push out any air bubbles and ensure good contact with the surface. If you notice any wrinkles or misalignments, don’t panic. With repositionable adhesive, you can lift and realign the label without tearing or damaging it.
Once the label is in the correct position, press down firmly along the entire length to secure it in place. For round bottles, it’s helpful to work slowly and methodically, making small adjustments as you go. The adhesive choice plays an important role here; some adhesives may be too sticky or not sticky enough, which can make repositioning difficult or cause the label to slip after application. Testing a small sample beforehand helps you determine the best adhesive for your specific material and bottle shape. Additionally, understanding the properties of adhesives can make a big difference in achieving a flawless finish.
In the end, patience and precision are your best tools. By carefully planning your label placement and selecting the appropriate adhesive, you’ll master the seam trick and achieve a flawless, professional-looking wrap on every round bottle.
Frequently Asked Questions
Can This Trick Work on Bottles With Textured Surfaces?
Yes, this trick can work on bottles with textured surfaces, but you might face grip issues. Textured surfaces can make it harder to align labels perfectly, especially if the texture is rough or uneven. To overcome this, guarantee your hands and the bottle are dry for better grip. Using a little extra adhesive or smoothing out the label carefully can also help achieve a seamless, professional look despite the textures.
Is This Method Suitable for Very Small or Large Bottles?
Think of your bottle size as a musical instrument’s string—small or large, the tune still plays. This method can work on very small or large bottles, but you’ll need to modify label scale and application technique accordingly. For tiny bottles, use smaller labels and a steady hand. For larger ones, guarantee the label covers enough surface and aligns smoothly. With proper scaling, this seam trick helps you achieve perfect wraps every time.
How Does Temperature Affect Label Alignment?
Temperature impacts label alignment because thermal expansion can cause the bottle or label to stretch slightly, making precise alignment more challenging. When it’s hot, the bottle may expand, affecting seam placement and label adhesion, leading to misalignment. Conversely, cooler temperatures help maintain stable dimensions, ensuring your labels stay perfectly aligned. To get the best results, apply labels in consistent, moderate temperatures to minimize thermal effects and improve adhesion.
Can This Technique Be Applied to Other Curved Surfaces?
Imagine you’re wrapping a curved jewelry box with a sleek label, aiming for perfect alignment. Yes, this seam trick works on other curved surfaces, enhancing labeling aesthetics and ensuring seamless wraps. The key is to adapt the technique to surface curvature differences, carefully aligning the seam along the curve. This approach helps create professional, attractive labels on various rounded objects, making your packaging look polished and consistent.
What Tools Are Best for Precise Label Placement?
You should use tools like precision rulers, measuring tapes, and alignment guides to guarantee measurement accuracy when placing labels. A printed template or stencil helps you achieve consistent results by marking exact spots for alignment. By combining these tools, you create a reliable template, making label placement precise and efficient. This approach minimizes errors and ensures your labels wrap perfectly around round bottles every time.
Conclusion
Now that you’ve learned the seam trick, aligning labels on round bottles becomes as smooth as silk. Think of it as a secret handshake that guarantees perfect wraps every time. With a little practice, you’ll turn what once seemed tricky into a simple dance, making your bottles look professional and polished. Embrace this technique, and watch your packaging transform from a hassle into an art form. Your bottles will thank you for the flawless finish!