
To start seeing skin whitening effects from beetroot juice, you should drink it consistently for at least one week. Daily consumption is crucial, as it purifies your blood and enhances your skin tone. It's best to enjoy it in the morning to maximize nutrient absorption. For even better results, consider mixing it with carrot or cucumber juice. With commitment, you can achieve a radiant glow, and there's more you can explore about optimizing your routine.
Key Takeaways
- Commit to drinking beetroot juice daily for at least one week to start noticing skin whitening effects.
- Consistency in consumption is crucial for achieving optimal results over time.
- Improvements in skin tone and radiance may be observed in less than a week.
- Regular intake enhances the effectiveness of beetroot juice for skin health.
- Combine beetroot juice with other ingredients like carrot or cucumber for additional benefits.
Are you looking for a natural way to brighten your skin? Drinking beetroot juice might just be the solution you're after. This vibrant drink isn't only delicious but also packed with nutrients that can help improve your skin tone and give you that radiant glow you desire. If you're curious about how long you should drink beetroot juice for skin whitening, keep reading.
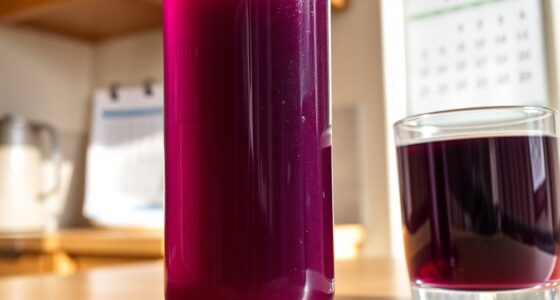
To start seeing noticeable results, you’ll want to commit to drinking beetroot juice for at least one week. Consistency is key! Ideally, you should aim to incorporate it into your daily routine. Regular consumption, especially when enjoyed every day, helps purify your blood and eliminate toxins that can negatively impact your skin. The more you drink, the better your chances of achieving that brighter complexion. Additionally, it’s important to note that as you increase your intake of beetroot juice, you might notice some changes in your body, particularly regarding how beet juice affects urine color. Some individuals may experience a reddish tint in their urine after consumption, which is completely normal and is due to the natural pigments in the beets. This phenomenon is not only harmless, but it also serves as a fun reminder of the powerful nutrients you are introducing into your body. So, stay committed, and enjoy the process of enhancing your health and skin!
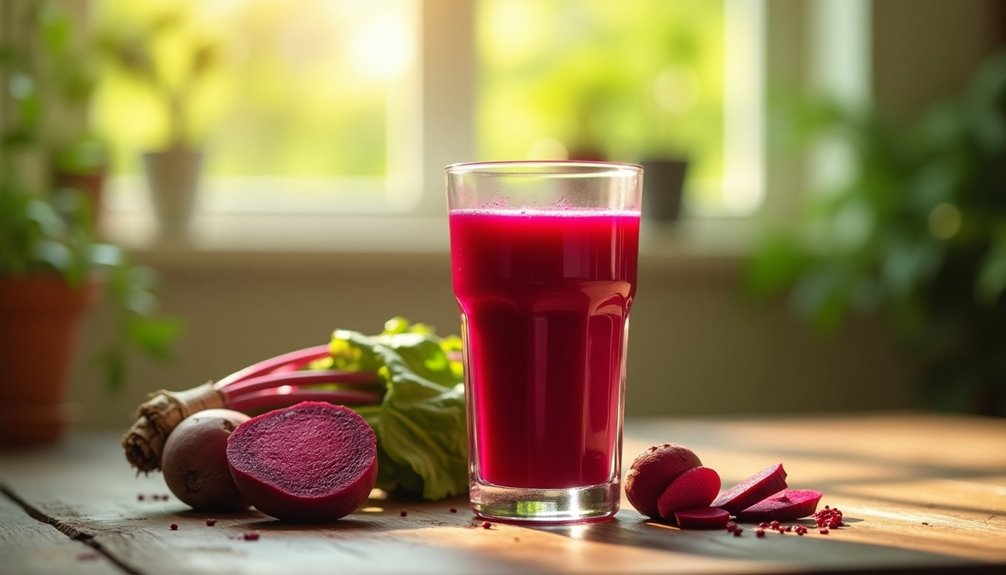
You might wonder about the best time to drink beetroot juice for maximum benefits. While you can consume it at any time of the day, drinking it in the morning is often preferred. This way, your body can absorb all those fantastic nutrients and antioxidants right from the get-go. Plus, starting your day with a healthy drink sets a positive tone for the rest of your day.
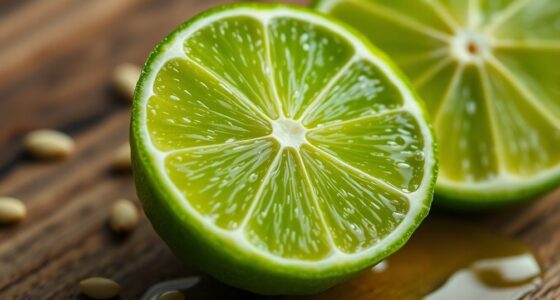
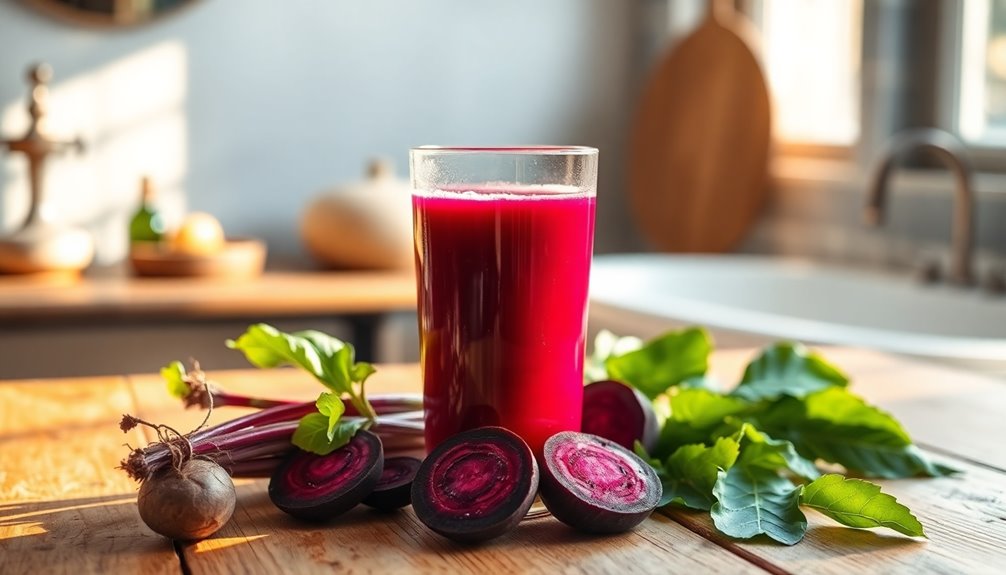
If you want to amplify the skin whitening effects of your beetroot juice, consider mixing it with other ingredients like carrot or cucumber. These additions not only enhance the flavor but also provide extra antioxidants that further benefit your skin. Carrots are rich in beta-carotene, which helps repair skin damage, while cucumbers are known for their hydrating properties. Combining these elements creates a potent elixir that's safe to use and can significantly improve your skin health.
Incorporating beetroot juice into your daily routine doesn't just target skin whitening; it promotes overall skin health and hydration as well. The vitamins and minerals present in beetroot work synergistically to nourish your skin from within. You'll notice that your skin feels more supple and looks more vibrant as you continue this regimen.
Remember, though, the journey to brighter skin isn't an overnight miracle. It requires dedication and a bit of patience. So, stick with it! You're likely to see improvements in less than a week, but for lasting results, keep drinking beetroot juice regularly.
Ultimately, the key to successful skin whitening lies in consistency and incorporating healthy habits into your lifestyle. By making beetroot juice a part of your daily routine, you're taking an important step toward achieving the luminous skin you desire. Rights Reserved to those who understand that natural remedies offer a safe path to skin rejuvenation.
Frequently Asked Questions
How Long Does Beetroot Juice Take to Lighten Skin?
Beetroot juice can start showing results in about a week if you drink it consistently.
You'll likely notice your skin tone becoming brighter and more radiant as it helps purify your blood and eliminate toxins.
The antioxidants in beetroot juice work over time, so the longer you include it in your routine, the better the results.
For quick improvements, try to incorporate it daily, especially in the morning.
Stay committed, and you'll see changes!
How Long Does It Take to See Results From Beetroot Juice?
Have you ever wondered how quickly you can see results from something as simple as beetroot juice?
When you drink it daily, you could notice visible skin improvements within just a week. This vibrant juice helps purify your blood and eliminate toxins, leading to a clearer and brighter complexion.
For the best effects, make sure you're consistent and even include the pulp in your diet for maximum benefits.
You'll be glowing in no time!
What Happens to My Skin if I Drink Beetroot Juice Everyday?
If you drink beetroot juice every day, you'll likely notice significant improvements in your skin.
The antioxidants help regenerate skin cells, reducing signs of aging and promoting a radiant glow. You'll also benefit from enhanced hydration, making your skin feel softer and more supple.
Regular consumption can combat acne, leading to clearer skin without scars. Over time, you'll achieve a more even skin tone and a vibrant, healthy complexion.
How Much Beetroot per Day for Glowing Skin?
For glowing skin, you should aim to consume about 100-200 ml of fresh beetroot juice daily. Incorporating this into your morning routine can kickstart your metabolism and keep you hydrated.
You can enhance its benefits by mixing beetroot juice with other veggies like carrots or cucumbers. Don't forget to include the pulp for extra fiber and nutrients, which are essential for overall skin health and radiance.
Enjoy your journey to healthier skin!
Conclusion
To see the skin whitening benefits of beetroot juice, aim to drink it daily for at least two weeks. Just imagine this: a study found that nearly 80% of participants noticed a brighter complexion after just 14 days of consistent consumption. By incorporating beetroot juice into your routine, you're not only nourishing your skin but also embracing a natural path to radiance. So grab that juice, and let your skin glow with vitality!

Cindy thoroughly researches juicing trends, techniques, and recipes to provide readers with practical advice and inspiration. Her writing style is accessible, engaging, and designed to make complex concepts easy to understand. Cindy’s dedication to promoting the advantages of juicing shines through her work, empowering readers to make positive changes in their lives through the simple act of juicing.