
To clean your coffee maker with lemon juice, mix equal parts of lemon juice and hot water—about one cup of each. Pour the mixture into the water reservoir and run a brew cycle like you're making coffee. This helps break down mineral deposits and improve the machine's performance. After it's done, empty the carafe, refill the reservoir with clean water, and run another cycle to rinse. Keep going to discover more tips for maintaining your coffee maker's efficiency.
Key Takeaways
- Mix equal parts of lemon juice and hot water, using one cup of each for an effective cleaning solution.
- Pour the lemon juice mixture into the coffee maker's water reservoir.
- Run a brew cycle to allow the solution to break down mineral deposits and coffee residue.
- After the brew cycle, empty the carafe and refill the reservoir with clean water.
- Run another brew cycle with just clean water to remove any lemon juice residue.
Cleaning your coffee maker is essential for maintaining its performance and ensuring your morning brew tastes great. Over time, coffee makers can accumulate coffee residue and mineral deposits from water. This buildup can affect the taste of your coffee and hinder the machine's efficiency.
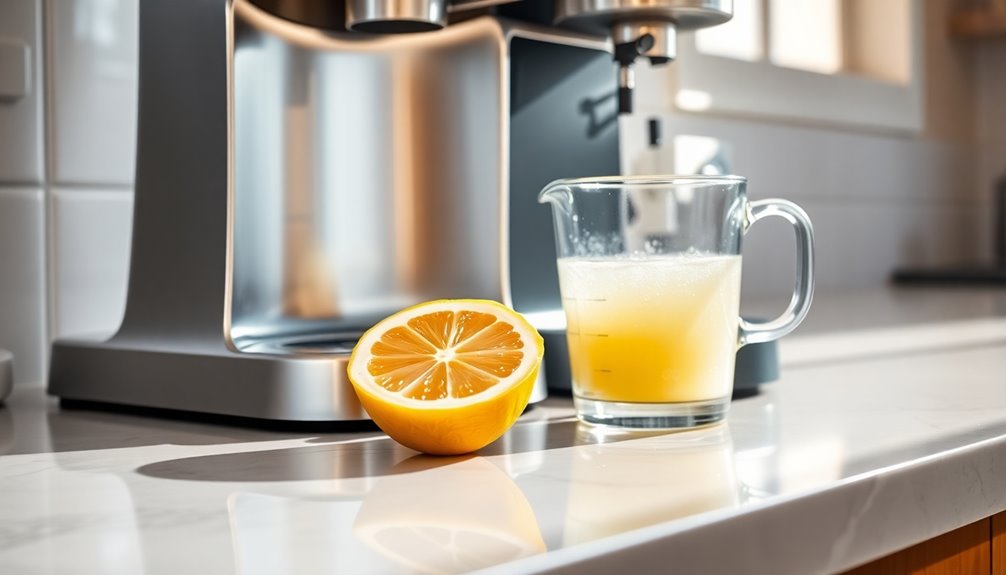
One of the most effective and natural ways to clean your coffee maker is by using lemon juice. Not only does it help clean the inside of the machine, but it also leaves a refreshing citrus scent.
To get started, you’ll need some lemon juice and hot water. Mix equal parts of lemon juice and hot water to create a powerful cleaning solution. A good ratio is typically one cup of lemon juice to one cup of hot water. This mixture not only helps to cut through grime but also leaves a fresh scent behind. When cleaning a bong with lemon juice, ensure that you let the solution sit for a few minutes to break down any residue before rinsing thoroughly. For added effectiveness, you can use a brush to scrub any stubborn spots while the solution is still warm.
Once you've prepared this mixture, pour it into the water reservoir of your coffee maker. This is crucial, as the water reservoir is where the cleaning solution will work its magic during the brew cycle.
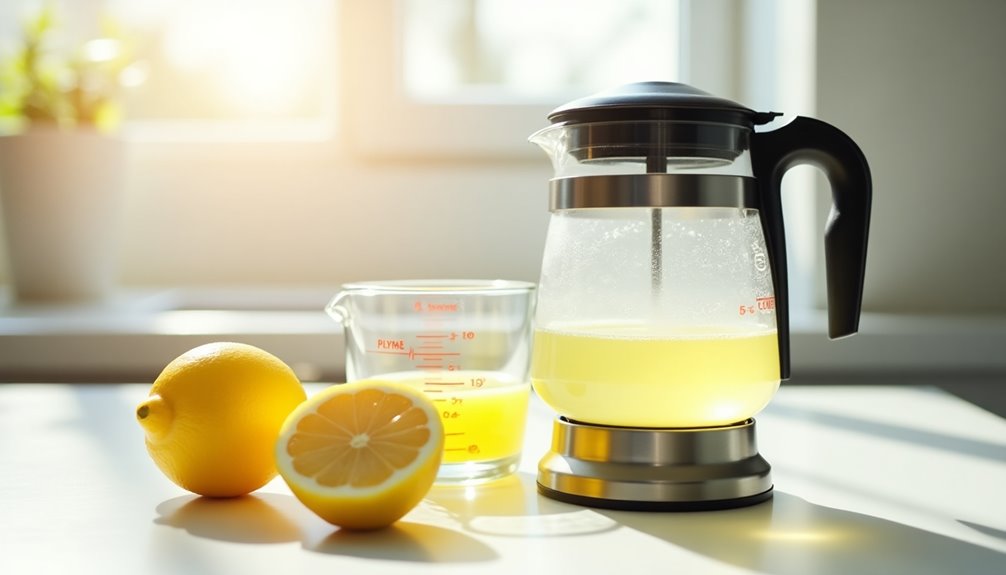
Next, run a brew cycle as you'd when making coffee. As the lemon juice solution passes through the machine, it'll help break down mineral deposits and coffee oils that have built up over time. The acidity in the lemon juice is particularly effective at dissolving these stubborn deposits, making it easier to maintain a clean coffee maker.
You'll notice a difference in both the machine's performance and the taste of your coffee.
After the brew cycle is complete, it's time to thoroughly rinse your coffee maker. Empty the carafe and refill the water reservoir with clean water. Run another brew cycle using just clean water to flush out any remaining lemon residue. This step is important, as you want to ensure that no lemon juice remains in the system, which could affect the flavor of your next pot of coffee.
Don't forget to clean the carafe and any removable parts during this process. Rinse them with hot water to get rid of any lingering coffee residue.
Once everything's been rinsed, take a moment to wipe down the exterior of the coffee maker with a damp cloth. This not only improves the appearance of your machine but also prevents any dust or grime from accumulating.
Regularly cleaning your coffee maker with lemon juice will significantly enhance its performance and prolong its lifespan. Not to mention, it'll keep your machine smelling fresh and inviting.
Aim to perform this cleaning routine every month or so, depending on how often you use your coffee maker. By incorporating this simple method into your cleaning schedule, you can enjoy a consistently great cup of coffee and ensure that your machine stays in top shape.

Ninja Professional Blender | Smoothie Blending, Drink Mixer, Grinder, Ice Crusher, Frozen Fruit Blending | 1000W Power, Total Crushing Technology, XL 72-oz. Pitcher | Black & Grey | BL610
PROFESSIONAL POWER: 1000 watts of professional power can crush ice and breakdown any tough ingredient.Power source : Corded...
As an affiliate, we earn on qualifying purchases.
Frequently Asked Questions
How Much Vinegar Do You Put in a 12 Cup Coffee Maker to Clean It?
To clean a 12-cup coffee maker, you'll want to use a mixture of 6 cups of distilled white vinegar and 6 cups of water. This ratio makes for an effective cleaning solution.
First, place a paper filter in the basket to catch any sediment.
Start the brew cycle, pause halfway, and let the solution sit for about 30 minutes.
Then, resume the cycle to finish cleaning, and dispose of the used solution.
How to Descale a Coffee Machine With Lemon?
Descaling your coffee machine with lemon can be as refreshing as a summer breeze!
First, mix equal parts fresh lemon juice and hot water. Pour this zesty solution into your coffee maker's water reservoir, then run a full brew cycle to tackle that pesky mineral buildup.
Let it sit for 15-20 minutes afterward. Finally, rinse by running a plain water cycle to ensure there's no lemon taste left. Your coffee maker will thank you!
What Is the Best Liquid to Clean a Coffee Maker With?
When deciding on the best liquid to clean your coffee maker, consider options that effectively tackle mineral buildup and stains.
Vinegar is a popular choice, but it can leave a strong odor. You might also try a mixture of equal parts water and baking soda for a gentle clean.
If you want a natural alternative, fresh lemon juice works wonders. It's eco-friendly and leaves your coffee maker smelling fresh while providing excellent cleaning results.
Is It Better to Clean a Coffee Maker With Vinegar or Baking Soda?
When deciding whether to clean your coffee maker with vinegar or baking soda, consider your needs.
Vinegar's strong acidity effectively tackles mineral deposits and oils, making it great for heavy cleaning, but it might leave a smell.
On the other hand, baking soda gently removes stains and odors without a strong scent, perfect for routine maintenance.
Ultimately, it comes down to your personal preference for scent and the level of cleaning needed.

Ninja BL660 Professional Compact Smoothie & Food Processing Blender, 1100-Watts, 3 Functions -for Frozen Drinks, Smoothies, Sauces, & More, 72-oz.* Pitcher, (2) 16-oz. To-Go Cups & Spout Lids, Gray
POWERFUL MOTOR: Blend, crush and more in this powerhouse 1100-watt blender.
As an affiliate, we earn on qualifying purchases.
Conclusion
Cleaning your coffee maker with lemon juice is like giving it a refreshing spa day! With just a few simple steps, you'll have it sparkling like it's brand new, banishing all those stubborn stains and funky odors. Imagine brewing your next cup of coffee in a machine so clean, it practically sings! So, grab that lemon juice and watch your coffee maker transform from drab to fab. Your morning brew deserves nothing less than the royal treatment!

Ninja Professional Plus Blender with Auto-iQ | Smoothie and Ice Cream Maker, Frozen Drink Mixer, Margarita Machine | 3 Auto-iQ Presets, 1400W, 72-oz. Total Crushing Pitcher | Dark Grey | BN701
INCREASED MOTOR POWER: The Ninja Professional Plus features a new modern design and a more powerful motor than...
As an affiliate, we earn on qualifying purchases.

Luxfuel Clear Glass Bottles with Lids 18 oz, Reusable Glass Water Bottles with Stainless Steel Cap for Refrigerator, Juicing, 100% Leak Proof, BPA Free, Juice Bottle Drinking Jar Containers Set of 6
【Premium Durable Glass: Safe, Thick & Reusable】Our Luxfuel glass water bottles are made from high-quality, food-grade thick glass,...
As an affiliate, we earn on qualifying purchases.

Cindy thoroughly researches juicing trends, techniques, and recipes to provide readers with practical advice and inspiration. Her writing style is accessible, engaging, and designed to make complex concepts easy to understand. Cindy’s dedication to promoting the advantages of juicing shines through her work, empowering readers to make positive changes in their lives through the simple act of juicing.