
To cut a juice groove in your cutting board, secure it in a jig and clamp it if needed. Use a router with a 1/4 inch bit, starting with shallow cuts in a clockwise direction. Make several passes to achieve depth and avoid burn marks. After routing, sand the edges for a smooth finish. Finally, apply mineral oil for protection and appearance. If you want to enhance your technique, there's more helpful information ahead!
Key Takeaways
- Secure the cutting board in a jig and clamp it down for stability during routing.
- Set the router bit depth to 1/4 inch, starting with shallow cuts to avoid deep routing.
- Maintain a clockwise cutting direction and begin cuts 3-4 inches from the corners to prevent burn marks.
- Take multiple passes to achieve the final groove depth, fine-tuning the bit depth on the last pass.
- Sand the edges after routing, then apply a food-safe finish like mineral oil for protection and aesthetics.
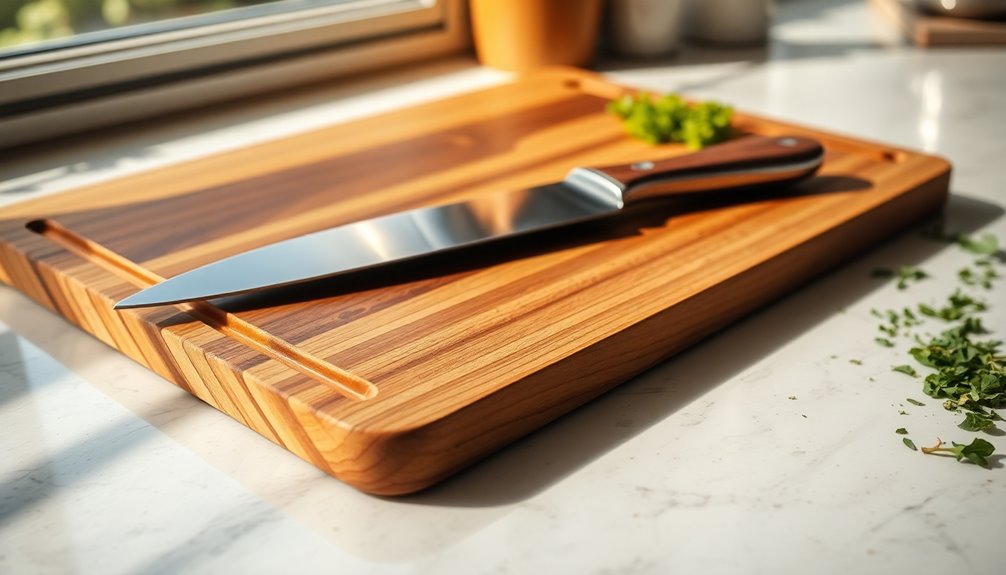
Cutting a juice groove in your cutting board can elevate its functionality, making food prep cleaner and easier. By creating this channel, you’ll effectively catch juices from fruits, vegetables, and meats, preventing them from running off your board and making a mess on your countertop. Additionally, a well-designed juice groove can help you save time during cleanup, as it minimizes spills and keeps your workspace organized. If you’re looking to enhance your culinary skills while minimizing mess, implementing a juice groove is an excellent choice. For those interested in artistic flair, knowing how to easily draw Juice WRLD might inspire you to combine your cooking with creativity and express your love for music in the kitchen.
To get started on this project, you'll need a router and a jig made from 3/4 plywood to secure your cutting board. This jig will provide stability and precision, ensuring a smooth and even groove.
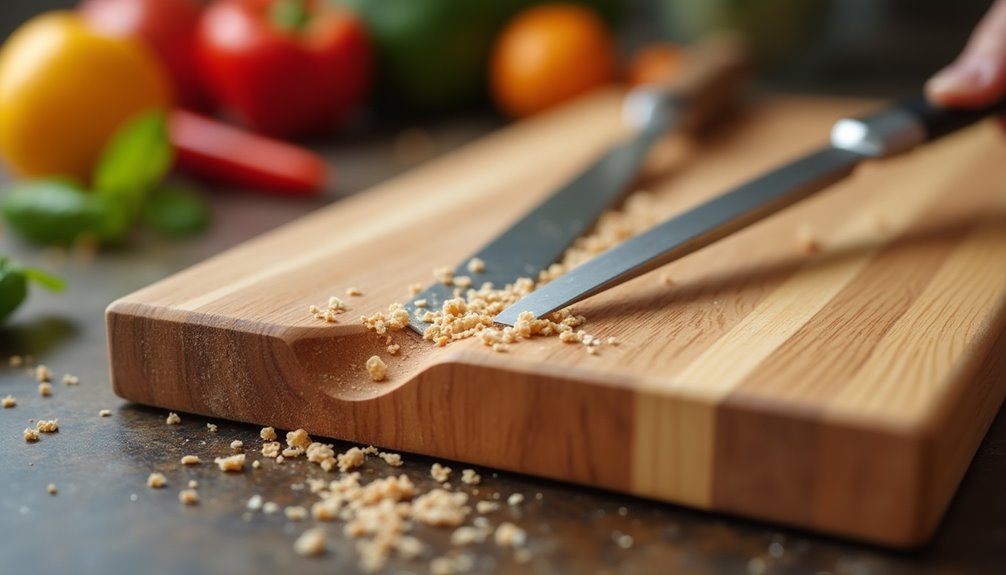
Before you dive in, make sure you set everything up correctly. Position the cutting board securely in the jig, taking care to clamp it down if necessary. Start with shallow cuts; it's better to make several passes and gradually lower the router bit until you reach the final depth of 1/4 inch for your juice groove. This approach minimizes the risk of burning the wood and allows for better control over the depth.
Remember, the key is to maintain a clockwise cutting direction throughout the process. This will help you achieve a clean and consistent groove.
When you begin cutting, start your cuts 3-4 inches in from the corners. This technique helps avoid burn marks and ensures a clean entry point. While you're routing, keep in mind that fluid motion is crucial. Apply constant pressure against the rail of the router base to avoid uneven cuts and burns.
If you notice any resistance or if the router seems to be struggling, it's a sign that you might need to adjust your technique or take a break to cool the bit.
As you adjust the router bit depth, use a combination square to set it accurately. Initially, set the depth 1/16 to 1/32 inch shy of the desired depth for your rough cuts. This way, you can take a few passes to establish the groove without going too deep right away.
When you're ready for the final pass, fine-tune the bit depth to ensure you hit that perfect 1/4 inch. It's all about precision, and taking your time pays off.
Once you finish the groove, you'll likely want to sand the edges to smooth out any rough spots. A quick sanding will enhance the look and feel of your cutting board, making it not only functional but visually appealing too.
After sanding, you might consider applying mineral oil or a food-safe finish to protect the wood and keep it looking great.

Eurolux Premium Electric Orange Juicer | Stainless Steel Citrus Squeezer With New Ultra-Powerful Motor and Soft Grip Handle for Effortless Juicing, Auto Shutoff, Dishwasher-safe Parts, Pulp Control
SUPERIOR JUICING POWER — It wields a 160W high-torque motor so you can experience commercial-grade juicing power at...
As an affiliate, we earn on qualifying purchases.
Frequently Asked Questions
How Deep Should a Juice Groove Be in a Cutting Board?
When you're considering the depth of a juice groove, aim for about 1/4 inch. This depth effectively holds liquids and prevents spills, keeping your workspace tidy.
Start by making shallow passes, around 1/32 inch, to establish the groove. Gradually increase to the full depth, ensuring precision and avoiding burns.
It's essential to maintain a fluid motion while cutting, as this will help you achieve a clean finish without any unsightly marks.
What Bit to Use for a Juice Groove?
When you're deciding what bit to use for a juice groove, a juice groove bit is your best option. It's specifically designed for this task and creates a clean channel.
Alternatively, you can start with a bowl and tray bit for initial placement. Whichever bit you choose, remember to begin with shallow cuts and gradually adjust the depth to achieve a uniform groove, ensuring a professional finish on your project.
Is a Juice Groove Necessary on a Cutting Board?
Imagine slicing into a ripe, juicy tomato, with vibrant red juices flowing freely. You might wonder if a juice groove is necessary on your cutting board.
While it's not strictly essential, having one can certainly enhance your experience. It helps contain those runaway juices, keeping your workspace clean and safe.
Plus, it adds an extra layer of functionality and aesthetic appeal. So, if you enjoy cooking, a groove can be a worthwhile investment.
Which Way Does the Router Go in a Juice Groove?
When you're using a router for your project, remember it rotates counterclockwise.
To ensure a clean cut, you'll want to move the router in a clockwise direction relative to your material. This movement helps maintain control and stability as you cut.
Start your cut a few inches in from the edge to prevent burn marks, and apply consistent pressure to keep the router aligned and avoid any drift during the process.
Eurolux Electric Orange Juicer, Sleek Effortless Citrus Juice Squeezer for Lemon, Lime, Grapefruit | Powerful Motor, Easy to Clean, Removable Dishwasher-Safe Parts
JUICE LIKE A PRO 🍊: Unleash the power of maximum juice extraction with Eurolux! This citrus juicer is...
As an affiliate, we earn on qualifying purchases.
Conclusion
Now that you know how to cut a juice groove in your cutting board, you can enhance both its functionality and style. Remember, "a stitch in time saves nine," so taking the time to create this groove will save you from messy countertops and make cleanup a breeze. With your new skills, you'll impress your friends and family while making meal prep a lot easier. Get ready to enjoy your cooking experience even more!

Proctor Silex Electric Citrus Juicer Machine, Large 34 oz. Pitcher, Pressure Activated, 2 Reamers for Big and Small Fruit, Pulp Control, for Orange, Lemon, Grapefruit Juice, White & Green (66340)
MAKE FRESH, HEALTHY JUICE: Make fresh juice with oranges, lemons, limes, grapefruits and more. This versatile electric citrus...
As an affiliate, we earn on qualifying purchases.

Elite Gourmet ETS047 BPA-Free 40-Watt Electric Citrus Juicer with 2 Cones, Compact, Large Volume, Pulp Control, Oranges, Lemons, Limes, Grapefruits with Easy Pour Spout, 1.2L, Black/Stainless Steel
SIMPLE HEALTHY JUICING: Press and squeeze fresh juice directly from citrus fruits with no additives, extra sugar or...
As an affiliate, we earn on qualifying purchases.

Cindy thoroughly researches juicing trends, techniques, and recipes to provide readers with practical advice and inspiration. Her writing style is accessible, engaging, and designed to make complex concepts easy to understand. Cindy’s dedication to promoting the advantages of juicing shines through her work, empowering readers to make positive changes in their lives through the simple act of juicing.