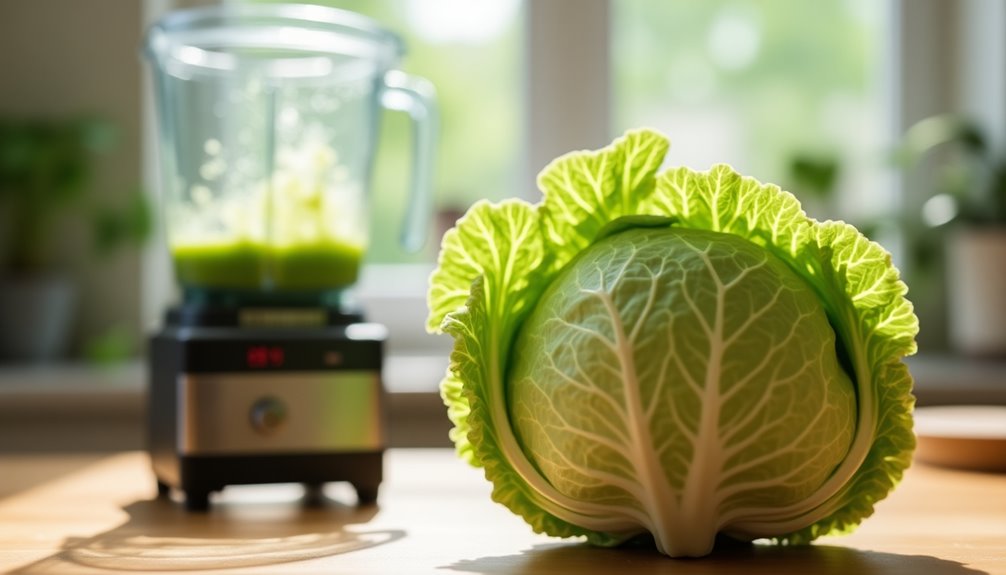
To make cabbage juice with a blender, start by washing and chopping fresh cabbage, cucumber, diced apple, peeled lemon, and ginger. Blend half the cabbage with the other ingredients and some filtered water until smooth. Strain the mixture through a nut milk bag or fine mesh strainer to separate the juice from the pulp. Chill it in the fridge before serving for a refreshing drink. If you're curious about more details, there's plenty more to discover!
Key Takeaways
- Wash and chop fresh cabbage, cucumber, diced apple, peeled lemon, and ginger into manageable pieces for blending.
- Blend half of the chopped cabbage with the other ingredients and filtered water until smooth and frothy.
- Use a nut milk bag or fine mesh strainer to separate the juice from the pulp in a large bowl or pitcher.
- Chill the strained juice in the refrigerator before serving for a refreshing taste.
- Store any leftovers in a sealed jar for up to 4 days, shaking well before consuming.
If you're looking to boost your health with a refreshing drink, making cabbage juice is a simple and rewarding choice. This vibrant juice not only tastes great but also packs a punch when it comes to health benefits. So, let's dive into the steps you need to take to whip up this nutritious beverage using a blender.
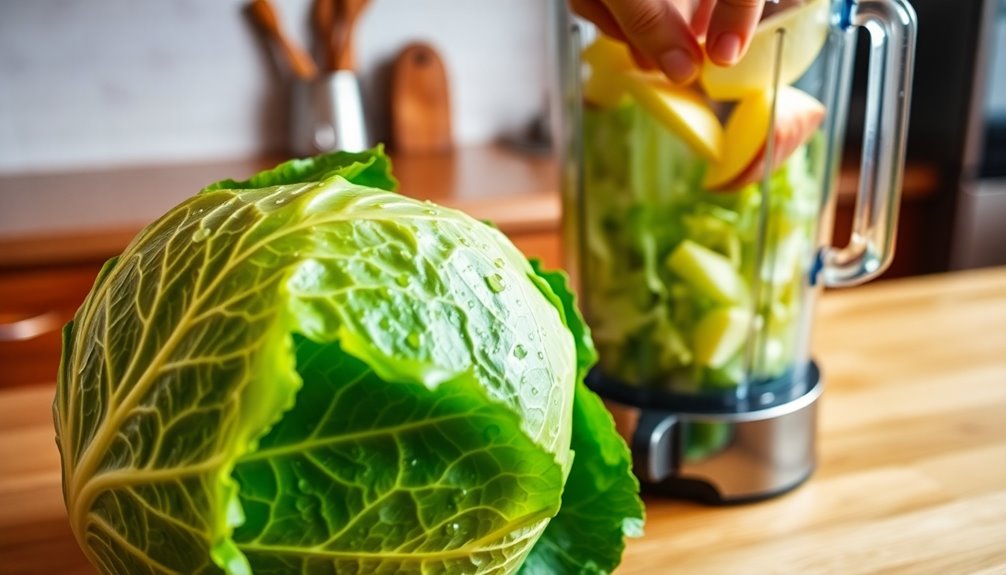
Start by gathering your ingredients. You'll need fresh, firm cabbage, along with a cucumber, a diced apple, a peeled lemon, and some ginger. Don't forget to wash everything thoroughly before you begin chopping.
Once cleaned, chop the cabbage and other ingredients into smaller pieces. This makes it easier for your blender to handle them and ensures a smoother juice.
Once you've prepped your ingredients, it's time to get blending. In your blender, combine half of the chopped cabbage with the cucumber, apple, lemon, ginger, and about 1 cup of filtered water. The filtered water helps create a smoother consistency, allowing your blender to work its magic.
Blend the mixture until it's nice and smooth, making sure everything is well incorporated. You'll want to see a vibrant green and slightly frothy mixture, which is a good sign that it's ready for the next step.
Now comes the fun part: straining the juice. To separate the juice from the pulp, you'll need a nut milk bag or a fine mesh strainer. Place the strainer over a large bowl or pitcher and pour the blended mixture into it.
Let it sit for a few minutes, allowing the liquid to drip through. You can use a spatula to press down on the pulp to extract even more juice if you like. This step is crucial to achieving a smooth and enjoyable cabbage juice, free of any gritty texture.
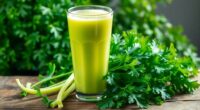
After straining, you may want to chill your cabbage juice before serving. Pop the strained juice in the refrigerator for a bit to cool down. Chilling not only enhances the flavor but also gives it a refreshing quality that's perfect for any time of the day.
Once it's nice and cold, you can pour it into a glass and enjoy it immediately for maximum health benefits.
If you find you've made more juice than you can drink in one sitting, don't worry! You can store any leftovers in a sealed jar in the fridge for up to 4 days. Just remember to shake it well before drinking, as some settling may occur.
This way, you'll have a nutritious drink ready whenever you need a health boost. So, grab your blender and get started on this deliciously healthy cabbage juice—you'll be glad you did!

EanOruus Juicer Machines, 3-in-1 Cold Press Juicer with 6.5" Extra Large Chute, 100oz Large Capacity, AC Motor, Makes Juice, Nut Milk & Sorbet, Premium Gray
3-in-1 Versatility for Wellness: Equipped with two interchangeable strainers (Juice & Sorbet), easily switch between extracting pure, nutrient-rich...
As an affiliate, we earn on qualifying purchases.
Frequently Asked Questions
How to Blend Cabbage in a Blender?
To blend cabbage in a blender, start by washing and chopping the cabbage into smaller pieces. This makes it easier to blend.
Add the chopped cabbage to the blender along with some water for better consistency. Blend it on low for about 1-2 minutes until it's mostly liquefied, then switch to high for a few seconds to achieve a smooth texture.
Remember to strain the mixture afterward if you want just the juice.
How to Make Cabbage Juice Without a Juicer?
Imagine you're a chef in a garden, gathering fresh ingredients.
To make cabbage juice without a juicer, start by washing and chopping the cabbage into small pieces. Toss those pieces into your blender, add some apple, cucumber, ginger, and lemon for flavor, and pour in about a cup of water. Blend the mixture on high speed until it reaches a smooth consistency. Next, strain the juice through a fine mesh sieve or cheesecloth to separate the liquid from the pulp. If you’re interested in more refreshing options, you might also want to learn how to prepare ginger juice, which can easily be added to your cabbage juice for an extra kick of flavor and health benefits. To enhance the nutritional value of your cabbage juice, consider adding a handful of spinach or kale to the blender for an extra boost of vitamins. The vibrant color and natural sweetness from the apple and cucumber will also make the juice more appealing. If you’re curious about other juice recipes, learning how to prepare ginger juice can be a great addition to your repertoire, providing a spicy touch that complements the cabbage.
Blend it all until smooth, then strain the mixture to separate the juice. Chill and enjoy your vibrant, health-packed creation!
Can I Blend Cabbage to Drink?
Absolutely, you can blend cabbage to drink! It's a great way to enjoy the nutrients while keeping the fiber.
Just chop the cabbage into smaller pieces and mix it with some water. If you want, throw in fruits or veggies for extra flavor.
Blend until smooth, then strain to get the juice. For the best taste and health benefits, drink it right away, but you can store it in the fridge for up to four days.
How to Make Juice at Home With Blender?
You might think making juice at home is complicated, but it's surprisingly simple!
Start by picking your favorite fruits or veggies and washing them well. Chop them into smaller pieces, and toss them into your blender with some water.
Blend until smooth, then strain the mixture to separate the juice from the pulp. Pour it into a glass and enjoy your homemade creation, knowing you've just mastered a delightful and healthy treat!
Juicer Machines with 5.8" Large Chute, 2-in-1 Cold Press Juicer for Whole Vegetables Fruits 400W, Masticating juicer Easy to Clean Juice Extractor Machine for Making Nut Mike, Juice, Premium Gray
2-IN-1 Juicer Machines: This juicer features a powerful motor, enabling it to effortlessly produce a variety of nutritious...
As an affiliate, we earn on qualifying purchases.
Conclusion
In just a few simple steps, you can whip up fresh cabbage juice that's packed with nutrients. Did you know that cabbage is rich in vitamin K, with just one cup providing over 85% of your daily needs? This vibrant juice not only boosts your health but also adds a unique flavor to your diet. So, grab your blender, and enjoy the refreshing benefits of cabbage juice today! You'll be amazed at how easy and delicious it is!

Ninja NeverClog Cold Press Juicer | Powerful Electric Slow Masticating Juicer with Pulp Control | XL Capacity | 24 oz. Juice Jug & 36 oz. Pulp Container | Dishwasher Safe | Charcoal | 150W | JC151
NON-STOP JUICING: This powerful masticating juicer’s high-torque motor powers through tough fruits and vegetables like apples, carrots, celery,...
As an affiliate, we earn on qualifying purchases.

Cold Press Juicer Machine, 6.5" Large Feed Chute Masticating Extractor, Easy to Clean for Whole Fruits & Vegetables, High Yield
【3-in-1 Versatility】 100% BPA-Free. One smart strainer does it all! No switching needed to make pure juice, nut...
As an affiliate, we earn on qualifying purchases.

Cindy thoroughly researches juicing trends, techniques, and recipes to provide readers with practical advice and inspiration. Her writing style is accessible, engaging, and designed to make complex concepts easy to understand. Cindy’s dedication to promoting the advantages of juicing shines through her work, empowering readers to make positive changes in their lives through the simple act of juicing.