
To make garlic juice for chickens, combine 8 crushed garlic cloves with 1.5 liters of water and let it soak for 1-2 days, shaking it occasionally. On the seventh day, add 1 teaspoon of honey and 1 chopped onion. After three weeks, strain the mixture and squeeze in the juice of two lemons. Administer 5 ml per liter of water on the 15th of each month, and keep an eye on your chickens' reactions for best results. You'll find even more helpful tips ahead!
Key Takeaways
- Combine 8 crushed garlic cloves with 1.5 liters of water and let soak for 1-2 days, shaking occasionally.
- On the seventh day, add 1 teaspoon of honey and 1 chopped onion to the mixture.
- After three weeks, drain the mixture and squeeze in the juice of two lemons.
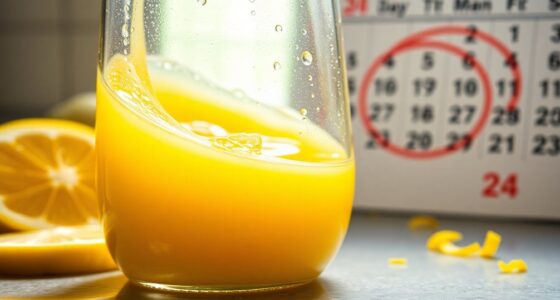
- Administer 5 ml of garlic juice per liter of water on the 15th of each month for optimal benefits.
- Monitor chicken intake and reactions, adjusting dosage as necessary, and avoid mixing with apple cider vinegar.
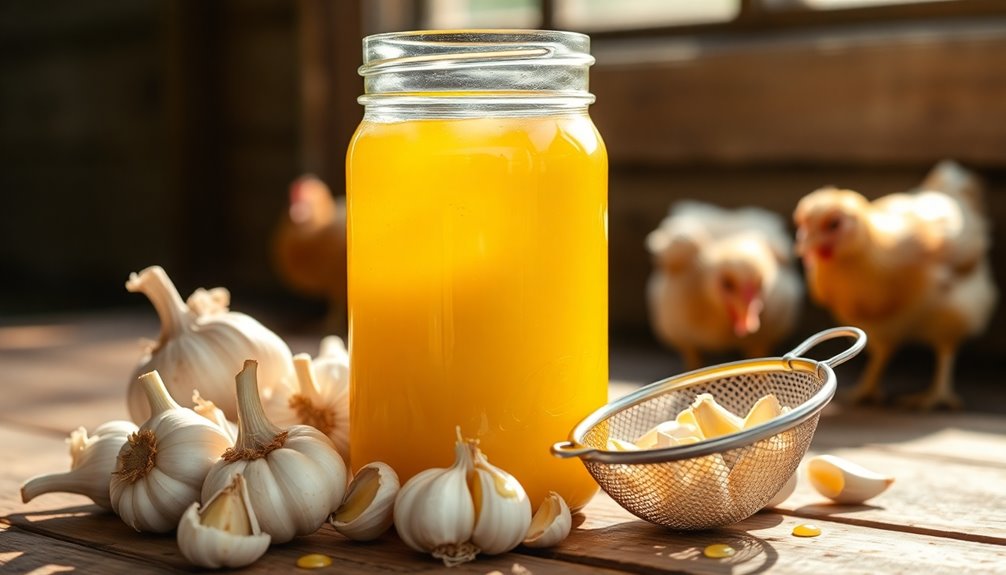
Making garlic juice for your chickens is a simple yet effective way to boost their health. Garlic has long been recognized for its numerous benefits, and when you include it in your chickens' diet, you can enhance their immune system and help fend off external parasites. By following a few straightforward steps, you can create a nutritious garlic juice that your backyard chickens will appreciate.
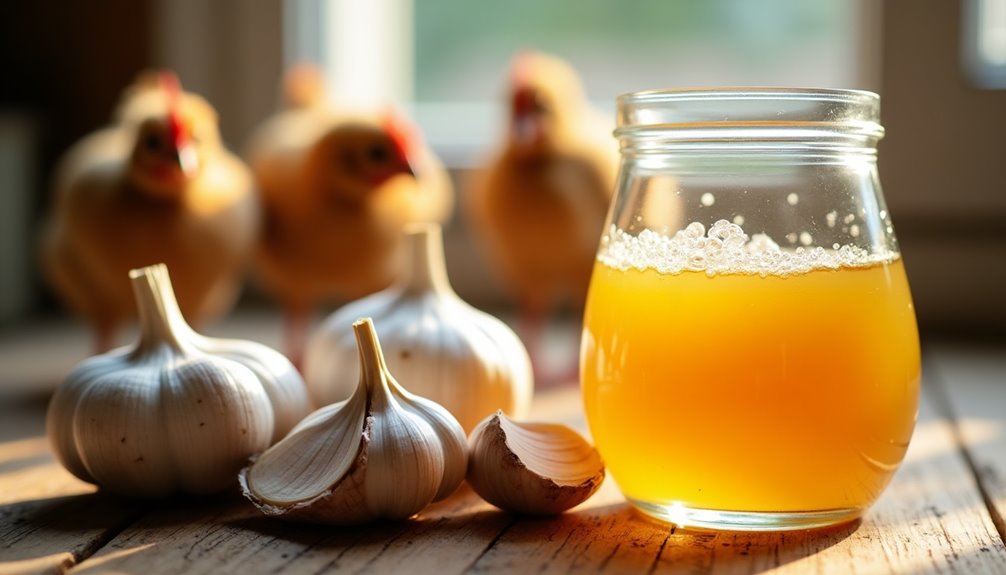
To start, gather 8 large peeled and crushed garlic cloves and combine them with 1.5 liters of water. This initial step is crucial as it allows the garlic to infuse its beneficial properties into the water. Let the mixture soak for about 1-2 days, shaking it well every two days to ensure the garlic extract is evenly distributed. The soaking process allows the juice to concentrate, making it more effective for your chickens.
On the seventh day of preparation, you'll want to elevate the mixture's flavor and benefits by adding a teaspoon of honey and a large chopped onion. Honey not only sweetens the garlic juice but also has its own health benefits, further supporting your chickens' well-being. The onion adds another layer of nutrients, making this concoction even more beneficial for your flock.
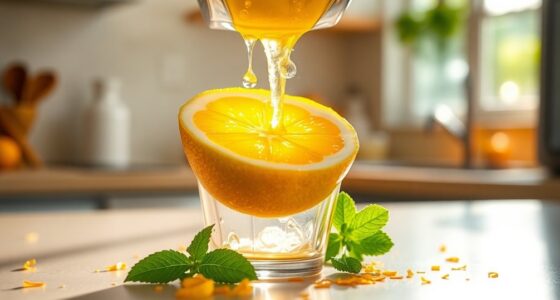
After three weeks, it's time to complete your garlic juice preparation. Drain the mixture and squeeze in the juice of two lemons. The lemon juice not only adds a zesty flavor but also provides additional vitamins, which can help improve your chickens' overall health. Now that your garlic juice is ready, you can begin incorporating it into your chickens' routine.
When feeding garlic juice to your chickens, aim for a dosage of 5 ml per liter of water. This dosage should be administered on the 15th of each month for optimal results. It's important to note that the mixture should be used within two days to ensure freshness and potency. If you notice your chickens aren't drinking enough, you can increase the amount of garlic juice slightly, but always monitor their intake to avoid any adverse reactions.
Additionally, consider using garlic juice as a spray for mite control on your chickens. Garlic has natural insect-repelling properties, and applying it topically can help keep external parasites at bay. Just remember to avoid mixing garlic juice with apple cider vinegar, as this can counteract some of the beneficial effects.
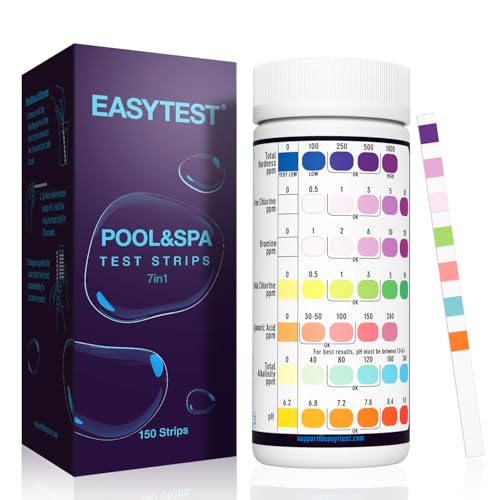
EASYTEST 7-Way Pool Test Strips, 150 Strips Water Test for Hot tub and Spa
- Number of Test Strips: 150 strips for multiple tests
- Quick and Accurate Testing: Soak for 1 second, read in 15 seconds
- 7-in-1 Water Parameters: Tests Bromine, pH, Chlorine, and more
As an affiliate, we earn on qualifying purchases.
Frequently Asked Questions
How Do You Make Garlic Water for Chickens?
To make garlic water for your chickens, start by combining 8 large peeled and crushed garlic cloves with 1.5 liters of water.
Let it soak for at least one day. After a day or two, shake the mixture well to distribute the garlic properties evenly. Allow the mixture to sit in a cool, dark place to enhance the infusion process. Once shaken, you can strain the liquid to separate the solids from the garlic juice. This potent infusion can then be used to explore how garlic juice benefits health, as it is known for its anti-inflammatory and antibacterial properties, making it a valuable addition to your wellness routine.
For the best health benefits, give them 5 ml of this garlic water per liter of their drinking water on the 15th of each month, and provide fresh garlic water daily.
How to Make Garlic Juice?
You've stumbled upon a simple yet effective way to make garlic juice, haven't you?
Start by combining 8 large peeled and crushed garlic cloves with 1.5 liters of water. Let it soak for 1-2 days, shaking it every couple of days to enhance extraction.
After about a week, add a teaspoon of honey and a chopped onion. Drain it after 4-5 days, and you'll have a potent garlic juice ready to use!
How to Use Garlic Juice for Chicken Mites?
To use garlic juice for chicken mites, start by spraying it on your affected chickens once a week for three weeks.
Focus on applying it around the neck, vent, and under their wings. It's best to do this at night when they're roosting.
After the initial treatment, reduce applications to twice a week for another two weeks.
How to Add Garlic to Chicken Feed?
To add garlic to your chicken feed, start by crushing four cloves of garlic and mixing them with a gallon of water.
Let it infuse overnight. Gradually introduce this garlic mixture into their diet, beginning with a small amount to help them get used to the flavor.
Aim for a concentration of 0.5% to 1% garlic based on their size and age, and replace the mixture daily for best results.
Conclusion
Incorporating garlic juice into your chickens' diet can boost their health and immunity. Did you know that garlic has been shown to reduce the risk of respiratory infections in poultry by up to 30%? By making this simple juice, you're not only enhancing their flavor experience but also supporting their overall well-being. So go ahead, whip up that garlic juice and watch your chickens thrive! It's a small effort for a big impact on their health.