I recall the initial time I created grape juice through boiling. My neighbor generously shared fresh grapes from her garden, and I was determined to utilize them efficiently. I was pleasantly surprised at how straightforward it was to transform those grapes into a tasty homemade juice. Ever since then, whenever I have surplus grapes, I choose to prepare grape juice by boiling.

Making grape juice by boiling is a simple process that requires just a few basic ingredients and tools. All you need are fresh grapes, water, a pot, and a strainer. It’s a great way to use up extra grapes or to enjoy the taste of fresh, homemade juice without all the added sugars and preservatives found in store-bought varieties.

In this article, I’ll take you step-by-step through the process of making grape juice by boiling, including tips for adding sweeteners and experimenting with flavors. We’ll also explore how to strain the juice effectively for a smooth texture and how long to simmer for the best flavor extraction. Additionally, I’ll share some creative ideas, such as making ice pops with juice for a refreshing treat, perfect for hot summer days. With a few simple adjustments, you can customize your juice to suit your taste preferences and experiment with different fruit combinations.

Key Takeaways

  • Washing and prepping grapes by removing stems and debris and rinsing them thoroughly is crucial before boiling.
  • Boiling grapes breaks down cell walls and releases juice, while also killing bacteria.
  • Straining the juice is crucial for achieving clarity and smoothness.
  • Sweetness of the juice can be adjusted with sugar or honey, and can be stored in an airtight container in the fridge or freezer.

Gather Your Ingredients

You’ll need to gather your ingredients before you can start making grape juice by boiling.

The first thing you’ll need is a sufficient amount of grapes. You can use any type of grapes, but some are better suited for making juice than others. For example, Concord grapes are a popular choice for making grape juice because they have a naturally sweet flavor and are easy to find at most grocery stores. Other varieties, such as Muscadine or Scuppernong, can also be used, but may require more sugar to balance out their tartness.

Aside from grapes, you’ll also need water and sugar. The amount of sugar you use will depend on your personal preference and the sweetness of the grapes you’re using. Some people prefer their grape juice to be more tart, while others like it to be sweeter.

It’s also worth noting that grapes have several health benefits, including being high in antioxidants and vitamin C.

Now that you have your ingredients, it’s time to wash and prep the grapes.

Wash and Prep the Grapes

Now, it’s time to wash and prep the grapes. First, I remove all the stems and debris from the grapes.

Then, I rinse them thoroughly under running water. This step is crucial to ensure that no dirt or residue is left on the grapes, which could affect the taste and quality of the grape juice.

Remove Stems and Debris

First, grab a colander and gently pour the grapes into it to remove any stems and debris that may have been missed during the initial sorting process. This step is important because removing the stems improves the taste and texture of the grape juice.

Additionally, it’s recommended to remove debris such as leaves and twigs because they can make the juice bitter and gritty. To make the most out of the leftover stems, you can use them for composting or as a snack for your pets.

Removing the debris from the grapes also ensures that the juice is clean and safe to consume. It helps eliminate any unwanted particles that may have been present in the grapes, such as dirt and insects.

Once the stems and debris are removed, it’s time to move on to the next step of the process – rinsing the grapes thoroughly.

Rinse Thoroughly

Next, it’s time to give the grapes a thorough rinse under cool running water to ensure that all remaining debris and dirt are removed. This step is crucial in making sure that the grape juice is free from any impurities that may affect its quality and taste.

As grapes are grown outdoors, they may have been exposed to pesticides and other chemicals, making it important to wash them thoroughly. Aside from ensuring cleanliness, rinsing the grapes also helps retain the health benefits of grapes. Grapes are known to have high levels of antioxidants, vitamins, and minerals that are beneficial to our health. By washing them thoroughly, we can avoid contaminating the juice with harmful substances and preserve its nutritional value.

With the grapes thoroughly washed, it’s time to move on to the next step and boil them to extract their juice.

Boil the Grapes

Let’s get those grapes boiling! Boiling is one of the most common methods used to extract juice from grapes. It’s a simple and effective way to get the juice out of the grapes and into a form that’s easy to consume.

One of the benefits of boiling grapes is that it helps to break down the cell walls of the grapes, which releases the juice. This makes it easier to extract the juice using a strainer or cheesecloth. Additionally, boiling can help to kill any bacteria or other microorganisms that may be present in the grapes, which makes the juice safer to drink.

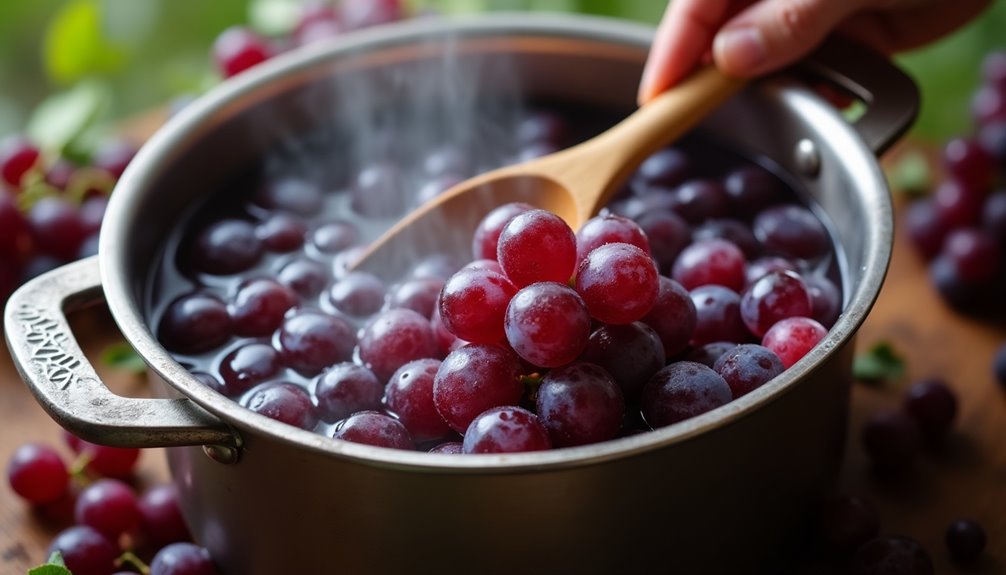
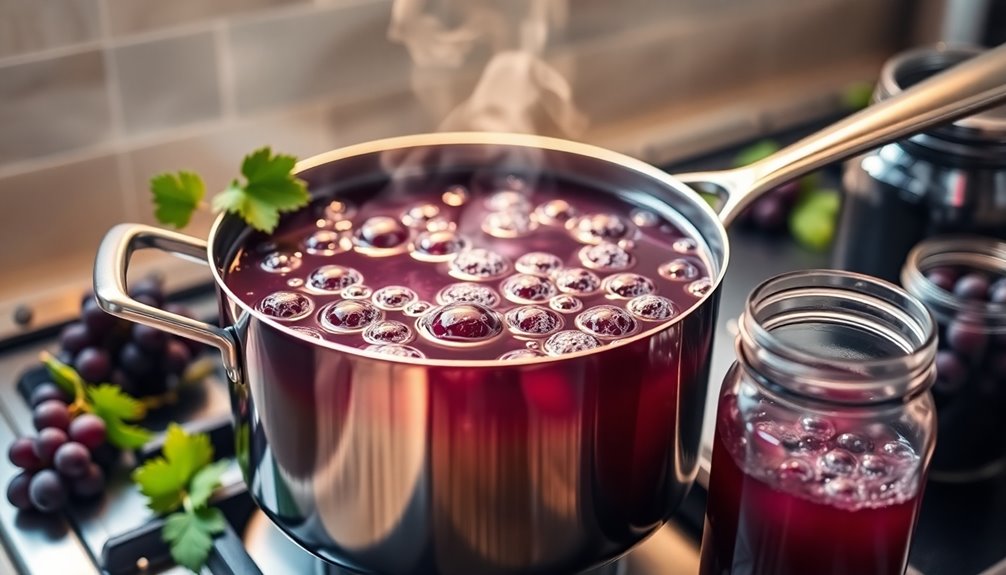
There are different methods of grape juice extraction, but boiling is one of the most common. To boil grapes, start by adding the cleaned grapes to a pot of water. Bring the water to a boil and then reduce the heat to a simmer. Continue simmering the grapes for around 10-15 minutes, or until the grapes have softened and the juice has been released.

Once the grapes have been boiled, it’s time to strain the grape mixture to remove any solids.

Strain the Grape Mixture

Now it’s time for you to separate the liquid from the solids by straining the grape mixture through a fine mesh sieve, allowing the juice to flow freely like a river while leaving behind the debris. Alternatively, you can use a cheesecloth to strain the mixture for a more thorough separation of the juice from the pulp. This step is crucial to ensure the clarity and smoothness of the final product.

To adjust the sweetness level of the grape juice, you can add sugar or honey to taste. Start with a small amount and gradually add more until the desired level of sweetness is achieved. Remember to stir the juice well after each addition to ensure the sweetener is evenly distributed. With the juice now strained and potentially sweetened, it’s time to move on to the next step of the process – adding sweetener (optional).

Add Sweetener (Optional)

Enhance the flavor of your homemade grape beverage by adding a touch of sweetness with sugar or honey. This will create a delightful taste sensation that’ll have your taste buds dancing.

There are several types of sweeteners that you can use to sweeten your grape juice, including white sugar, brown sugar, honey, agave nectar, and maple syrup. Each of these sweeteners has its own unique flavor profile and health benefits. For example, honey is a natural sweetener that’s rich in antioxidants and has antibacterial properties. Agave nectar is a low glycemic sweetener that’s perfect for those who are watching their blood sugar levels.

When adding sweetener to your grape juice, it’s important to remember that a little goes a long way. Start with a small amount and taste the juice before adding more. You can always add more sweetener later, but you can’t take it away once it’s been added.

Also, keep in mind that some sweeteners dissolve more easily than others, so you may need to stir the juice thoroughly to ensure that the sweetener is evenly distributed. Once you’ve added the sweetener to your grape juice, it’s time to move on to the next step: storing the juice.

Store the Grape Juice

After adding your desired sweetener, simply store the juice in an airtight container in the fridge to keep it fresh for several days. It’s important to use a container with a tight-fitting lid to prevent air from getting in and spoiling the juice. Glass jars or bottles are ideal for this purpose as they don’t react with the acid in the juice and don’t leave any unpleasant taste or odor.

To further extend the shelf life of the grape juice, you can also freeze it in an airtight container. This will preserve the juice for up to six months. When thawing the juice, simply place the container in the fridge overnight and allow it to thaw slowly. Avoid thawing the juice at room temperature as this can promote the growth of harmful bacteria.

Experiment with flavors by adding different fruits or herbs to the grape juice before storing or serving.

Experiment with Flavors

Get creative with your grape juice and try adding different fruits or herbs to enhance the flavor! Experimenting with flavor combinations is a fun way to personalize your grape juice and make it unique. Here are some flavor combinations to try:

Fruit Herb Flavor
Apple Mint Refreshing
Pear Basil Sweet and Savory
Orange Rosemary Citrusy and Earthy
Pineapple Ginger Spicy and Sweet

To start, choose a fruit and herb combination that sounds appealing to you. Add a small amount of the fruit and herb to your grape juice and taste test it. If you like the flavor, add more of the fruit and herb until you achieve the desired taste. Keep in mind that some flavors may be stronger than others, so it’s best to add a little bit at a time. Get creative and try different combinations until you find your favorite!

Once you’ve experimented with different flavors and found your favorite combination, it’s time to use your grape juice in recipes.

Use Your Grape Juice

Now that I’ve experimented with different flavors of grape juice, it’s time to put my homemade juice to use. There are so many recipes and pairings that can be made with grape juice, and I’m excited to try them all.

Here are some ideas for how to use your homemade grape juice:

  1. Mix it with sparkling water for a refreshing non-alcoholic spritzer.
  2. Use it as a base for homemade popsicles or sorbet.
  3. Incorporate it into a marinade for meat or poultry.
  4. Add it to a cocktail for a fruity twist.

With so many possibilities, there’s no limit to what you can create with your homemade grape juice.

Next, let’s explore the benefits of making your own juice.

Benefits of Homemade Grape Juice

One of the advantages of crafting your own grape juice is that it’s like having a secret weapon in your culinary arsenal – you can easily elevate any dish or drink with the unique flavor and freshness of your homemade juice.

Apart from being a great addition to your recipes, homemade grape juice also boasts a range of health benefits. Homemade grape juice is rich in polyphenols, antioxidants that are known to protect the body against various diseases. It also contains vitamins C and K, which help boost immunity and promote healthy blood clotting.

Additionally, grape juice has been shown to lower blood pressure, improve cholesterol levels, and reduce the risk of heart disease. With all these health benefits and nutritional value, there’s no reason not to start making your own grape juice today!

Frequently Asked Questions

Can I use any type of grape to make grape juice?

Yes, grape variety selection is crucial in determining the flavor profile of grape juice. Different grape varieties produce varying levels of sweetness, acidity, and tartness. It’s important to choose a grape variety that suits your taste preference.

How long does the grape juice last in the fridge?

The grape juice I preserve in the fridge can last up to a week, but it’s best consumed within 2-3 days for optimal freshness. Grape juice is rich in antioxidants, vitamins, and minerals, making it a healthy beverage choice.

Should I remove the stems from the grapes before boiling them?

In the stem removal debate, I opt to remove them before boiling the grapes. It prevents the juice from becoming bitter and minimizes the need for blending. Boiling vs blending controversy aside, this step results in a smoother, tastier grape juice.

Can I use honey as a sweetener for the grape juice?

Yes, honey can be used as a sweetener for grape juice. However, there are also honey alternatives like agave or maple syrup. Grape juice can be used in cocktails for a healthier alternative to sugary mixers.

How do I know if the grape juice is safe to drink?

To ensure the safety of homemade grape juice, it’s important to follow proper boiling process and safety measures. This includes thoroughly washing all equipment and using sterilized jars for storage. It’s also recommended to test the pH levels and use additives like citric acid to prevent bacterial growth.

Conclusion

In conclusion, making grape juice by boiling is a simple and rewarding process that can be easily done at home. With just a few ingredients and some basic kitchen tools, you can produce a delicious and nutritious beverage that is perfect for any occasion.

Plus, the benefits of homemade grape juice are numerous, including high levels of antioxidants, vitamins, and minerals that can help boost your immune system and fight off disease. Did you know that the United States is the world’s largest producer of grapes, with over 7 million tons grown each year? That’s a lot of grapes, and with this simple recipe, you can put some of those grapes to good use by making your own grape juice.

So why not give it a try and see how easy and delicious it can be? Whether you prefer your grape juice sweet or tart, you can customize the recipe to your liking and enjoy the health benefits of this tasty fruit beverage.

You May Also Like

How Long Does Apple Juice Take To Make You Poop

Dole 100% Pineapple Juice, 24 pk./8.4 oz. Amazon R.W. Knudsen Organic Pineapple…

How To Make Cabbage Juice For Ulcer

Hamilton Beach Juicer Machine, Big Mouth Large 3” Feed Chute for Whole…

How Long Does Fresh Beet Juice Last

Zulay Kitchen Metal 2-in-1 Lemon Squeezer – Sturdy Max Extraction Hand Juicer…

How Long Is Pineapple Juice Good After Opening

Tropicana 100% Juice, 3 flavor, 10 fl oz (Pack of 24) -…