I understand your point – why go through the effort of making guava juice at home when I can simply purchase it?

But hear me out. Making your own guava juice is not only easy, but it also ensures that you’re getting the freshest, most nutritious juice possible. Plus, it’s a fun and satisfying way to experiment with different flavors and textures.

Not to mention, guava is a superfood that offers numerous health benefits. It’s rich in vitamin C, fiber, and antioxidants, which can boost your immune system, aid in digestion, and protect against chronic diseases.

So, if you’re ready to try your hand at making your own guava juice, keep reading for a step-by-step guide on how to do it.

Key Takeaways

  • Guava is a superfood that is rich in vitamin C, fiber, and antioxidants.
  • When picking guavas, look for ripe ones that are soft and fragrant.
  • To prepare guavas for juicing, wash them, cut off the top and bottom, scoop out the seeds, and slice them into small pieces.
  • To sweeten and adjust the consistency of guava juice, add sweetener and water to taste, and consider adding other fruits to enhance the flavor and add nutrients.

Health Benefits of Guava

You’re going to love how guava juice not only tastes amazing, but is also packed with health benefits. Guavas are known for their high nutritional value and medicinal properties. They contain high amounts of vitamin C, which helps in fighting infections and building a stronger immune system.

Guavas are also rich in fiber, which aids in digestion and prevents constipation. Moreover, guavas have antioxidants that protect your body from damage caused by free radicals. To make delicious guava juice, the first step is to gather fresh guavas.

Look for guavas that are ripe, but not too soft to the touch. The skin of the guava should be smooth and free from any blemishes or bruises. Once you have gathered fresh guavas, the next step is to wash them thoroughly under running water.

Now that you have the fresh guavas ready, it’s time to start making the juice!

Gather Fresh Guavas

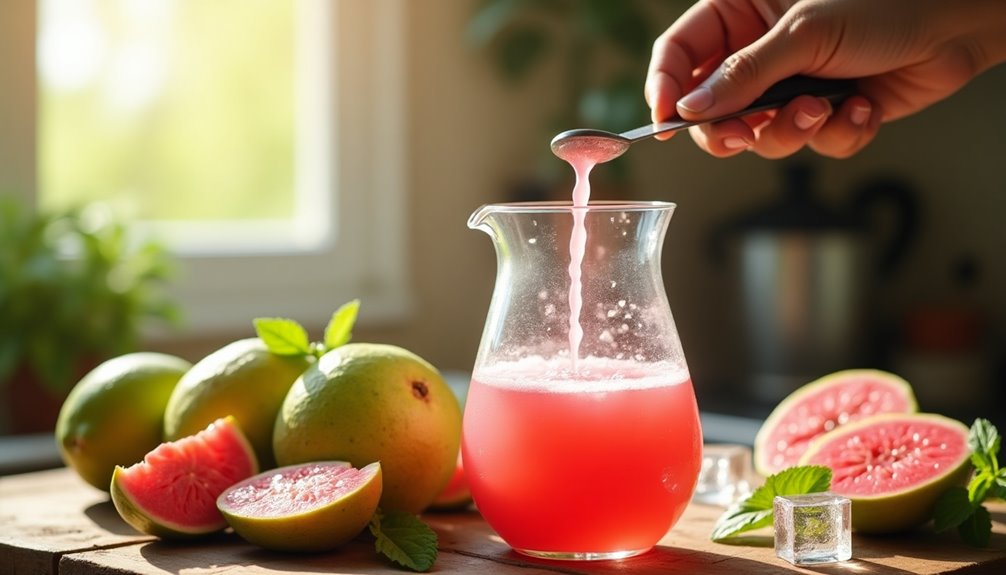
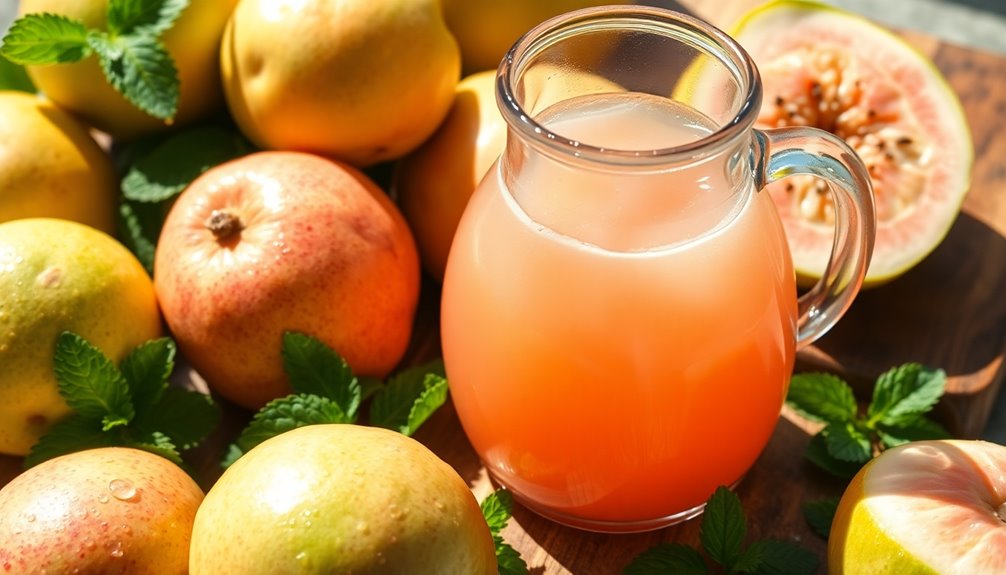
After scouting the local markets, it’s best to handpick fresh guavas as it guarantees the quality and ripeness of the fruit. When picking guavas, it’s important to look for fruits that are slightly soft to the touch and have a fragrant aroma. Avoid guavas that have blemishes, bruises, or are too hard as they may not be ripe yet.

To ensure that the guavas stay fresh, it’s essential to store them properly. Guavas can be stored at room temperature for up to a week or in the refrigerator for up to two weeks. If the guavas are not ripe yet, they can be stored in a paper bag at room temperature to speed up the ripening process. Proper picking and storage techniques are important in making sure that the guavas are of the highest quality and are ready to be used in making delicious guava juice. Moving on to the next step, let’s learn how to wash and cut the fruit.

Wash and Cut the Fruit

Now that you’ve got your hands on some ripe guavas, it’s time to give them a good wash and slice them up into perfect little pieces of tropical goodness, so you can start sipping on a refreshing glass of guava nectar.

When it comes to washing the fruit, I like to use a gentle scrub brush to remove any dirt or debris on the skin. Once the guavas are nice and clean, it’s time to start cutting.

The cutting technique for guavas can be a bit tricky if you’ve never done it before. It’s important to first cut off the top and bottom of the fruit, so you have a stable base to work with. Then, using a sharp knife, carefully slice the guava in half lengthwise. From there, you can scoop out the seeds and slice the fruit into small pieces.

Juicing tips: I find that using a juicer or blender works best to get the most juice out of the guavas. And don’t forget to save those seeds for the upcoming section on how to remove them!

Remove the Seeds

To efficiently extract the seeds from the guava, it’s crucial to use a strainer or sieve to separate them from the pulp. This step is important to ensure that your guava juice is smooth and seedless.

There are a few tips and tricks to make this process easier. Firstly, cut the guava in half and scoop out the seeds with a teaspoon. You can also use a small knife to cut the seed pockets out. Once you have removed all the seeds, put the pulp into a strainer or sieve and press it through with a spoon or spatula.

Make sure to scrape the bottom of the strainer to get all the juice out. If you’re using a sieve, you can use the back of a spoon to press the pulp through. With these tips, you’ll have seedless guava juice in no time!

Now that we have removed the seeds from the guava, it’s time to move on to the next step: blending or juicing. By removing the seeds, we have ensured that our guava juice will be smooth and easy to drink. Let’s get started!

Blend or Juice the Guava

So now that we’ve removed the seeds, it’s time to blend or juice the guava. Personally, I prefer using a blender as it allows me to get a smoother consistency. However, if you have a juicer, that works great too!

Let’s dive into these two methods and see which one works best for you.

Using a Blender

Using a blender is the easiest way to make guava juice at home. It’s a simple process that requires just a few ingredients and equipment. Here are the steps to make guava juice using a blender:

  • Choose ripe guavas: The best time to harvest guavas for juicing is when they’re fully mature and ripe. Look for guavas that are soft to the touch and have a sweet aroma.

  • Cut and blend: Wash the guavas and cut them into small pieces. Add the pieces to a blender and blend until smooth. Next, strain the blended guava mixture through a sieve to remove any seeds or pulp for a smoother texture. If you’re curious about how to make guava slime, that’s a different process altogether, involving non-edible ingredients. In this case, you now have a fresh guava puree perfect for juices or desserts!

  • Strain the mixture: Pour the blended mixture through a fine mesh strainer to remove any seeds or pulp.

  • Add sweetener and water: Taste the juice and add sweetener if needed. You can use honey, sugar, or any other sweetener of your choice. Add water to adjust the consistency of the juice.

If you don’t have a blender, you can also use a juicer to make guava juice. However, using a blender is more convenient and requires less cleanup.

In the next section, I’ll explain how to make guava juice using a juicer.

Using a Juicer

Get ready to experience the full flavor of ripe, sweet guavas with the help of a juicer. Using a juicer is an easy and effective way to make guava juice. Before starting, make sure your juicer is clean and well-maintained. This will ensure that your guava juice is free of any unwanted particles and tastes fresh.

When using a juicer, there are a few alternative methods to consider. You can either remove the seeds from the guavas before juicing or leave them in. Leaving the seeds in will give your juice a slightly bitter taste, but they’re also a good source of fiber. Alternatively, you can add some water to the juicer to dilute the juice and make it less thick.

Once you’ve extracted the juice, you can move on to the next step of adding sugar or sweetener (optional).

Add Sugar or Sweetener (Optional)

You can choose to add a pinch of powdered sugar or a spoonful of honey as a sweetener to enhance the guava’s natural flavor. Adding sugar or a sweetener to your guava juice has its pros and cons.

On one hand, adding sugar enhances the taste of the juice and makes it more enjoyable. On the other hand, consuming too much sugar has negative health effects such as weight gain and increased risk of diabetes.

If you decide to add a sweetener to your guava juice, you can choose from various options such as honey, agave syrup, or maple syrup. Honey is a great choice as it complements the guava’s taste and is known for its antibacterial properties. Agave syrup is another option that is lower in glycemic index and has a milder taste than honey. Lastly, maple syrup is a great choice if you prefer a more earthy and nutty flavor.

To add sweetness to your guava juice, you can mix in the sugar or sweetener of your choice. Start by pouring a small amount and taste the juice before adding more. Remember that the guava fruit is already naturally sweet, so you don’t want to overpower its flavor with too much added sugar or sweetener.

Once you’ve added the desired amount, mix the juice well to ensure that the sugar or sweetener is evenly distributed. With a sweet and tasty guava juice in hand, you can now move on to the next step of adding water or other fruits (optional).

Add Water or Other Fruits (Optional)

Now that I’ve added sugar to my guava juice, I can move on to the next step. The key here is to choose the right liquid to dilute the juice, as this will affect the overall taste and texture. Additionally, adding other fruits can enhance the flavor and add extra nutrients to the drink.

Let’s explore these options further and create a truly delicious and refreshing guava juice.

Choosing the Right Liquid

Firstly, when it comes to choosing the right liquid for your guava juice, there are a few tips to keep in mind. It’s important to select a liquid that will complement the sweet and tangy flavor of guava, while also enhancing its natural texture.

Here are some options to consider:

  • Water: Adding water to your guava juice will dilute the flavor slightly, but it can also help to balance out any sweetness and create a lighter, more refreshing beverage.

  • Coconut water: For a tropical twist on guava juice, try using coconut water as your liquid base. This will add a subtle coconut flavor and provide some extra hydration benefits.

  • Pineapple juice: Another fruit juice that pairs well with guava is pineapple juice. This will add a sweet and tangy flavor that complements the guava perfectly.

When you have selected the best liquid for your guava juice, it’s time to move on to the next step: adding other fruits for flavor. By experimenting with different fruit combinations, you can create a unique and delicious guava juice that is perfect for any occasion.

Adding Other Fruits for Flavor

To really take your guava juice to the next level, why not mix in some other fruits to create a flavor explosion that’ll tantalize your taste buds and leave you feeling refreshed and rejuvenated?

One of my favorite mixing techniques is to blend in some strawberries and bananas. The sweetness of the strawberries perfectly complements the tanginess of the guava, while the creaminess of the bananas gives the juice a smooth and velvety texture.

Another great taste combination is to add in some pineapple and mango. The tropical flavors of these fruits add a delicious twist to the guava juice, transporting you straight to a sunny beach paradise.

When experimenting with different fruits, be sure to find the right balance of flavors and adjust the amount of each fruit accordingly. Now that we’ve added some extra fruits, it’s time to strain the juice (optional) to remove any pulp or seeds for a smoother consistency.

Strain the Juice (Optional)

If you prefer a smoother texture, you can strain the guava pulp using a fine mesh strainer or cheesecloth. Straining the juice removes any remaining seeds, pulp, or fibers, resulting in a smoother and more refined juice. However, some people prefer the added texture and fiber that comes with unstrained juice.

To strain or not to strain: pros and cons. Straining the juice can be time-consuming and messy, but it can also be worth it for those who prefer a smoother texture. There are different ways to strain juice, such as using a fine mesh strainer or cheesecloth. Ultimately, it comes down to personal preference and whether you value a smoother texture over added fiber.

Now that we’ve covered straining, let’s move on to the final step of chilling and serving the guava juice.

Chill and Serve

You wouldn’t want to skip the final step of enjoying your perfectly chilled and served guava juice, now would you? After all the hard work of preparing the fruit, extracting the juice, and possibly straining it, it’s time to sit back and enjoy the refreshing drink. But before you do, why not get a little creative with your serving methods? Guava juice can be enjoyed in a variety of ways, whether it’s adding a splash to your morning smoothie or mixing it up into a fun cocktail for happy hour.

To get your creative serving juices flowing, here’s a table with some guava cocktail recipes to try out:

Guava Cocktail Recipes Ingredients
Guava Margarita Tequila, lime juice, guava nectar, triple sec, salt
Guava Cosmo Vodka, guava nectar, lime juice, cranberry juice
Guava Mojito White rum, fresh mint leaves, lime juice, guava nectar, club soda

Once you’ve decided on your preferred serving method, it’s time to chill your guava juice. This can be done by placing it in the refrigerator for at least an hour before serving. And there you have it, your very own homemade guava juice! Enjoy it as is or get creative with your serving methods, but most importantly, savor the delicious taste of your hard-earned creation.

Enjoy Your Homemade Guava Juice!

Indulge in the satisfying taste of your homemade guava juice and explore creative serving methods to enhance your experience. After all the hard work you’ve put into making your juice, it’s time to sit back, relax, and enjoy the fruits of your labor.

But don’t settle for a plain glass of guava juice. Why not try some alternative recipes and serving suggestions to make the experience even more enjoyable? One fun way to serve guava juice is to mix it with sparkling water or soda for a refreshing and bubbly drink. You can also try adding a splash of coconut milk or almond milk for a creamier texture.

If you’re feeling adventurous, you can even experiment with adding other fruits or herbs to your guava juice, such as mint, lime, or pineapple. The possibilities are endless, so don’t be afraid to get creative and find a combination that suits your tastes.

Frequently Asked Questions

To get the most out of guava juice, I recommend drinking it as a post-workout drink. It’s also great for weight loss. As the saying goes, "an apple a day keeps the doctor away,"but a glass of guava juice may be even better.

Can guava juice be stored for an extended period of time, and if so, what is the best way to store it?

Yes, guava juice can be stored for an extended period of time using preservation techniques. To ensure long term storage, it’s best to store it in an airtight container in the refrigerator or freezer.

Are there any potential side effects or risks associated with consuming guava juice?

Oh sure, because everything we consume nowadays is completely risk-free. But fear not, the potential risks of guava juice are minimal compared to its numerous benefits. It’s a great source of Vitamin C, fiber, and antioxidants.

How does the nutritional content of guava juice compare to other fruit juices?

I’ve conducted a comparative analysis of fruit juices and found that guava juice is a nutritional powerhouse. It has higher levels of vitamin C and antioxidants than most other fruit juices, making it an excellent choice for its health benefits.

Are there any creative recipes or variations of guava juice that can be made using different ingredients or methods?

I love experimenting with guava juice by creating creative variations and mixing flavors. Adding a splash of lime juice or blending it with strawberries and bananas can elevate the taste. The possibilities are endless!

Conclusion

Phew, that was quite the process! But now, holding a tall glass of homemade guava juice, I can confidently say that it was all worth it.

Not only is guava a delicious fruit, but it also packs a punch in terms of health benefits. Did you know that one guava fruit contains four times the amount of vitamin C as an orange? That’s right, just one guava can provide over 200% of your daily recommended intake of this essential nutrient!

Drinking guava juice not only helps boost your immune system, but it can also aid in digestion, regulate blood sugar levels, and even improve heart health. So not only are you treating your taste buds, but you’re also treating your body to some much-needed nutrients.

Next time you’re in the mood for a refreshing drink, skip the store-bought options and try making your own guava juice. It may take a bit of effort, but the end result is well worth it.

And who knows, you may even impress your friends and family with your juicing skills and newfound knowledge on the benefits of guava.

You May Also Like

How Many Key Limes For 1/2 Cup Juice

IMUSA Lemon or Lime Manual Squeezer, Citrus Juicer for Max Extraction, Green…

How To Make Popsicles With Juice

Popsicle Molds Set 6 Pieces Ice Popsicle Maker-BPA Free,Easy-Release Ice Pop Molds,Homemade…

How To Make Gravy From Pot Roast Juice

What to Cook When You Don’t Feel Like Cooking – A Cookbook…