
To create a juice groove in your cutting board, use a router with a groove bit and secure your board with a sturdy jig. Start by adjusting the router bit to a shallow depth and make a clean outline. Gradually deepen the groove with clockwise passes, ensuring to start a few inches from the corners. Clean up any rough edges and finish with food-safe mineral oil to protect the wood. There's more to perfecting this process!
Key Takeaways
- Construct a stable jig using 3/4 plywood strips to securely hold the cutting board during routing.
- Adjust the router bit depth gradually, starting with a shallow cut of 1/8 inch for a clean groove outline.
- Cut in a clockwise direction while routing to avoid burns and minimize marks on the wood surface.
- Perform the routing process in three to four passes, deepening the groove incrementally for uniformity.
- Finish by cleaning the cutting board and applying food-safe mineral oil to enhance appearance and protect the wood.
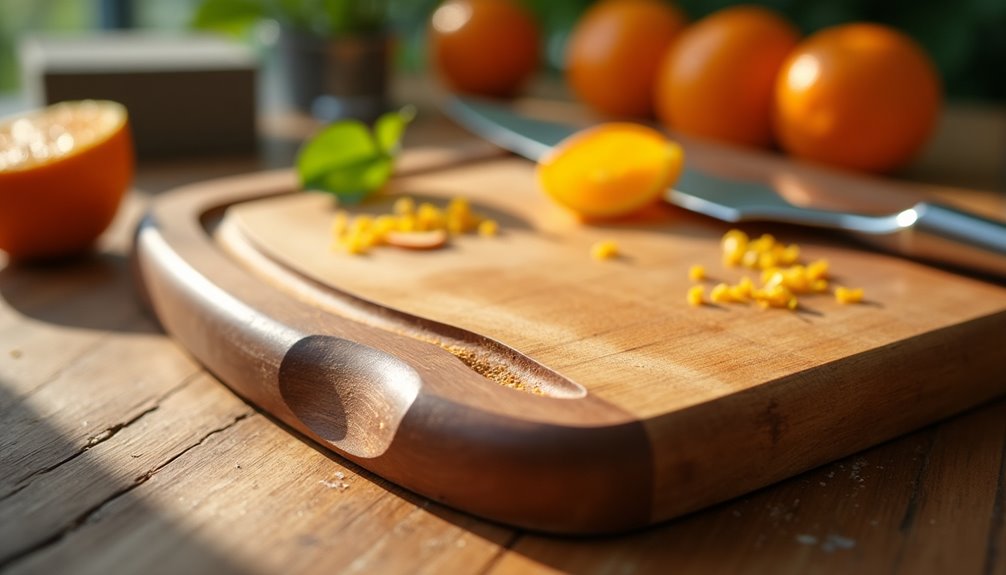
Creating a juice groove in your cutting board can enhance its functionality and prevent messy spills while you’re chopping. Not only does it catch the juices from fruits, vegetables, and meats, but it also helps keep your workspace tidy. To get started, you’ll need a router with a juice groove bit. This tool will be your best friend in this project, so let’s dive right in. Once you have your router ready, you can begin by marking where you want the juice groove to be on your cutting board. Carefully guide the router along the marked line to carve out the groove, ensuring it’s deep enough to effectively catch any liquids. If you’re planning to use your cutting board for various tasks, such as how to extract lime juice, the groove will be especially useful, as it will prevent the citrus liquids from spilling over the sides while you work.
First things first, make sure you construct a jig using 3/4 plywood strips. This jig will help you secure your cutting board firmly in place during the routing process. Measure and align the rails carefully; this step is crucial for preventing misalignment and ensuring stability. If your cutting board shifts while you're working, it could ruin your groove, so take your time with this setup.
Next, before you start routing, remember to adjust the depth of your router bit. You can use a combination square for this adjustment. Start with a shallow cut; you're going to go around 1/8 inch deep initially. This first pass is essential to establish a clean groove outline. After that, increase the depth gradually until you reach your desired quarter inch. It's easy to get ahead of yourself, so don't forget to check the depth with each pass to achieve a uniform groove.
When you're ready to route, keep in mind that you should always cut in a clockwise direction. This technique helps prevent burns and ensures a smooth finish. Start about 3-4 inches from the corners, as this minimizes the risk of burn marks that can occur with routers.
As you proceed, make sure to perform the cutting process in three to four passes. Each pass should gradually deepen the groove, giving you time to monitor your progress and make adjustments if necessary.
Once you've completed the routing, you'll want to examine your juice groove closely. Ensure it's clean and uniform; this is where all the juices are going to go when you're chopping. If you notice any rough edges or inconsistencies, you might need to make a few finishing passes. Just remember, patience is key in woodworking.
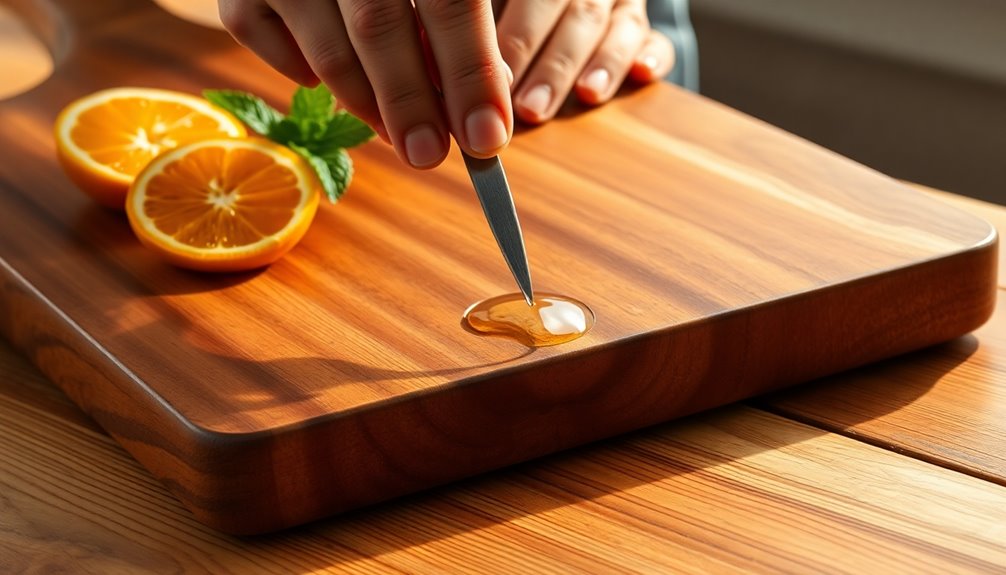
After you're satisfied with the groove, clean your cutting board thoroughly to remove any dust or debris created during the routing. You might also consider applying a food-safe mineral oil to finish it off. This step not only protects the wood but also enhances the overall appearance of your cutting board.
Frequently Asked Questions
How Deep Should a Juice Groove Be on a Cutting Board?
When you're considering a juice groove for your cutting board, aim for a depth of about 1/4 inch. This depth effectively catches liquids without compromising the board's strength.
Start with shallow cuts, around 1/32 inch, to establish the groove before gradually deepening it in several passes. Make sure to keep a consistent depth throughout to avoid any unevenness.
This approach not only ensures functionality but also maintains the board's appearance.
What Router Bit Do You Use for a Juice Groove?
If you're looking to create the most epic juice groove ever, start by picking the right router bit!
You'll want a bowl and tray bit, ideally with a diameter between 1/2 inch and 1 inch, to carve that perfect channel. For a clean cut, choose one that allows gradual depth adjustments.
Always double-check the manufacturer's guidelines to ensure compatibility with your router, and you'll be on your way to juice-groove greatness!
Is a Juice Groove Necessary on a Cutting Board?
A juice groove isn't strictly necessary on a cutting board, but it adds a lot of benefits.
It catches liquids, preventing spills and keeping your workspace cleaner. You'll find it especially useful when cutting juicy fruits or meats, as it helps contain messes.
Plus, a groove can enhance the board's appearance and functionality, making it more appealing and versatile for your kitchen tasks. You might appreciate the added convenience it brings!
How Wide to Make a Juice Groove?
Ever wondered how wide to make a juice groove?
Typically, you'll want it to be around 1/2 to 3/4 inch wide to effectively catch liquids without taking up too much space. A depth of about 1/4 inch is ideal for holding liquid while keeping your cutting board sturdy.
Remember, the groove's shape matters too; a rounded design is often easier to clean and visually appealing.
Conclusion
Now that you know how to create a juice groove in your cutting board, you can say goodbye to messy countertops! With just a few simple steps, you've transformed your board into a functional masterpiece. Remember, practice makes perfect, so don't hesitate to try again if your first attempt isn't flawless. You'll soon be cutting like a pro, ensuring your kitchen stays neat and tidy. So, roll up your sleeves and get started—you won't regret it!

Cindy thoroughly researches juicing trends, techniques, and recipes to provide readers with practical advice and inspiration. Her writing style is accessible, engaging, and designed to make complex concepts easy to understand. Cindy’s dedication to promoting the advantages of juicing shines through her work, empowering readers to make positive changes in their lives through the simple act of juicing.