
Making your own vape juice is easy and fun! First, gather essential ingredients like vegetable glycerin, propylene glycol, nicotine shots, and flavor concentrates. Decide on your desired nicotine strength and VG/PG ratio. Use a vape juice calculator for accurate measurements. Combine the ingredients in a clean beaker, mix well, and then label your creation with the flavor and date. Store it in a cool, dark place, and let it steep for 4-5 days for the best flavor. Keep going to discover more tips!
Key Takeaways
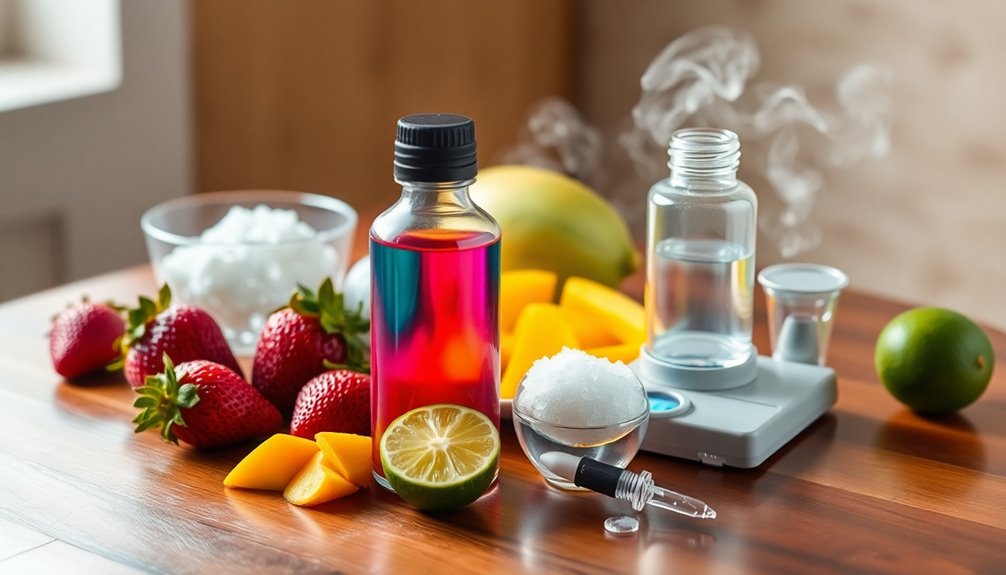
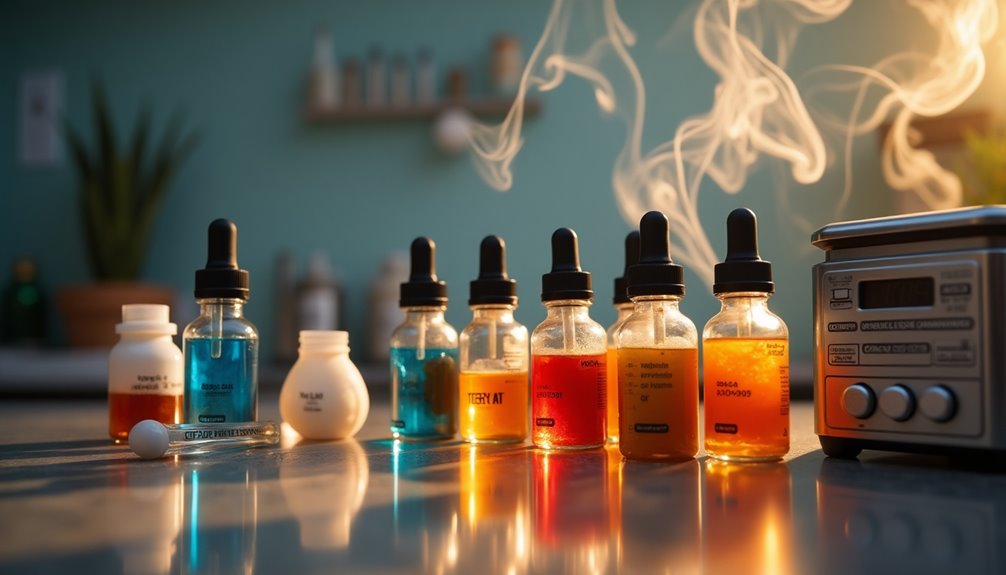
- Gather essential ingredients: vegetable glycerin, propylene glycol, nicotine shots, and flavor concentrates for your vape juice.
- Decide on your desired nicotine strength and VG/PG ratio, commonly 50/50 or 30/70.
- Use syringes or pipettes for accurate measurement; mix VG and PG in a clean beaker.
- Add flavor concentrates (5%-20% of total mixture) and stir or shake thoroughly to combine.
- Label bottles with flavor, VG/PG ratio, and date, then store in a cool, dark spot for optimal steeping.
Making your own vape juice can be a rewarding experience, and with just a few essential ingredients, you can create a blend tailored to your taste. First, gather the ingredients you need, which include vegetable glycerin (VG), propylene glycol (PG), nicotine shots, and flavor concentrates. It’s crucial to ensure all these components are of USP grade for safety and quality. Once you have your ingredients, measure them carefully to achieve the desired balance of flavor and throat hit. If you’re looking for a smoother experience, consider adjusting the ratio of VG to PG. Many enthusiasts also experiment with different flavor profiles, making the process even more exciting. You can find a wealth of information online, including guides on how to juice using vitamix, to help you blend your ingredients efficiently. Remember to store your homemade vape juice in a cool, dark place to maintain its freshness and potency.
Once you have everything ready, you'll be well on your way to crafting your very own DIY e-liquid.
To start, you'll want to decide on your desired nicotine strength and VG/PG ratio. This is where a vape juice calculator comes into play. These calculators help you determine the exact measurements needed based on your preferences. Common VG/PG ratios range from 50/50, providing a balanced throat hit and vapor production, to 30/70, which gives a smoother hit with more vapor.
Once you've input your desired variables into the calculator, it'll guide you on how much VG, PG, nicotine, and flavor concentrates to use.
Next, it's time to measure VG and PG accurately. You can use syringes or pipettes to ensure precision when measuring. After measuring, combine VG and PG in a clean beaker. The VG will give your vape juice a thicker consistency, while PG enhances flavor and provides a throat hit.
Now, add your flavor concentrates to the mix. Aim for a percentage between 5% and 20% of the total mixture, depending on how intense you want the flavor to be.
Once all your ingredients are combined, it's time to mix. You can either stir or shake the bottle thoroughly after transferring the mixture. This step is essential for ensuring that all components blend seamlessly.
Don't forget to cap your bottles securely and label them. Include details like the flavor, VG/PG ratio, and the date you made the batch. This will help you keep track of your creations and avoid any confusion down the line.
After mixing, you can choose to vape immediately, but for the best flavor experience, it's recommended to let your vape juice steep. Place it in a cool, dark spot for about 4-5 days.
Steeping allows the flavors to meld and mature, resulting in a richer vaping experience. If you're eager to try your concoction right away, go for it! Just keep in mind that the steeping process can elevate your DIY e-liquid to new heights.
vegetable glycerin for vape juice
As an affiliate, we earn on qualifying purchases.
As an affiliate, we earn on qualifying purchases.
Frequently Asked Questions
Is It Cheaper to Make Your Own Vape Juice?
Yes, it's definitely cheaper to make your own vape juice.
You'll find that DIY e-liquid costs around $0.50 to $1.00 per 10ml, compared to $5.00 to $15.00 for store-bought options.
By buying ingredients in bulk, you can save even more.
Plus, you get the added benefit of customizing flavors and nicotine levels to suit your tastes.
Although the initial setup might be higher, the long-term savings make it worthwhile.
What Are the 4 Ingredients in Vape Juice?
Did you know around 10% of vapers prefer DIY vape juice?
When it comes to the four main ingredients in vape juice, you'll find Propylene Glycol (PG), Vegetable Glycerin (VG), flavor concentrates, and nicotine.
PG's thinner consistency enhances flavor delivery, while VG creates denser vapor.
Flavor concentrates let you customize taste, and nicotine comes in various strengths, allowing you to tailor your vaping experience to your own preferences.
Enjoy experimenting!
What Can You Use as Juice for a Vape?
You can use a variety of bases for your vape juice, primarily Propylene Glycol (PG) and Vegetable Glycerin (VG).
These ingredients provide the right texture and vapor production. To add flavor, incorporate specialized flavor concentrates tailored for vaping, which come in many profiles from fruity to dessert.
If you want nicotine, consider diluted nicotine shots or nicotine salts for a smoother experience.
You can even add sweeteners for a little extra flavor boost!
Is It Safe to Make Your Own Vape Juice?
Yes, it can be safe to make your own vape juice if you follow proper precautions.
Always wear gloves when handling nicotine and use USP grade ingredients to avoid contamination. Store nicotine securely, out of reach of children and pets, since it can be toxic.
Using precise measuring tools and e-liquid calculators helps you maintain accuracy in your ratios, ensuring a safer and more consistent vaping experience.
Steeping your juice also enhances flavor without degrading quality.
Conclusion
Making your own vape juice can be a rewarding and creative experience. With the right ingredients and careful measurements, you can customize flavors to suit your taste perfectly. Did you know that over 50% of vapers prefer DIY juice for its cost-effectiveness and unique flavors? By crafting your own vape juice, you not only save money but also enjoy a personalized vaping experience that reflects your style. So grab your supplies and start experimenting today!