
You won’t believe how easy juicer cleanup can be! Start with quick disassembly—models like the Bravel Juice Fountain are designed for that. A hot water rinse right after use breaks down residue in just two minutes. Try putting a plastic bag in the pulp compartment for mess-free disposal! For stubborn bits, a soap-infused brush works wonders. Plus, don’t forget to use that leftover fiber creatively in your meals. There’s so much more you can do!
Key Takeaways
- Disassemble your juicer immediately after use to prevent residue from drying and simplify the cleaning process.
- Rinse juicer components with hot water right after juicing to dissolve stubborn pulp and reduce scrubbing time.
- Use a soap-infused brush and circular motions for effective scrubbing, ensuring a thorough clean in just 2 minutes.
- Line the pulp compartment with a plastic bag for easy disposal and minimal mess during cleanup.
- Transform leftover juicer pulp into healthy snacks like energy bars or muffins to make the most of your ingredients.
Quick Disassembly for Easy Cleaning
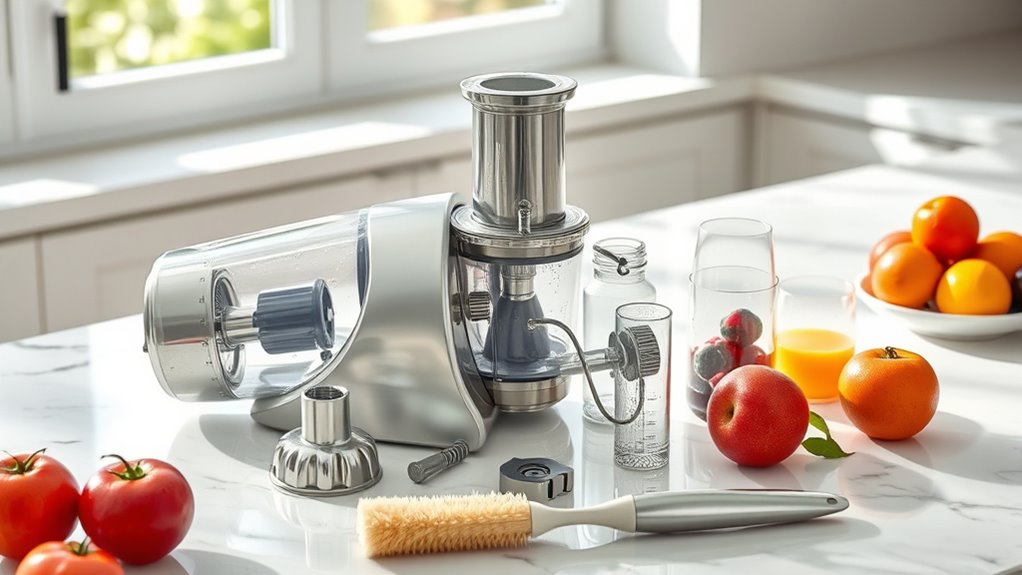
When you choose a juicer with easy disassembly features, like the Bravel Juice Fountain, you’ll find cleaning becomes a breeze.
One type of juicer can make all the difference in your routine. A well-designed model allows you to swiftly take it apart, giving you easy access to all components. This means you can rinse everything without hassle, which cuts down on your cleaning time considerably.
Familiarizing yourself with the disassembly process further streamlines your routine, making maintenance quick and efficient. By prioritizing user-friendly designs, you’ll enhance your juicing experience and spend less time cleaning up.
Plus, knowing how to disassemble your juicer effectively will keep your kitchen running smoothly and encourage regular juicing sessions. Additionally, opting for a juicer that is easy to clean can significantly enhance your overall energy efficiency in the kitchen, encouraging more sustainable practices.
Hot Water Rinse: The Ultimate Time Saver
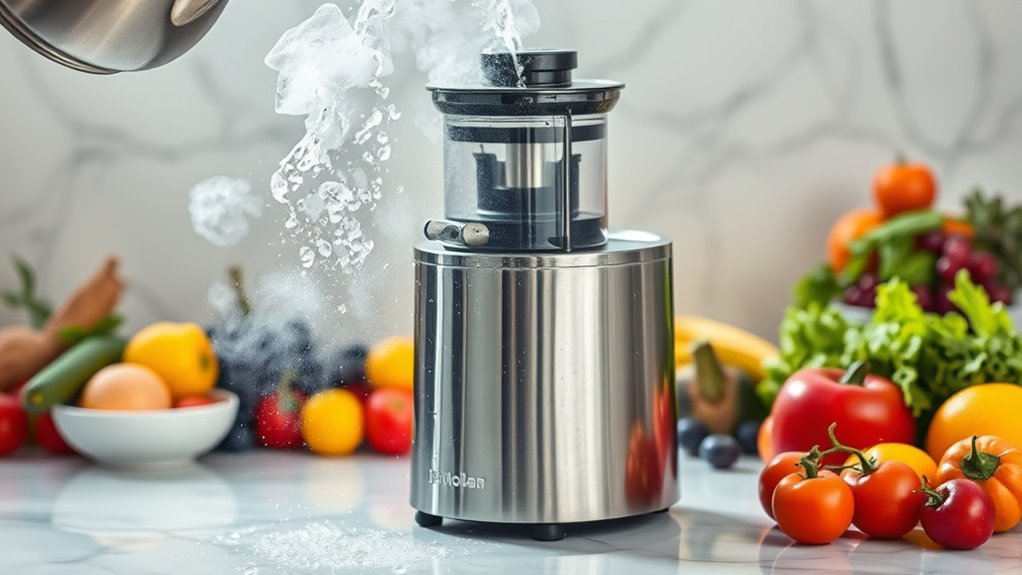
Cleaning your juicer doesn’t have to be a time-consuming chore, especially when you incorporate a hot water rinse into your routine.
Rinsing the components with hot water right after you juice helps dissolve residue, making the process quicker and more efficient. This simple step loosens stubborn pulp and foam, reducing the need for extensive scrubbing.
Rinsing your juicer parts with hot water right after use dissolves residue, making cleanup quick and effortless.
You can cut your cleaning time down to around 2 minutes, allowing you to shift smoothly from juicing to enjoying your beverage. Just run hot water over the juicer parts in the sink while you savor your drink.
Starting with a hot water rinse sets a solid foundation for easy disassembly and thorough cleaning, making your juicing experience even more enjoyable.
The Plastic Bag Trick for Pulp Disposal

If you want to make pulp disposal a breeze, try the plastic bag trick. This simple method involves placing a plastic bag in the produce compartment of your juicer before you start. Once you’re finished juicing, just lift the bag out, tie it closed, and toss it away. This technique minimizes mess and cleanup time, allowing you to enjoy your juicing experience more. It also prevents pulp buildup, helping maintain your juicer’s components.
Here’s a quick overview of the benefits:
| Benefit | Description | Outcome |
|---|---|---|
| Easy Disposal | Contain pulp in a bag | Quick cleanup |
| Mess Reduction | No scraping needed | Less hassle |
| Juicer Maintenance | Prevents pulp buildup | Prolongs lifespan |
| Time Saver | Simple removal of bag | More juicing, less cleaning |
| Enjoyable Experience | Focus on juicing | Smoother process |
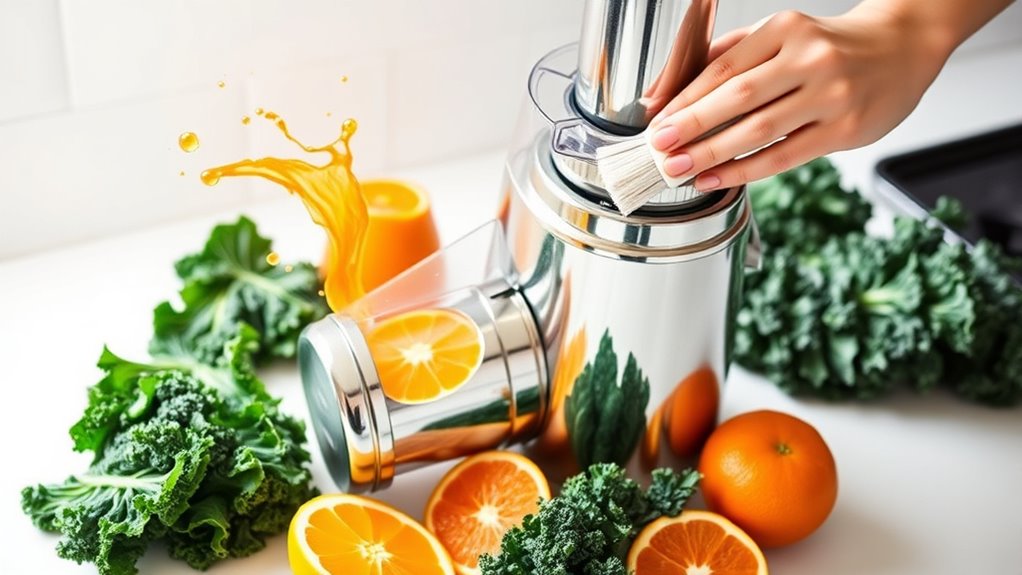
Efficient Scrubbing Techniques

Tackling the mess left after juicing doesn’t have to be a chore. Start by rinsing off any leftover foam and pulp with hot water. This prevents buildup and makes scrubbing easier.
Use a brush infused with soap to streamline the process—it’s great for tackling stubborn residue on your juicer components. Focus on washing each part individually to guarantee thorough cleaning and prevent cross-contamination of flavors.
Adopt a quick scrubbing technique; circular motions effectively lift debris while minimizing your effort. Establish a routine of rinsing and scrubbing immediately after juicing. This simple practice can cut your entire cleaning time down to about 2 minutes, leaving you with more time to enjoy your juice! Additionally, remember that freshly squeezed juices can last only 2-3 days when refrigerated, so keep your juicer clean to ensure the best quality juice.
Creative Ways to Reuse Juicer Fiber
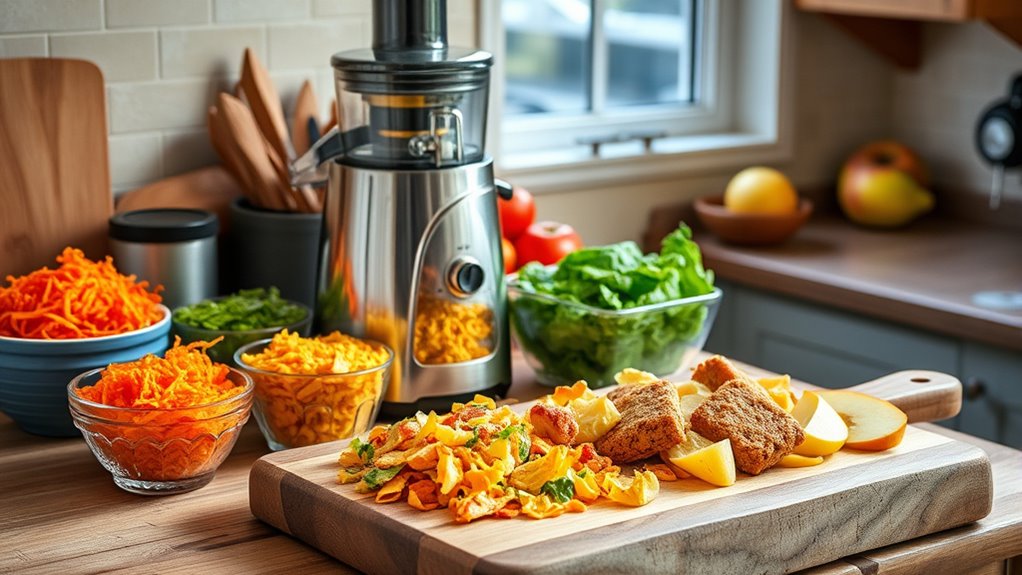
You can transform leftover juicer fiber into something delicious and nutritious.
Try adding it to soups for an extra flavor boost, or use it in baking to create healthier snacks.
Don’t forget to mix it into smoothies for a fiber kick that won’t alter the taste!
Soups With Vegetable Fiber
While juicing often leaves you with a pile of vegetable fiber, it doesn’t have to go to waste. You can enhance the flavor and nutrition of your soups by incorporating this fiber. Each type brings unique tastes and health benefits.
For instance, using carrot fiber adds a natural sweetness to your broth, while spinach fiber introduces vibrant color and extra nutrients. To keep the flavors distinct, stick to one type of vegetable fiber at a time. Mixing different fibers can lead to conflicting flavors that detract from your soup’s overall taste.
If you’re not using the fiber right away, consider drying and storing it for future use, ensuring you make the most of your juicing efforts.
Baking Healthy Snacks
After finding ways to enhance your soups with vegetable fiber, consider how to turn that leftover juicer pulp into delicious, healthy snacks. You can create fiber-rich energy bars or muffins that not only taste great but also pack a nutritional punch. Using a single type of vegetable fiber, like carrot or beet, lets you experiment with distinct flavors and textures.
Here’s a quick guide to inspire your baking:
| Snack Type | Ingredients |
|---|---|
| Energy Bars | Juicer pulp, oats, nuts |
| Muffins | Juicer pulp, flour, eggs |
| Cookies | Juicer pulp, nut butter, honey |
| Granola | Juicer pulp, seeds, dried fruit |
Get creative with combinations, and enjoy your wholesome snacks!
Flavorful Smoothie Additions
Transforming your smoothies with leftover juicer pulp not only enhances their nutritional value but also adds unique flavors.
Use fruit fibers like apple or berry pulp to thicken your smoothies while boosting fiber content, making them more satisfying. If you’ve got vegetable pulp, try incorporating carrot pulp for moisture and nutrients, or beet pulp to add an earthy taste and vibrant color.
Just remember to use one type of vegetable fiber at a time for the best flavor profile. If your pulp feels too dry, rehydrate it slightly or mix it with other wet ingredients for better blending. Additionally, incorporating these fibers can provide high in vitamins that promote immune health and enhance the overall nutrient density of your smoothie.
These creative additions can elevate your smoothie game while reducing waste!
Establishing a Cleaning Routine for Consistency
To keep your juicer in top shape, set a timer for cleaning right after you finish juicing.
Developing a daily cleaning habit will make the process feel second nature, and simplifying the disassembly can save you precious minutes.
With a consistent routine, you’ll find cleaning becomes quick and hassle-free.
Set a Timer
Setting a timer for cleaning your juicer can make the task feel less overwhelming and more routine. By dedicating just a couple of minutes, you can streamline the entire process and return to your day quickly.
Here are three tips to help you establish this efficient habit:
- Disassemble Immediately: Take apart your juicer right after use to prevent residue buildup and make cleaning simpler.
- Rinse Components: Quickly rinse each piece under running water to remove any leftover pulp, making future cleanings even easier.
- Stick to Your Timer: Set a 2-minute timer to encourage a consistent cleaning routine; you’ll be surprised at how fast it becomes second nature. Additionally, regular cleaning can enhance overall image quality and ensure your juicer performs optimally over time.
This approach reduces the fear of cleanup and encourages regular juicing!
Daily Cleaning Habit
When you incorporate a daily cleaning habit into your juicing routine, you’ll find that maintaining your juicer becomes effortless. Start by quickly disassembling the juicer right after use, allowing you to rinse components under hot water. Using a plastic bag in the produce compartment makes disposing of leftover pulp a breeze.
Here’s a simple breakdown of your daily cleaning routine:
| Task | Time Required |
|---|---|
| Disassemble juicer | 30 seconds |
| Rinse components | 1 minute |
| Wash with soap | 30 seconds |
Consistently following this routine reduces cleaning time to just about 2 minutes, transforming a chore into a quick task, and easing any apprehension you might feel about juicer maintenance.
Simplify Disassembly Process
Streamlining the disassembly process of your juicer can make a significant difference in your cleaning routine. Choose a model like the Bravel Juice Fountain, designed for quick disassembly. Familiarize yourself with its components to reduce the time you spend taking it apart.
Here are three tips to enhance your cleaning efficiency:
- Disassemble the juicer immediately after use to prevent residue from drying.
- Use a plastic bag in the produce compartment for easy pulp disposal, speeding up the initial cleanup.
- Aim to finish the entire cleaning process in about 2 minutes by rinsing components and letting them air dry while you enjoy your fresh juice.
Frequently Asked Questions
What Is the Best Way to Clean a Juicer?
To clean your juicer efficiently, start by disassembling it and rinsing the parts with hot water.
Using a plastic bag in the produce compartment makes it easy to dispose of leftover pulp.
Wash each component with regular dish soap and a scrubbing brush for a thorough clean.
After rinsing, lay the parts on a towel to air dry while you enjoy your juice.
Establish a cleaning routine to make the process quicker and less intimidating.
How to Remove Celery Residue From Juicer?
Cleaning your juicer after a celery session is like washing away the remnants of a vibrant garden.
First, disassemble the juicer and rinse components with hot water to soften the residue.
Grab a brush with soap infused to scrub those stubborn fibers from the mesh filter.
If you need extra juice, run more fruits or veggies through the juicer.
Finally, consider using a plastic bag during juicing to catch leftover bits for easy disposal.
How to Remove Rust From Juicer With Vinegar?
To remove rust from your juicer using vinegar, start by mixing equal parts vinegar and water in a bowl.
Soak the rusted parts for about 30 minutes.
After soaking, gently scrub the rusted areas with a soft brush or cloth to avoid damage.
Rinse everything thoroughly with hot water to get rid of any vinegar residue.
If rust remains, make a paste with vinegar and baking soda, apply it, and scrub again.
How to Clean a Clogged Juicer Screen?
To clean a clogged juicer screen, start by disassembling your juicer and removing the screen.
Rinse it under hot water to loosen any stuck pulp. Use a soft brush or toothbrush to scrub gently, focusing on the clogged areas.
If you encounter stubborn debris, soak the screen in warm, soapy water for a few minutes before scrubbing.
Finally, rinse thoroughly and let it air dry before reassembling your juicer.
Conclusion
So, there you have it—cleaning your juicer doesn’t have to feel like a punishment for enjoying fresh juice! Who knew a little hot water and a plastic bag could turn your juicing experience from drudgery to delight? By following these hacks, you’ll spend less time scrubbing and more time sipping. Ironically, the more fun you have cleaning, the more you’ll want to juice! Cheers to a cleaner juicer and tastier drinks—who would’ve thought cleaning could be this enjoyable?

Cindy thoroughly researches juicing trends, techniques, and recipes to provide readers with practical advice and inspiration. Her writing style is accessible, engaging, and designed to make complex concepts easy to understand. Cindy’s dedication to promoting the advantages of juicing shines through her work, empowering readers to make positive changes in their lives through the simple act of juicing.