To make prune juice, soak 5 to 6 prunes in ½ cup of hot water for about 30 minutes. Then, blend the softened prunes with ¾ cup of additional water until smooth. Use a fine-mesh strainer to separate the juice from the pulp, pressing down to extract as much liquid as possible. Chill the juice, and if desired, add honey for sweetness. You'll discover more tips on storage and serving ideas if you continue exploring.
Key Takeaways
- Soak 5 to 6 prunes in ½ cup of hot water for about 30 minutes to soften them.
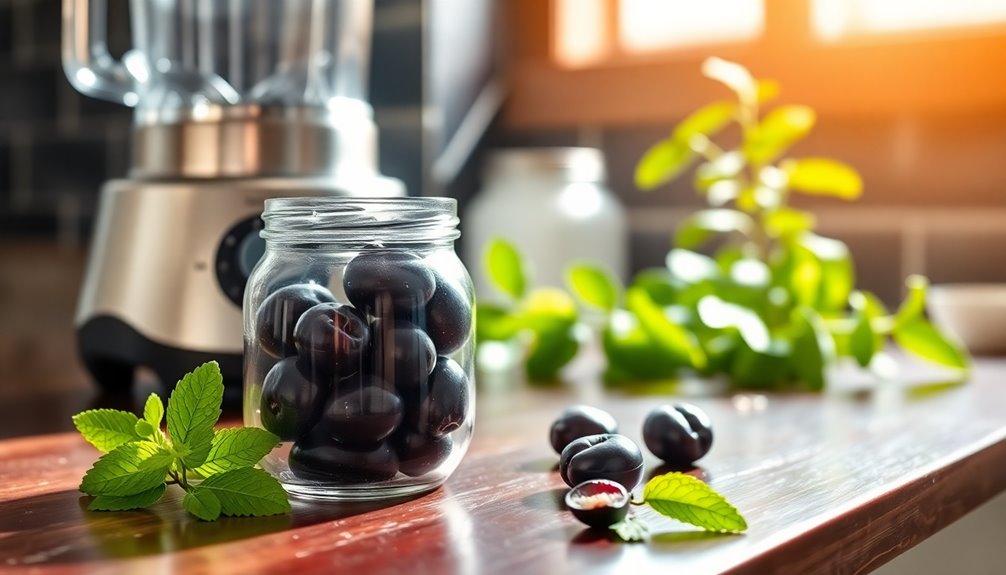
- Transfer the softened prunes to a blender and add ¾ cup of additional water.
- Blend the mixture for 30 to 60 seconds until a smooth texture is achieved.
- Strain the blended mixture using a fine-mesh strainer to extract juice, pressing down on the pulp.
- Chill the juice before serving and optionally add honey for sweetness, avoiding honey for babies under 12 months.
Making prune juice at home is simple and only takes a few steps. If you’re looking for a nutritious drink that’s easy to prepare, you’ve come to the right place. With just a few ingredients, you can whip up a delicious and healthy prune juice right in your kitchen. You’ll need some prunes, hot water, and a blender. Let’s dive into the process! First, start by soaking the prunes in hot water for about 10-15 minutes to soften them, which will make blending easier. Once they’re softened, add them to the blender along with some of the soaking water and blend until smooth. If you’re enjoying your homemade prune juice but happen to spill it, don’t worry! You can always rely on grape juice stain removal techniques to tackle any mess that might arise in your kitchen.
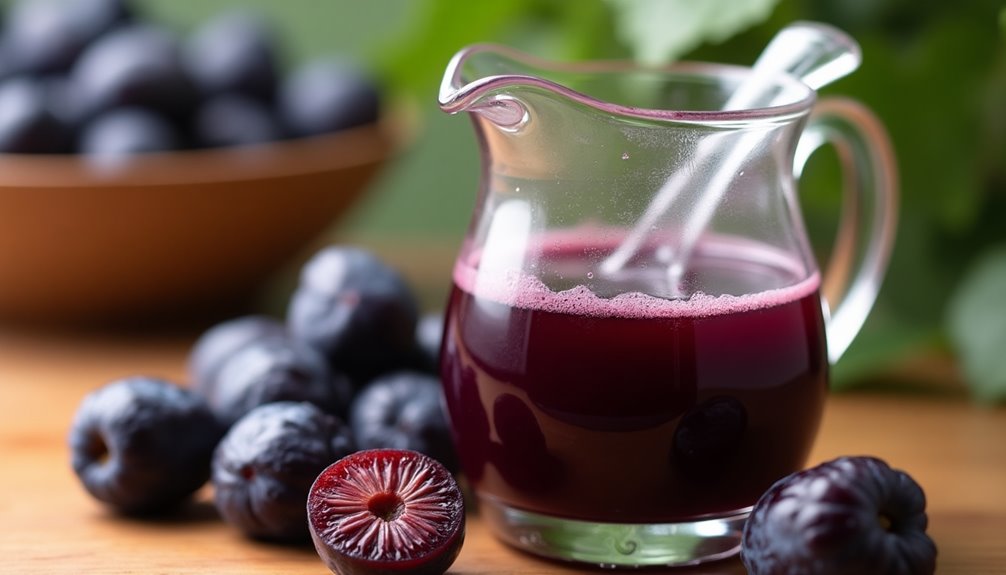
Start by gathering about 5 to 6 prunes. These dried plums are packed with nutrients and natural sugars, making them the star of your juice. Place the prunes in a bowl and pour in ½ cup (59 mL) of hot water. The water doesn't need to be boiling, just hot enough to help soften the prunes. Let them soak for about 30 minutes. This step is crucial as it makes the prunes easier to blend and enhances their flavor.
After the soaking period, you'll notice that the prunes have plumped up and become soft.
Next, it's time to blend. Transfer the softened prunes into your blender, and add an additional ¾ cup (180 mL) of water. This extra water will help achieve a smoother consistency. Blend the mixture for 30 to 60 seconds, or until it reaches a smooth texture. If you prefer a thicker juice, you can blend it for a shorter time, while a longer blend will create a thinner juice. It's all up to your personal preference!
Once blended, you'll need to strain the mixture to remove any remaining pulp. Grab a fine-mesh strainer and pour the blended mixture through it into a clean container. Use a spatula or a spoon to press down on the pulp gently, extracting as much juice as possible. This step ensures that your prune juice is smooth and pleasant to drink.
After straining, you can chill the juice in the refrigerator for a bit before serving. Chilled juice is refreshing and can be more enjoyable, especially on a warm day. If you like a touch of sweetness, consider adding a bit of honey to the juice. Just remember to avoid honey if you're preparing this for babies under 12 months, as it's not safe for them.
If you've made more juice than you can drink at once, don't worry! You can store any leftover juice in an airtight container in the refrigerator for up to a week. For longer storage, consider freezing it in ice cube trays or freezer-safe containers. Frozen prune juice can last anywhere from 8 to 12 months, making it a convenient option for future use.
In just a few simple steps, you've created a healthy beverage that's not only tasty but also beneficial for digestion. Enjoy your homemade prune juice, knowing exactly what's in it and how it was made!

3Pcs Juicer Cleaning Brushes Set for Omega 8006, 8004, 8003 VRT350 VRT330-Replacement Masticating Juicer Accessories, Masticating Juicers Replacement Cleaner, HD Bristles
- Compatible with Multiple Juicer Models: Designed for Omega and VRT series
- Dual-End Heavy-Duty Design: Nylon bristles and pointed tip for tough cleaning
- Versatile Cleaning Tool: Suitable for juicers, bottles, sinks, and more
As an affiliate, we earn on qualifying purchases.
Frequently Asked Questions
How Is Prune Juice Made?
Prune juice is made by soaking prunes in hot water until they soften.
You'll want to blend those softened prunes with additional water for a smooth consistency.
After blending, strain the mixture through a fine-mesh strainer to remove any pulp, giving you a nice, smooth juice.
Chill it before you drink, and if you like, add a touch of honey for sweetness.
Store any leftovers in the fridge for up to a week!
How to Prepare Prune Juice for Constipation?
To prepare prune juice for constipation, start by soaking 5-6 prunes in ½ cup of hot water for about 30 minutes.
This softens them, making them easier to blend. After soaking, blend the prunes with ¾ cup of water until smooth.
Strain the mixture through a fine-mesh strainer for a smoother juice.
Aim to drink ½ to 1 cup daily, preferably in the morning, to help stimulate your bowel movements effectively.
Is It Better to Eat Prunes or Drink Prune Juice as a Laxative?
When you're deciding between eating prunes or drinking prune juice as a laxative, consider both options.
Prunes offer fiber that can keep you feeling fuller longer, while prune juice provides a concentrated dose of sorbitol for quicker relief. If you need immediate results, juice might be your best bet.
However, for overall health benefits, munching on whole prunes could be the way to go. Ultimately, it depends on what works best for you!
How Many Prunes to Eat for Constipation?
If you're looking to alleviate constipation, eating about 4 to 6 prunes daily should do the trick.
Each prune packs around 3 grams of fiber, which helps promote regular bowel movements.
You might want to start with a smaller amount and see how your body responds.
Remember, it's often best to consume them in the morning for optimal results.
Stay hydrated, too, as it can enhance the effectiveness of the fiber!
Conclusion
As you sip your homemade prune juice, think of it as a little potion crafted from nature's bounty. Just like a wise old tree shares its fruit with those in need, you're nourishing your body with each delicious drop. This simple act of blending and straining mirrors the journey of life—transforming the ordinary into something extraordinary. So, embrace your inner alchemist, and remember that sometimes, the simplest recipes hold the greatest treasures for your health and well-being.