
You can marinate steak in lime juice for a minimum of 30 minutes to get some good flavor. For maximum flavor absorption, aim for 1 to 8 hours, especially if you're using tougher cuts like flank steak. Just be careful not to exceed 12 hours, as that can make the meat mushy. Tender cuts, like filet mignon, are best with shorter marination times. Stick around for tips on marinating safely and efficiently!
Key Takeaways
- Marinate steak in lime juice for a minimum of 30 minutes for effective flavor infusion.
- Tough cuts like flank steak can marinate for 1 to 8 hours, enhancing flavor and tenderness.
- Tender cuts, such as filet mignon, should marinate for shorter periods to maintain texture.
- Avoid marinating steak in lime juice for more than 12 hours to prevent a mushy texture.
- Always use non-reactive containers like glass or stainless steel for marinating to preserve flavor and safety.
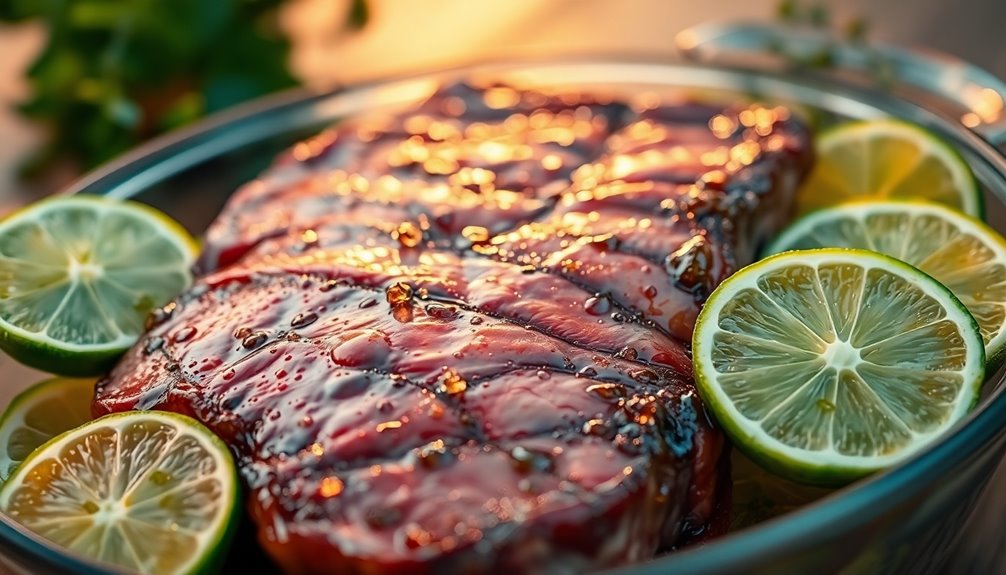
Have you ever wondered how long to marinate steak in lime juice for the best flavor? If you're looking to elevate your steak game, marinating it in lime juice can be a game-changer. The acidity of lime juice not only infuses the meat with vibrant flavor but also helps tenderize the meat, making it juicy and delicious. But timing is everything. You want to marinate steak long enough to achieve optimal results without compromising the texture.
For effective flavor infusion, a minimum of 30 minutes is recommended. This timeframe allows the lime juice to penetrate the surface of the steak, enhancing both flavor and tenderness. However, if you really want to maximize those flavors, consider marinating your steak for 1 to 8 hours. This range strikes a perfect balance between absorbing the zesty taste of lime and maintaining the integrity of the meat.
Depending on the cut of meat you're using, you might find that a longer marinade time works wonders. For instance, tougher cuts like flank steak can handle a longer marinating period, while more tender cuts, like filet mignon, benefit from shorter marination.
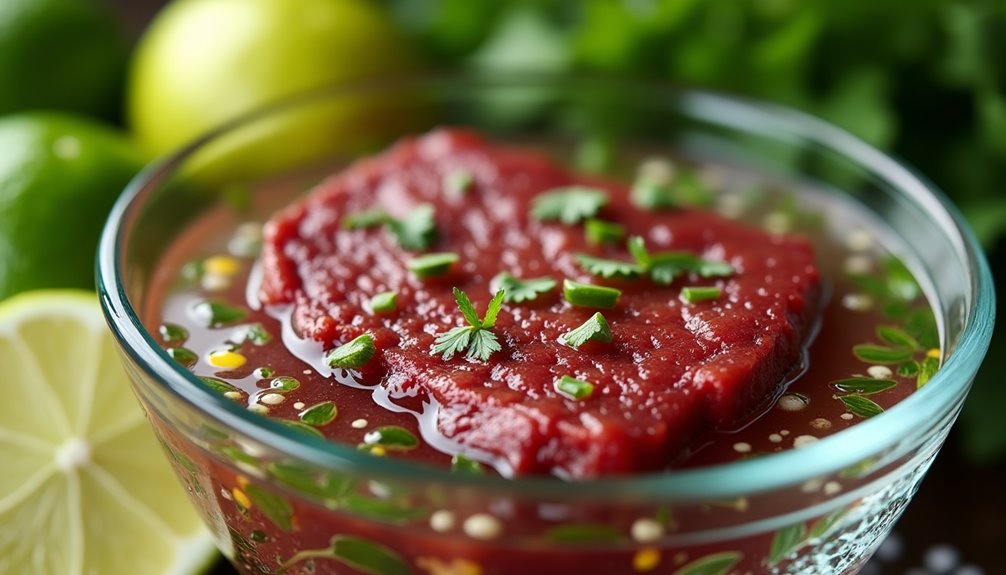
While it might be tempting to leave your steak in the marinade overnight, avoid marinating it for more than 12 hours. The acidic nature of lime juice can break down proteins too much, leading to a mushy texture that's less than appealing. Keep an eye on your steak during the marinating process. If you notice changes in color, don't worry—this is a normal reaction due to the acidity affecting the meat's surface. Just remember that you want to achieve that perfect flavor without sacrificing the quality of the steak.
Using non-reactive containers is crucial when marinating with lime juice. Materials like glass or stainless steel will ensure that no unwanted chemical reactions occur, which could spoil your marinade or alter the flavor profile.
After marinating, always prioritize food safety. If your steak has been in the marinade, don't reuse it unless you cook it thoroughly. Bacteria can thrive in marinades, especially if they're left at room temperature.
When it comes to cooking your marinated steak, consider your desired level of doneness. Depending on how you like your steak cooked, the marinade time can slightly influence your cooking time. A well-marinated steak will typically cook evenly and yield a juicy result.

Tiangrid 2 Pcs Large Stainless Steel Marinating Containers with Lids, Food Storage Containers for Refrigerator, Leak-proof & Stackable for Meal Prep, Meat(389oz/11.5l + 284oz/8.4l,No Handle)
- Large Capacity for Bulk Storage: Includes two spacious stainless steel containers
- Leak-proof Locking Lid: Four-sided lock with silicone seal for freshness
- Airtight and Odor-resistant: Secure seal prevents spills and odors
As an affiliate, we earn on qualifying purchases.
As an affiliate, we earn on qualifying purchases.
Frequently Asked Questions
How Long Can Meat Sit in Lime Juice?
When you marinate meat in lime juice, you should be cautious about the time.
Generally, you can let it sit for about 2 to 8 hours for the best results, as the acidity tenderizes without turning the texture mushy.
If left too long—over 12 hours—you risk breaking down the meat too much, which isn't ideal.
A minimum of 30 minutes is necessary to infuse flavor, but don't exceed the recommended time!
Is It Okay to Marinate Steak in Lime Juice?
Yes, it's okay to marinate steak in lime juice! The acidity enhances flavor and helps tenderize the meat.
Just be careful not to overdo it; too much time can lead to a mushy texture. Aim for 1 to 8 hours for the best results, and always refrigerate the steak while it's marinating to keep it safe.
Watch for color and texture changes, as they can indicate over-marination. Enjoy your flavorful steak!
How Long to Tenderize Meat With Lime Juice?
Imagine you're preparing a dinner for friends, and you want that steak to be perfectly tender.
To tenderize meat with lime juice, you should marinate it for about 1 to 8 hours, depending on the cut's toughness.
For tougher cuts, like flank steak, extending to 12 hours can work, but be careful not to exceed that time or you'll end up with a mushy texture.
Always use a non-reactive bowl for the best results.
Is It OK to Marinate Steak for 4 Days?
Marinating steak for 4 days isn't a good idea. The high acidity in lime juice can break down the meat too much, leaving it mushy and unappetizing.
Instead, you should aim for a shorter marination time, around 2 to 8 hours. This way, you'll enhance the flavor and tenderness without compromising the texture.
Always check for spoilage signs before cooking, especially if you've marinated for an extended period.
Conclusion
Marinating steak in lime juice can transform it like a sunrise brightens the sky. While you can marinate for up to 6 hours for a burst of flavor, be cautious—too long can make the meat mushy. Aim for 1 to 4 hours for the best results, allowing the acidity to tenderize without compromising texture. So go ahead, unleash those zesty vibes and enjoy a deliciously tangy steak that'll impress your taste buds and your guests!