
To can orange juice, start by heating fresh juice to 195°F (91°C). Sterilize jars by boiling them for five minutes. Fill the jars, leaving ¼ inch of headspace, and remove air bubbles. Process the jars in a boiling water bath for 15 minutes, ensuring they’re covered by at least an inch of water. Let them cool for 24 hours and check the seals. Home-canned orange juice can last up to a year—there’s more to mastering this tasty project! It’s also important to label your jars with the date of canning for easy tracking of freshness. If you’re curious about how to activate orange juice, consider adding natural flavors like ginger or mint before canning to enhance its taste. Experimenting with different ingredients can elevate your home-canned orange juice experience and provide a delightful twist each time you open a jar.
Key Takeaways
- Heat fresh orange juice to 195°F (91°C) for safety and flavor before canning.
- Sterilize jars and lids by boiling them for at least five minutes.
- Fill jars with hot juice, leaving ¼ inch of head space, and remove air bubbles.
- Process jars in a boiling water bath for 15 minutes, ensuring they are covered by at least an inch of water.
- Allow jars to cool for 24 hours, checking seals before storing at room temperature for up to one year.
Canning orange juice can be a rewarding way to preserve the fresh taste of summer for months to come. With a few simple steps, you can enjoy that bright, zesty flavor long after the season has passed. The process starts with preparing your fresh orange juice, which you'll heat to 195°F (91°C). This temperature is crucial for ensuring the juice is safe for canning and helps to maintain its vibrant taste.
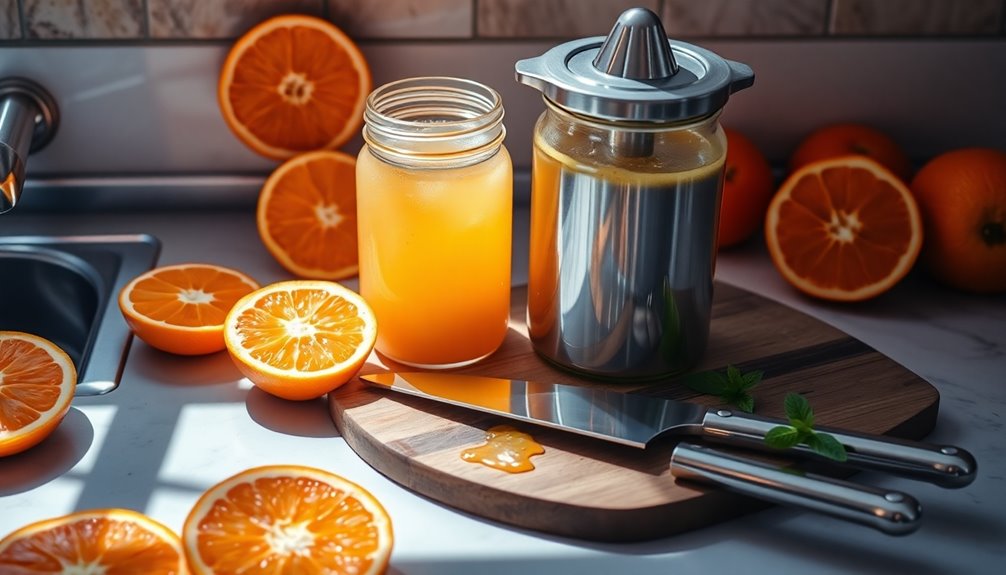
Before you dive into canning, you'll need to gather your materials. Make sure you have clean jars and lids ready to go. To sterilize jars, submerge them in boiling water for at least five minutes. This step is essential to eliminate any bacteria that could spoil your juice.
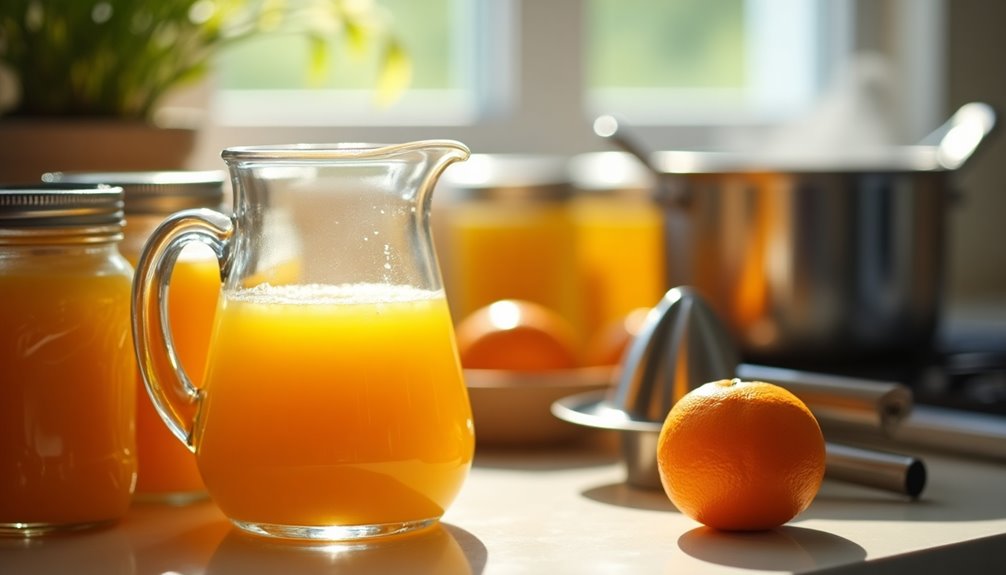
As you prepare the jars, keep in mind that you'll need to leave about ¼ inch of head space when filling them with hot juice. This allows for expansion during processing and ensures a proper seal.
Once your jars are sterilized, it's time to fill them with the hot juice. Using a wide mouth funnel can make this job much easier. Carefully ladle the hot juice into the jars, ensuring you remove any air bubbles that might form. You can do this by gently tapping the sides of the jars or using a thin utensil to stir the juice slightly.
After filling, take a damp towel and wipe the rims of the jars to remove any residue. This step is crucial for achieving a good seal.
Now that your jars are filled and prepared, it's time to process them in a boiling water bath. Place the filled jars in the boiling water, ensuring they're covered by at least an inch of water. Process both pint and quart jars for 15 minutes. This step not only preserves the flavor but also ensures that any potential pathogens are eliminated.
After processing, you'll want to let the jars cool undisturbed for at least 24 hours. Once cooled, check the seals by removing the canning rings and lifting the jars by their lids. A proper seal will keep the jar in place, indicating that it's safe for storage. If the lid pops back down when pressed, that jar isn't sealed and should be refrigerated immediately for consumption.
Home-canned orange juice can be stored at room temperature for up to one year. However, if you want to extend its shelf life, consider refrigeration or freezing, which can keep your juice fresh for one to two years.
With these simple steps, you'll be able to savor the taste of summer oranges well into winter, making your canning effort truly worthwhile. Enjoy your homemade orange juice, and relish the satisfaction of preserving that delicious flavor!
Frequently Asked Questions
Can Orange Juice Be Home Canned?
Yes, you can home can orange juice! Since it's a high-acid food, it's safe for water bath canning.
Just heat the juice to 195°F and process it in a boiling water bath for 15 minutes, leaving a ¼-inch headspace in the jars.
When sealed properly, your canned orange juice can last up to a year at room temperature.
If the jars don't seal, simply refrigerate and consume within a week for safety.
What Is the Best Way to Preserve Orange Juice?
They say, "An ounce of prevention is worth a pound of cure."
To preserve orange juice best, consider canning or freezing. If you can, heat the juice to 195°F and process it in jars for shelf stability.
For longer storage, freeze it in mason jars, allowing for up to two years. Always use ripe oranges for top flavor.
Remember to leave headspace in jars and let them cool undisturbed for proper sealing.
How Long Will Canned Orange Juice Last?
Canned orange juice can last quite a while if stored correctly.
If you keep the jars sealed, they'll stay good at room temperature for about a year. For better quality, refrigerate or freeze them, and you'll extend their life to 1-2 years.
Just remember, it's best to consume home-canned juice within 6 to 9 months for optimal taste.
Always check the seals and taste before drinking to ensure it's still safe!
How to Make Orange Juice Shelf Stable?
Imagine sipping fresh orange juice, vibrant and zesty, only to see it spoil days later.
To make your juice shelf-stable, heat it to 195°F to pasteurize, ensuring it hits 160-163°F for 15 seconds to kill harmful bacteria.
Use clean, sterilized jars, fill them, and leave ¼ inch of headspace. Process in a boiling water bath for 15 minutes.
Cool the jars, check seals, and store them in a cool, dark place for up to a year.
Conclusion
Canning orange juice is a delightful way to savor the sunshine of fresh oranges all year round. By following these simple steps, you've transformed your juice into a convenient, shelf-stable treat that brightens any day. So, when life hands you a bounty of oranges, don't just squeeze them; preserve their essence! Now, you can enjoy a taste of summer whenever you desire, turning ordinary moments into a refreshing escape with each sip. Cheers to your canning success!

Cindy thoroughly researches juicing trends, techniques, and recipes to provide readers with practical advice and inspiration. Her writing style is accessible, engaging, and designed to make complex concepts easy to understand. Cindy’s dedication to promoting the advantages of juicing shines through her work, empowering readers to make positive changes in their lives through the simple act of juicing.