To get red juice stains out of clothes, start by blotting the stain with a clean cloth and rinsing it under cold running water from the back to push the juice out. Next, soak the fabric in a mixture of cold water, white vinegar, and dish soap for about 30 minutes. Gently apply liquid laundry detergent directly to the stain, then wash as per care instructions. If the stain remains, don't dry the garment yet—further methods await you.
Key Takeaways
- Blot the red juice stain immediately with a clean cloth to lift as much liquid as possible without rubbing.
- Rinse the stained area with cold water from the back to push the juice out effectively.
- Soak the garment in a mixture of cold water, white vinegar, and gentle dish soap for about 30 minutes.
- Pre-treat the stain with liquid laundry detergent, ensuring it penetrates the fabric fibers.
- Wash the garment per care label instructions and check for any remaining stain before drying.
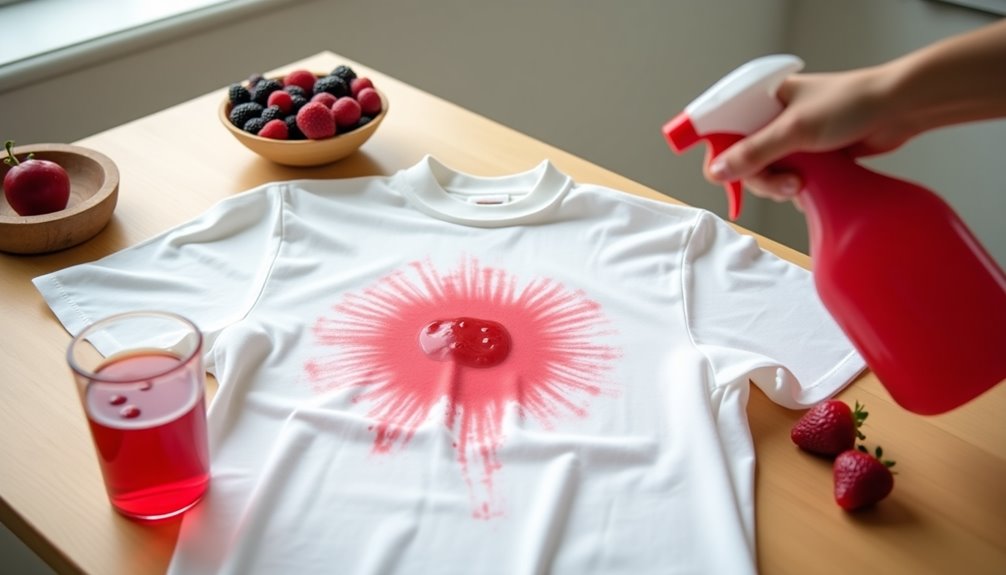
When you spill red juice on your favorite shirt, don't panic; acting quickly can save your garment from permanent stains. The first thing you should do is grab a clean cloth or paper towel. Gently blot the stain to absorb as much of the liquid as possible. Don't rub the stain, as that can push the red juice deeper into the fabric, making it harder to remove later. Your goal here is to lift away as much of the juice as you can before it has a chance to set.
Next, head to the sink and rinse the stained area under cold running water. It's best to rinse from the back of the fabric, as this method helps push the juice out of the fibers. Keep the water flowing over the stain for a few minutes, ensuring you're working against the stain rather than letting it set in. Cold water is key; hot water can actually cause the stain to bond with the fabric, making it more difficult to remove.
After rinsing, it's time to create a soaking solution. In a bowl or basin, mix cold water with white vinegar and a few drops of gentle dish soap. This combination works wonders on stains like red juice. Allow your garment to soak in this solution for about 30 minutes. The vinegar helps break down the stain while the soap lifts it away from the fibers. After soaking, gently agitate the garment in the water to aid the process.
Once the soaking is complete, take the garment out and prepare to pre-treat the stain. Apply a liquid laundry detergent or a specialized stain remover directly to the stained area. Make sure to work the detergent into the fabric gently. This step is crucial for maximizing the chances of completely removing the stain during washing. Allow the detergent to sit on the fabric for a few minutes to penetrate the fibers before you move on.
Now, it's time to wash the garment. Check the care label for the hottest setting that's safe for the fabric. Wash the clothing as per the instructions.
After the wash cycle is complete, don't be in a rush to dry the garment just yet. Always check to see if the stain is completely gone. If you still see any traces of the red juice, repeat the pre-treating and washing steps before drying. Heat can set any remaining discoloration, making it nearly impossible to remove later.
Frequently Asked Questions
How Do You Get Red Juice Out of Clothes?
To tackle that stubborn red juice stain, start by flushing it with cold water from the back side. This helps dilute the juice and prevents it from setting deeper into the fabric.
Next, apply liquid laundry detergent directly onto the stain and let it sit for about five minutes.
If it's still there, soak the garment in a mixture of white vinegar, detergent, and cold water for 15-20 minutes before rinsing thoroughly.
Will Red Stains Come Out of Clothes?
Red stains can vanish like a magician's trick if you act quickly. Yes, red stains can come out of clothes, but it's all about your approach.
Rinse the fabric with cold water to prevent the stain from settling in deeper. Pre-treat it with a stain remover or some laundry detergent mixed with water.
Just remember, don't toss it in the dryer until you're sure the stain is gone—heat can make it permanent!
How Do You Get Red Fruit Stains Out of Clothes?
To tackle red fruit stains on your clothes, act quickly! Start by flushing the stain with cold water to dilute it.
Next, apply a liquid laundry detergent directly onto the stain and let it sit for about 5-10 minutes.
For tougher stains, soak the item in a mix of cold water and white vinegar for 15-20 minutes.
Finally, wash the fabric according to the care label's hottest setting for the best results.
How to Get Red Cherry Juice Out of Clothes?
If you've got red cherry juice on your clothes, don't panic!
Start by flushing the stain with cold water to dilute it.
Then, mix white wine vinegar and liquid laundry detergent, applying it to the stain.
Let it soak for 15-20 minutes.
Next, dab any leftover color with rubbing alcohol on a clean sponge.
Finally, wash the garment in the hottest water safe for the fabric per the care label instructions.
Conclusion
With these tips, you're not just fighting red juice stains; you're embarking on a heroic quest! Imagine your clothes transforming from a battlefield of crimson chaos to a pristine canvas, sparkling like a freshly polished diamond. You'll wield your stain-fighting arsenal like a knight with a shining sword, banishing every stubborn blot with ease. So, roll up your sleeves, summon your inner stain-slayer, and watch those pesky marks vanish into thin air, leaving your wardrobe victorious!

Cindy thoroughly researches juicing trends, techniques, and recipes to provide readers with practical advice and inspiration. Her writing style is accessible, engaging, and designed to make complex concepts easy to understand. Cindy’s dedication to promoting the advantages of juicing shines through her work, empowering readers to make positive changes in their lives through the simple act of juicing.