
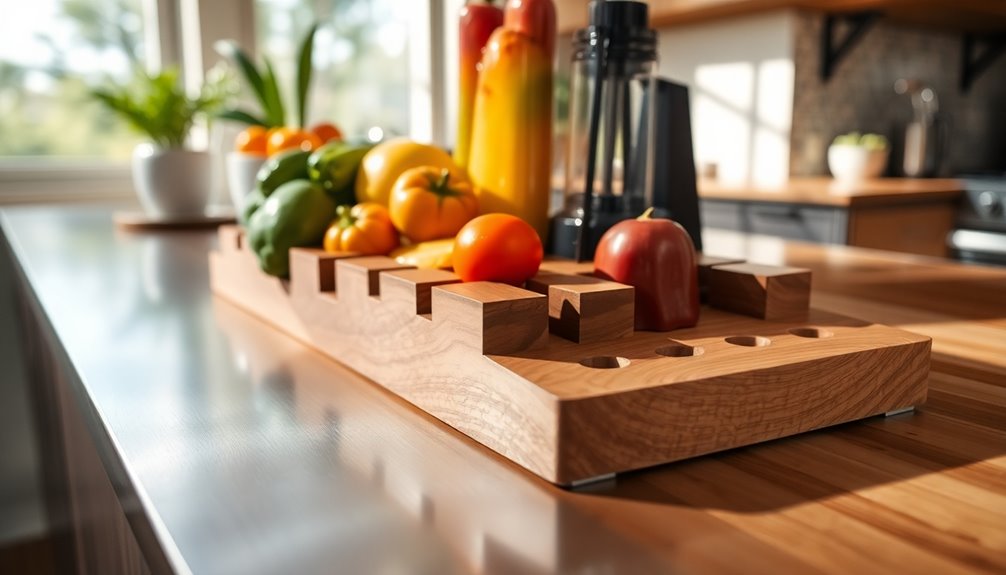
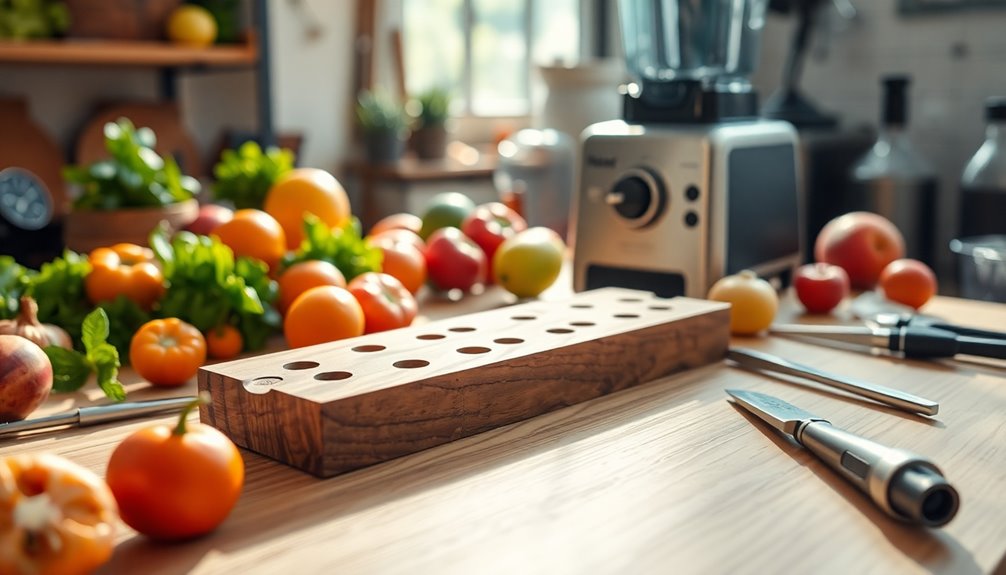
To create a juice groove jig, gather essential materials like 3/4" plywood, threaded inserts, and a router. Start by cutting the base and assembling L-shaped rails for stability. Securely position your cutting board, adjustable rails, and check for squareness before routing. Use specialized bits for smooth grooves, making multiple passes for depth. With these tips, you'll achieve consistent results and enhance your woodworking efficiency. Stick around to discover even more tips and techniques for your jig!
Key Takeaways
- Use 3/4" plywood or pine/poplar to build a sturdy jig base for routing juice grooves effectively.
- Incorporate adjustable threaded inserts and knobs to achieve precise alignment and secure positioning of the cutting board.
- Select a 1/2" rounded bit for smooth and clean juice grooves, making multiple passes for deeper cuts.
- Test your jig setup with scrap wood before routing to ensure accuracy and even groove depth.
- Maintain your jig by labeling components and storing it in an accessible location for future projects.
Essential Materials and Supplies for Your Jig
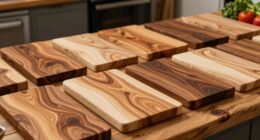
To create an effective juice groove jig, you'll need to gather several essential materials and supplies. Start with 3/4" plywood or pine/poplar for constructing your jig. Additionally, consider using cheap Pine or poplar for side rails to avoid bonding issues. The choice of wood can also impact the overall color accuracy of the finished product, which might be important for aesthetic purposes.
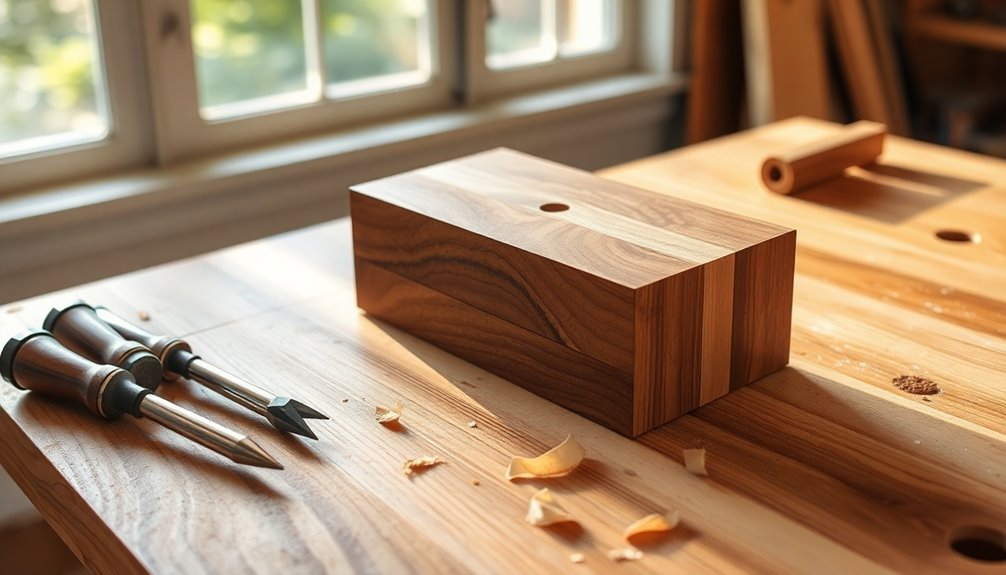
You'll also need 1/4-20 threaded inserts and knobs for adjustments, along with 1 1/4" brad nails for assembly. Wood glue is crucial for securely bonding your parts together.
For tools, a router is essential for cutting juice grooves, paired with a juice groove bit or core box bit for precision.
A table saw or miter saw will help you cut wood strips, while a drill is necessary for pre-drilling holes. Don't forget clamps to secure everything during assembly.
Measuring tools and safety gear like glasses and a dust mask should also be on your list.
Step-by-Step Design and Construction
Creating your juice groove jig involves several key steps that ensure precision and efficiency.
Start by preparing your jig base with scrap plywood to save materials. Measure the distance from the edge of the board to the router base for accurate groove placement.
Cut 1-inch strips for the rails, adjusting the fence to 3 inches for wider pieces, and cut them to specific lengths like 18 and 22 inches for versatility. Additionally, ensure you have a juice groove bit ready, as it is essential for achieving the desired groove shape.
Next, glue and screw the 1-inch strips to the 3-inch strips to form L-shaped rails, clamping them securely.
Use a miter saw for precise cuts, then attach the rails to the base board with screws.
You're now set for the next steps in your groove creation!
Setting Up Your Jig for Accurate Alignment
While setting up your jig for accurate alignment, it's crucial to ensure that everything is properly positioned for optimal results.
Begin by selecting stable materials like plywood or MDF, and construct your frame using 2" by 24" and 2" by 19" strips. Use threaded inserts and knobs for adjustable positioning to accommodate various cutting board sizes. Educational toys can serve as excellent examples of materials that offer durability and stability for projects like this.
Once assembled with glue and screws, place your cutting board in the jig, making sure it's centered and secure. Use spacers if needed to adjust the groove distance from the edge to ensure the necessary offsets for router bit positioning.
Clamp the jig firmly to your workbench, check for squareness, and tighten the knobs to hold the workpiece in place. This setup guarantees precise routing and consistent groove quality.
Mastering Routing Techniques for Juice Grooves
Mastering routing techniques for juice grooves requires a solid understanding of your tools and the materials at hand.
Start with a trim router; its size and mobility make it perfect for maneuvering around your jig. Use a 1/2" rounded bit with a 1/4" shank for smooth grooves. If you need deeper grooves (over 3/16"), make multiple passes to avoid overloading the router. Additionally, consider using a juice groove bit for precise and uniform results.
Always move the router in the same direction as the bit spins to maintain control. Don't forget to prepare your material—using scrap wood spacers helps position the bit closer to the workpiece.
Prioritizing Safety and Efficiency in Your Workshop
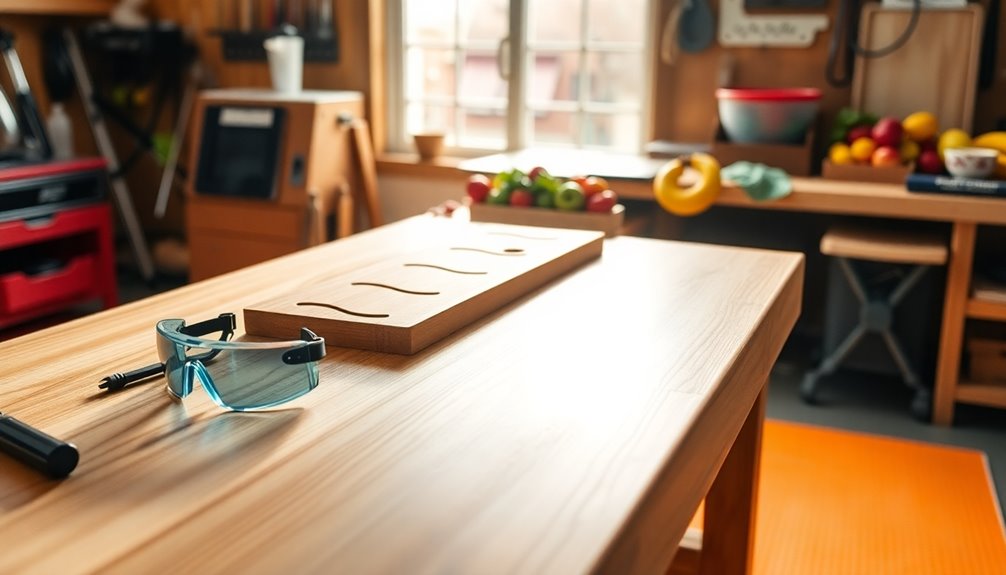
Safety and efficiency in your workshop are crucial for a productive and secure environment. Dress appropriately by avoiding loose clothing that might get caught in machinery. Always wear personal protective equipment like eye protection and closed-toed shoes. Additionally, remember that never use the shop alone to ensure supervision and safety while working.
Maintain a clean workspace to prevent slips and trips, and follow safety guidelines for handling materials. Use tools correctly and keep your workspace organized to enhance efficiency. Incorporating safety practices can significantly reduce the risk of accidents. Plan tasks ahead, and utilize safety aids like push sticks to minimize risks.
Regularly inspect your equipment for any damage. Secure heavy objects on lower shelves and ensure proper ventilation when working with hazardous materials.
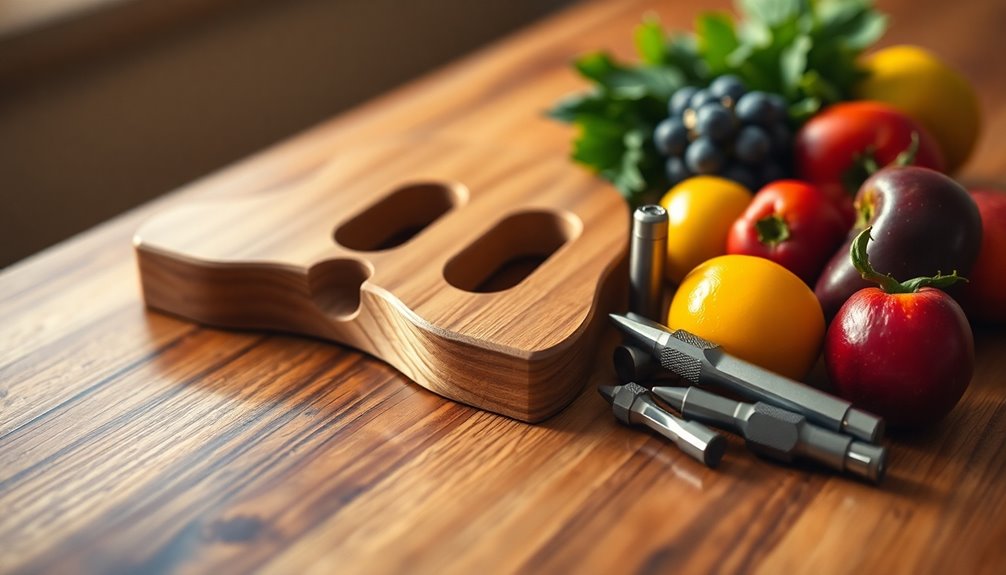
Advanced Features for Customizing Your Jig
Customizing your jig can significantly enhance your woodworking projects, as it allows you to tailor the tool to your specific needs.
Consider designing an adjustable jig that accommodates various board sizes, giving you more flexibility. Using 3/4" hardwood plywood boosts rigidity and minimizes warping. Incorporate integrated channels for precise groove cutting, and utilize threaded posts and knobs for easy adjustments.
You can also select different router bits to create various groove profiles and depths. Fine-tune your setup with spacers for groove positioning and ensure square corners and parallel walls for consistent grooves.
A solid clamping mechanism will prevent movement during cutting, while visual aids help align the router accurately. These advanced features will elevate your jig's performance and versatility.
Tips for Achieving Consistent Results
Achieving consistent results when using your jig is crucial for high-quality woodworking. First, make sure your jig is securely attached to the baseboard to prevent any movement during routing. Adjust the jig rails to fit snugly around your cutting board and use a level to confirm it's perfectly aligned. Don't forget to tighten all screws properly. Before you start on your actual project, test the setup with a scrap piece of wood. For routing, select the right bit designed specifically for juice grooves, ensuring it's properly seated. Safety is key—wear protective gear and keep your workspace clear. Finally, make multiple shallow passes, clear dust between each, and inspect your groove regularly to maintain evenness and depth. Incorporating a juice groove routing jig can streamline your process and enhance the quality of your cuts.
Disassembling and Storing Your Jig

Once you've finished your project, it's time to disassemble and store your jig properly.
Start by removing components like fences and spacers; this modular design makes storage easier. Make sure all tools used are compatible for quick disassembly. To ensure a clean environment, consider using an air purifier to reduce dust and allergens that could affect your workspace.
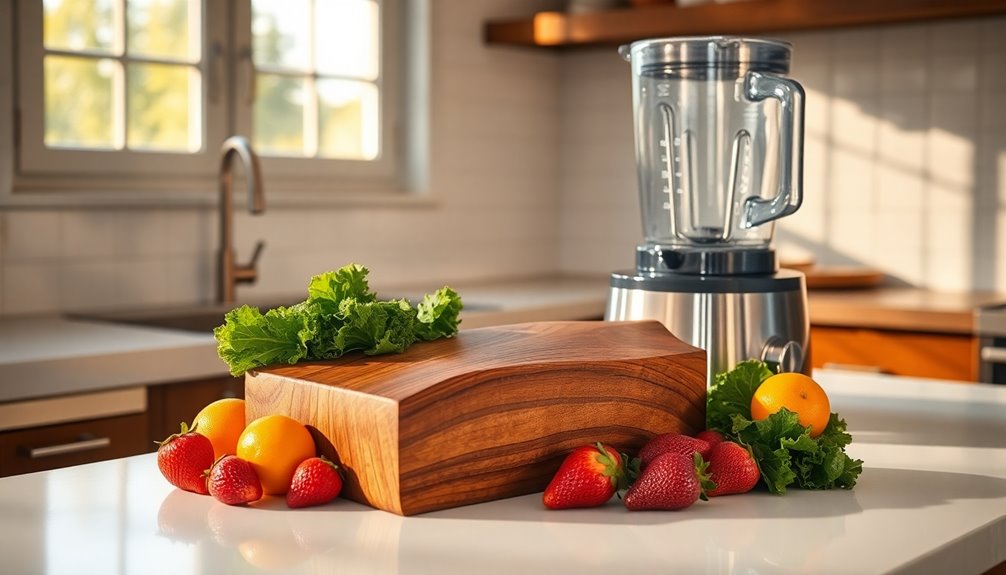
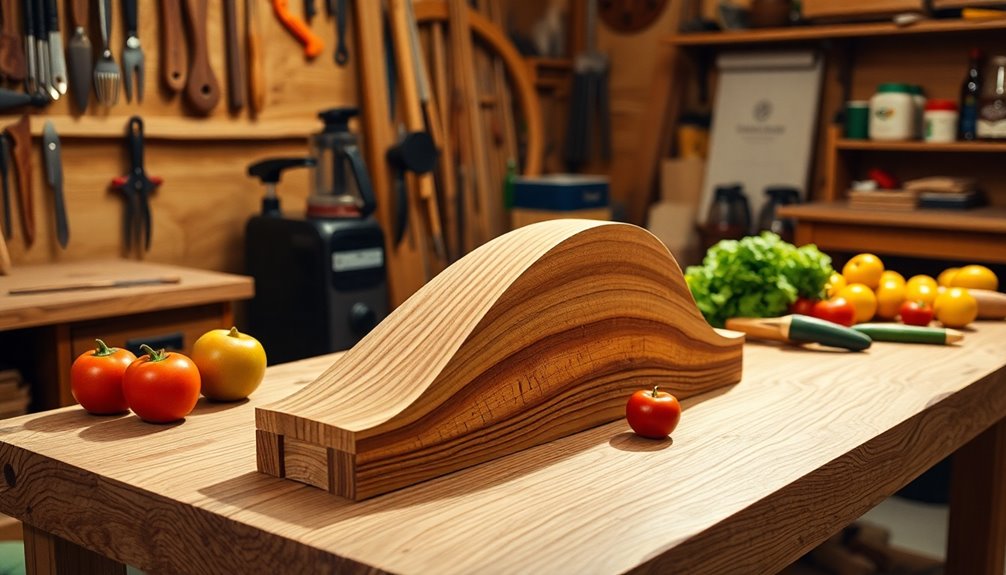
Lightweight materials will help you manage the jig more easily. For compact storage, keep everything in a dry environment and consider using protective covers to prevent damage. Cutting boards are beautiful, easy to make, and functional, making your jig a valuable tool for future projects.
Label each component for quick identification when you're ready to reassemble. Lastly, store your jig in an easily accessible spot, so it's always ready when you need it.
With these steps, you'll keep your jig in great shape and ensure it's ready for your next blending adventure.
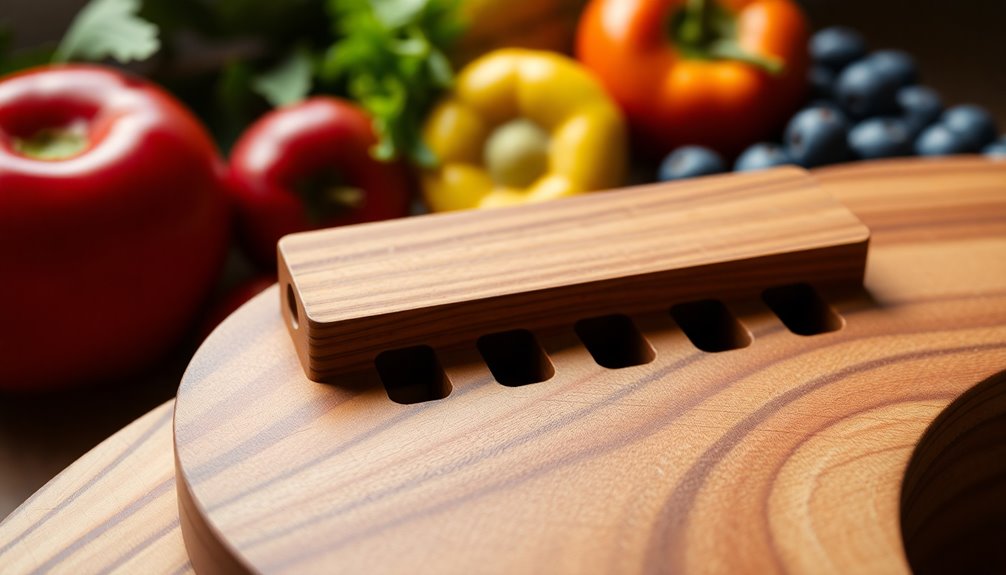
Exploring Specialized Bits for Better Performance
When it comes to enhancing your jig's performance, selecting the right specialized bits can make all the difference. Juice groove bits, with their rounded shoulder design, create smooth grooves perfect for cutting boards. For more complex profiles, core box bits offer precision and control. While V-groove bits aren't primarily for juice grooves, they can help with centering and unique profiles. Don't forget about bushings and guides; they're essential for consistent groove placement. Choose bits compatible with your router type, and consider the wood material to ensure durability and edge quality. Additionally, using a jig designed for creating juice grooves ensures better accuracy and efficiency in your woodworking projects.
Enhancing Your Jig With Internal Templates and Designs
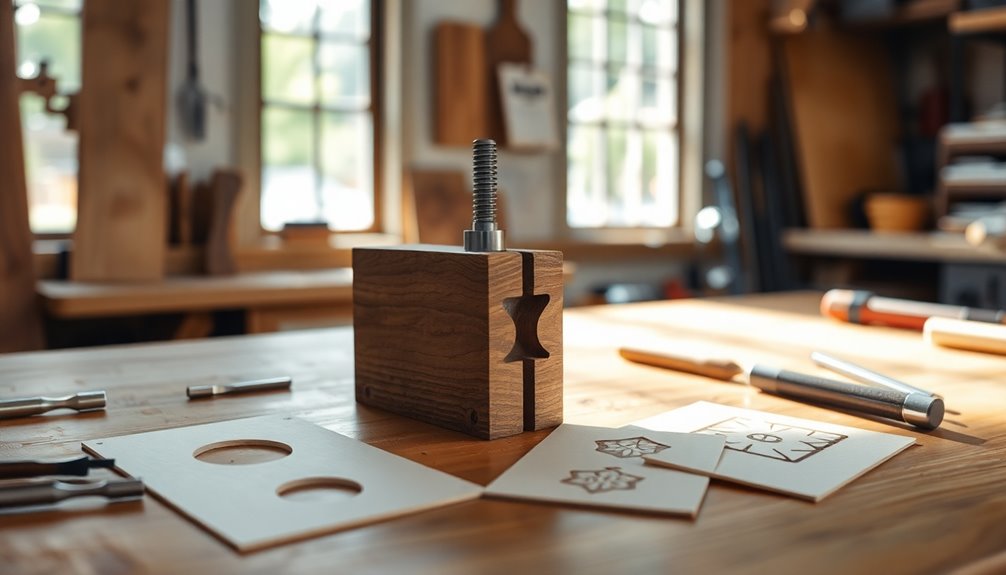
To elevate your jig's performance, integrating internal templates and designs can significantly enhance both functionality and aesthetics.
By incorporating rounded corners through these templates, your juice grooves not only look better but also simplify the cutting process. You won't need external guides, which makes navigating corners easier and ensures precision with every cut. Additionally, using a juice groove bit allows for a more efficient routing process and cleaner edges. Market smarter, not harder by considering how these enhancements can improve your overall workflow and project efficiency.
Plus, you can customize your jig with spacers to fine-tune the groove's distance from the edge. Using materials like MDF for your templates is cost-effective and readily available.
Remember to secure your templates with double-sided tape for stability.
With these enhancements, you'll find your jig not only performs better but also adds a professional touch to your projects.
Frequently Asked Questions
What Types of Wood Are Best for Cutting Boards?
When choosing wood for cutting boards, you'll want to consider density and durability.
Maple and walnut are excellent options due to their hardness and resistance to wear. Cherry adds beauty with its unique grain patterns, while oak is less ideal because of its porosity.
If you're looking for something visually striking, zebrawood can be appealing but mightn't be as durable.
Ultimately, select a wood that suits both functionality and your aesthetic preferences.
How Do I Clean and Maintain My Juice Groove Jig?
You might be wondering how to keep your juice groove jig in top shape, right?
Start by removing any dust and debris with a vacuum or soft brush. Wipe it down with a damp cloth, then dry it thoroughly to prevent moisture damage.
Regularly check for wear and calibrate the jig to maintain accuracy.
Finally, store it in a dry place to extend its lifespan and ensure optimal performance.
Can I Use This Jig for Materials Other Than Wood?
Yes, you can use the jig for materials other than wood, but you'll need to make some adjustments.
For plastics, ensure you have the right cutting tools, and for composite materials, tweaking the setup might be necessary.
Remember, avoid using it with metal or ceramic as they require different techniques.
Always check the material's thickness and ensure proper edge alignment for accurate cuts.
Safety gear is essential, no matter the material!
What Should I Do if My Router Bit Gets Dull?
If your router bit gets dull, start by inspecting it for wear.
You can sharpen it using diamond sharpening stones or replace it if it's beyond repair.
Make sure to clean it after each use to prevent resin buildup.
Adjust your router's speed settings and feed rate to avoid overheating during future projects.
Always store your bits properly to maintain their sharpness and prolong their lifespan.
Regular maintenance is key to keeping them effective.
How Can I Ensure My Cutting Board Stays Stable During Routing?
To keep your cutting board steady, secure it snugly with clamps or a bench vise.
Slipping's a safety hazard, so place it on a rubber mat for stability.
You'll want to use double-sided tape for smaller pieces and support them with scrap material.
Frame jigs can also guide your router, ensuring precision.
Conclusion
Congratulations! You’ve now mastered the fine art of juice groove jig-making. Who knew blending the perfect juice could require so much engineering? Next time you’re sipping your smoothie, remember—it’s not just a drink; it’s a testament to your woodworking prowess! So go ahead, impress your friends with your newfound skills. Just don’t let them know it took you longer to build the jig than it did to make the juice. Cheers to your carpentry conquests! As you gather your friends for a juice-tasting party, make sure to proudly showcase your jig and the various juices you’ve crafted. Perhaps even present a quick tutorial on how the ‘juice glass capacity explained‘ can transform an ordinary drink into a perfectly measured delight. With each sip, they’ll not only appreciate the flavors but also marvel at the precision behind your creations, raising the bar for all future juice gatherings.

Cindy thoroughly researches juicing trends, techniques, and recipes to provide readers with practical advice and inspiration. Her writing style is accessible, engaging, and designed to make complex concepts easy to understand. Cindy’s dedication to promoting the advantages of juicing shines through her work, empowering readers to make positive changes in their lives through the simple act of juicing.